How to Tamp Espresso Like a Pro: Barista Tips, Techniques, and Troubleshooting
I have been making espresso for years and for us baristas, it’s no secret that precision plays a huge role in pulling perfect shots. And you guessed it, tamping can make or break a great cup of espresso.
So if you want to level up your barista game in this regard, read on. I’ll be sharing with you tips and tricks for mastering the art of tamping like a pro.
What is Tamping and Why is it Crucial for Espresso?
Tamping is when you compress your coffee grounds into a puck shape within the portafilter basket. This creates resistance for pressurized hot water to extract all the flavor from the coffee.
Without proper tamping, you may end up with a disappointing cup of watery and flavorless shot of espresso.
This is because when you tamp your ground coffee properly, it ensures that every particle of coffee is evenly extracted as water flows through it with no single path of least resistance, yielding a cup with balanced flavors.
But if you over-tamp, meaning you make the coffee puck too dense, the water won’t be able to get through, and your shot might choke. Another issue here is that putting too much pressure on your tamping can cause strain on your wrists especially if you’re a barista who has to do this multiple times consecutively.
In short, tamping is an essential skill to master if you’re an aspiring barista or home brewer. It’s just one step to start making cafe-level coffees like latte, cappuccino, and other coffee recipes, but it’s a crucial step nonetheless.
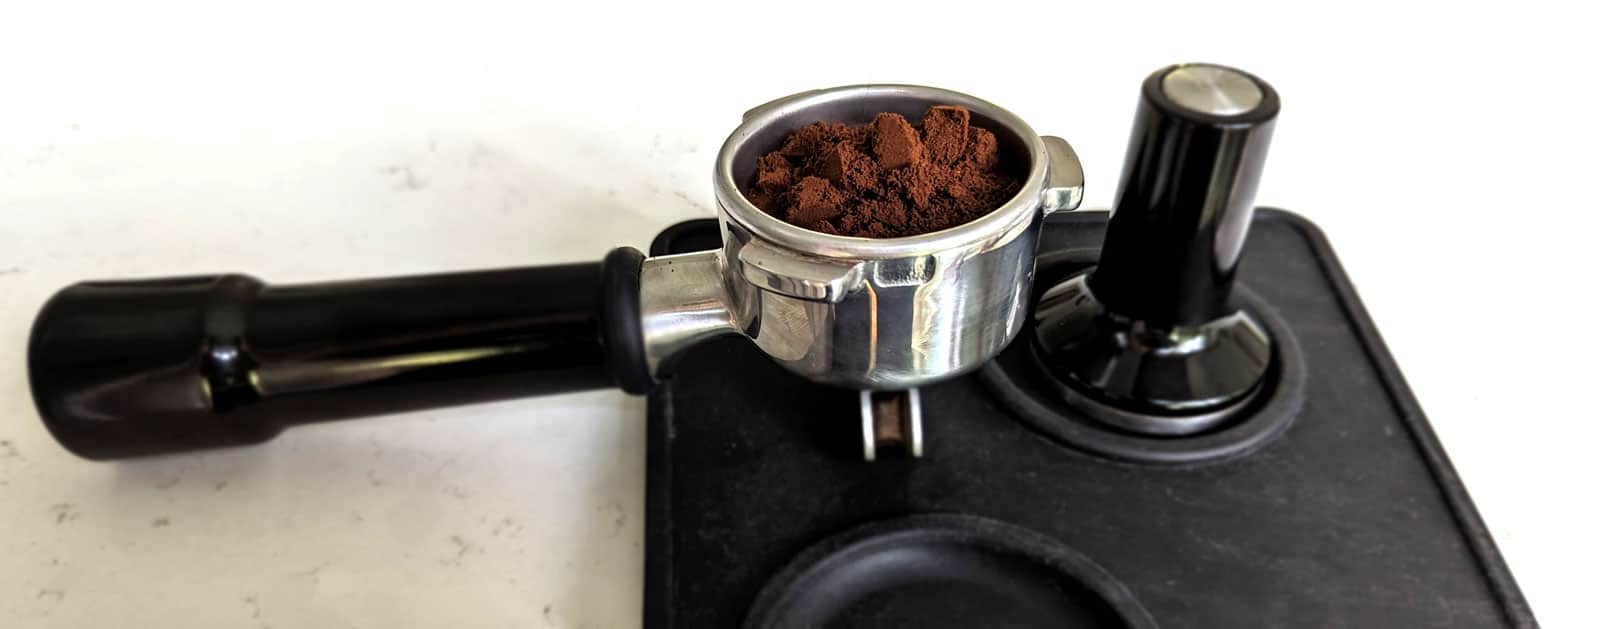
Essential Tools to Tamp Espresso
To get started with proper tamping, you need a few essential tools. Each tool plays a crucial role in the process of making great espresso:
- Espresso machine: the brewing device that will handle the flow of pressured water into your ground coffee.
- Grinder: grinds your beans fresh and fine so you can have a perfect extraction every time.
- Scale: ensures precision in the amount of coffee beans you will be using.
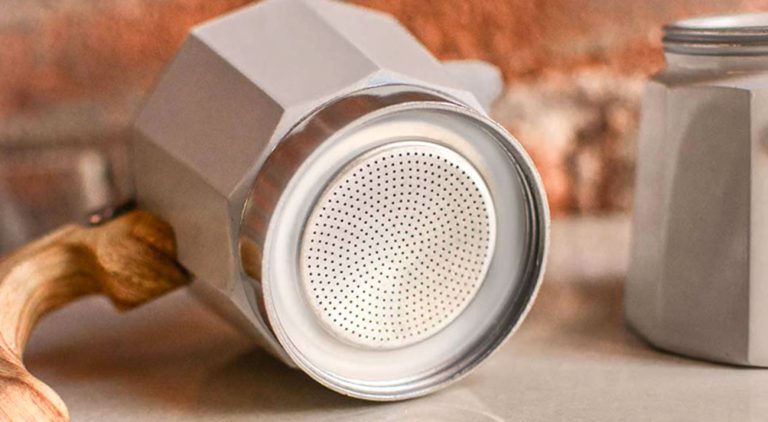
- Portafilter and basket: holds your ground coffee before brewing.
- Tamper: a handheld tool that tamps your bed of coffee grounds.
- Tamp mat: a surface where you can rest your portafilter while tamping.
Newer, more precise methods of tamping have given way to new tools, like:
- Wise distribution tool (WDT): a device with needles used to evenly distribute coffee grounds in a portafilter for consistent extraction.
- Coffee distributor: Used to evenly spread and level coffee grounds in the portafilter before brewing.
- Puck screen: A mesh filter used to evenly distribute water over the compressed coffee grounds during extraction.
- Spring loaded tamper: Used to evenly compress ground coffee beans in the portafilter with optimal pressure.
With these tools at hand, you can have complete control over your espresso-making process. This will ensure consistent quality in every shot.
Step-by-Step Guide to Mastering Espresso Tamping
Now it’s time to get into the nitty-gritty of tamping espresso. So, without further ado, here’s our step-by-step guide to mastering espresso tamping:
How to tamp espresso
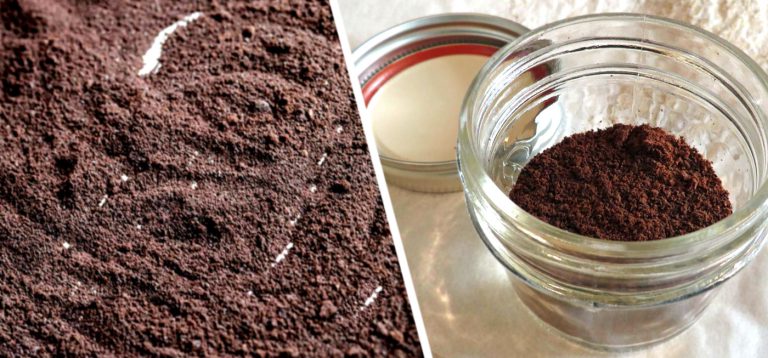
Prepare your grinds
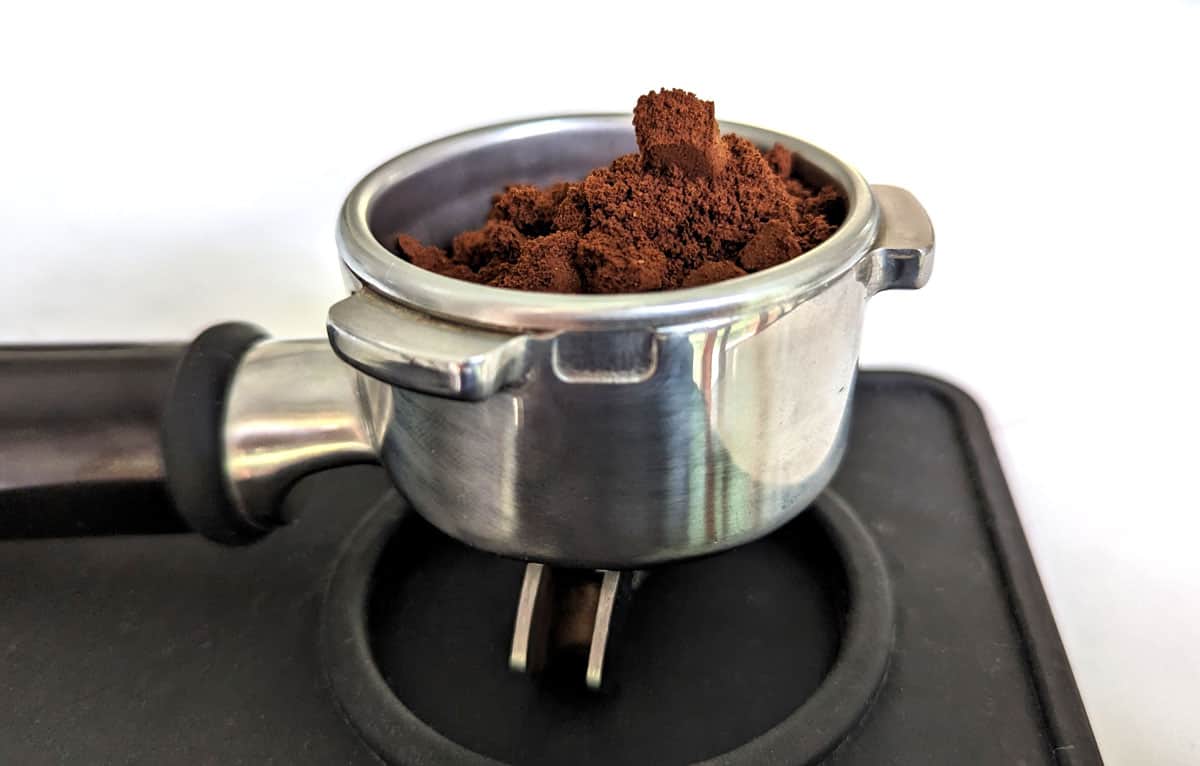
Before you start tamping, make sure your portafilter has been properly dosed and distributed. Use a scale if possible to measure out the right amount of finely-ground coffee (usually around 18 grams for a double shot)
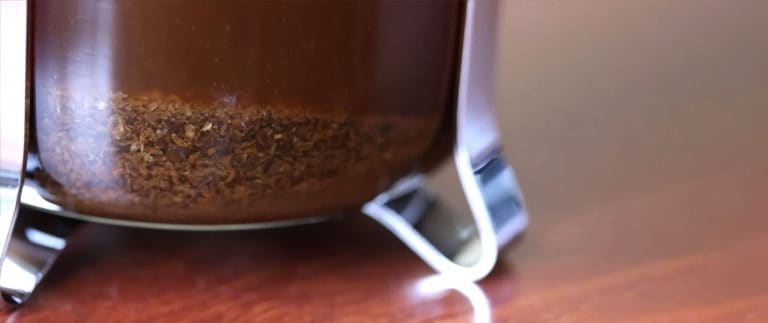
Knock the portafilter on the rubber tamping mat a few times to settle the grinds into your portafilter basket. A lot of times, the grinder produces a mountain in the basket. You can’t tamp that until it is more or less even.
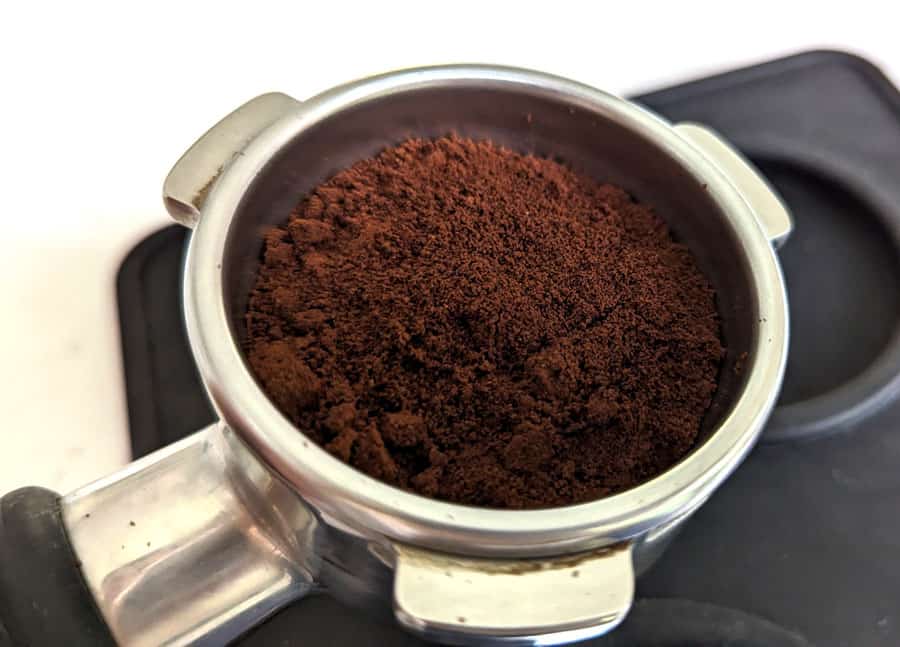
Optionally use a distributor or leveler tool to evenly spread out the grounds.
Ensure a level surface
Find a flat and stable surface to work on while you’re tamping. A slightly uneven surface can throw off your pressure control and lead to inconsistent extractions. Your kitchen counter is the most obvious choice.
It’s a good idea to use a rubber tamping mat to protect both the counter and the portafilter.
Begin with light pressure

Make sure you’re holding your tamper correctly. You want to keep that wrist straight while your elbow’s bent at a 90-degree angle and apply a light downward force (about 15 lbs) onto the center of the coffee puck without pressing too hard yet.
Also, make sure your tamper is leveled, not tilting in any direction.
This pre-tamp should help settle any loose grounds before applying full pressure later on.
Applying optimal force
Now that you’ve done your pre-tamp, it’s time to apply the optimal force. This is where you’ll need to use a bit of finesse and control. Start with a moderate amount of pressure – around 20 to 30 pounds – and press down evenly on the puck. Keep applying pressure until you feel some resistance from the coffee grounds.
In barista school, we had specific exercises to set our tamp strength, but in the end, I just recommend that you tamp at the strength of a firm, manly handshake.
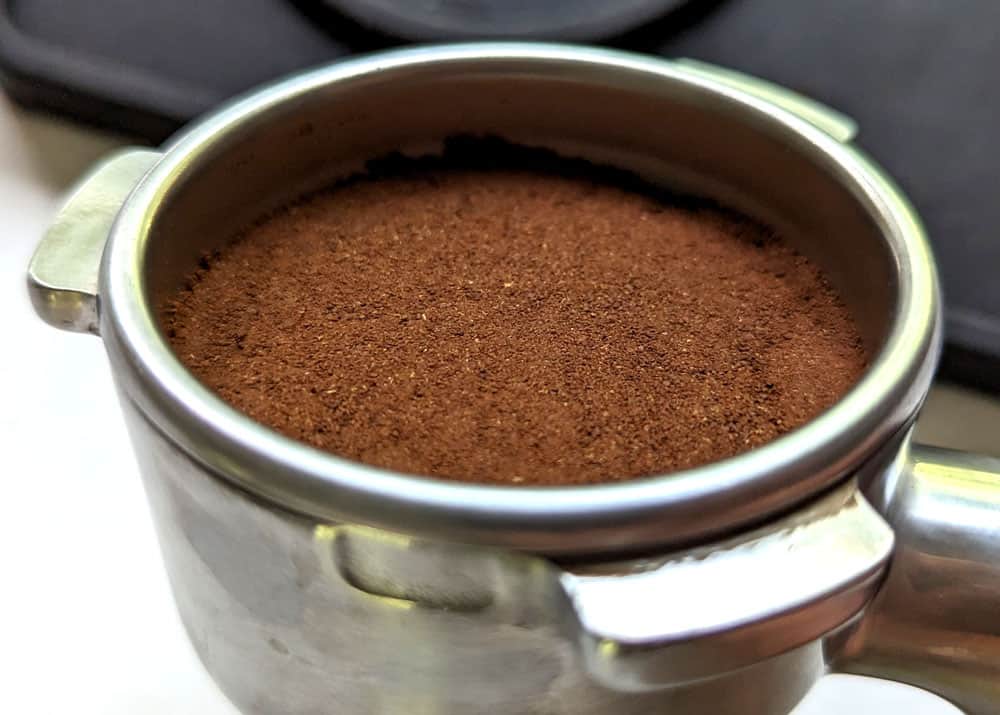
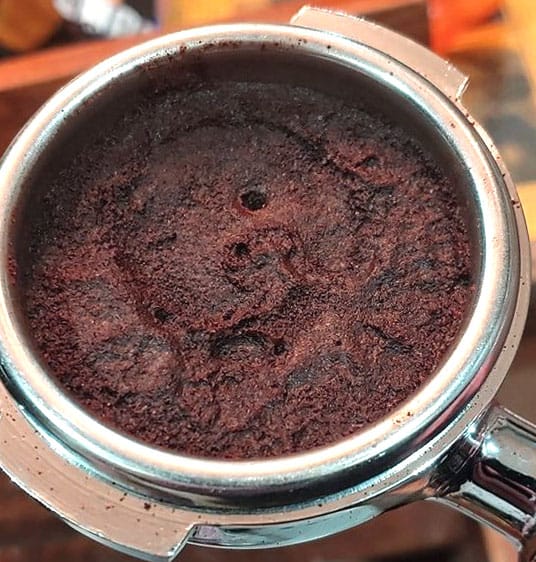
Checking your tamp
After you’ve applied enough pressure, remove the tamper and check the surface of the puck for flatness and evenness. The surface should be smooth and level, without any gaps or uneven spots that could cause channeling during extraction.
Final touch-ups
If needed, do some final touch-ups by using your finger or a brush to clean up loose grounds around the edge of the portafilter before locking it onto your espresso machine.
Make sure your equipment is properly heated up and ready to go, then start brewing your perfectly tamped shot.
Advanced Tamping Techniques: Nutation & Twisting Motion
Aside from the tried-and-tested technique for budding baristas, there are actually a few advanced techniques that can help enhance your tamping skills even further.
One such method is called nutation, which involves making small circular tilting movements as you tamp, to lock the sides of the puck in place.
To nutate while tamping:
- Hold onto your tamper as usual but do not press it straight down.
- Move it in a circular tilting motion while applying pressure.
- Be sure not to overdo it – just a few gentle twists should do the trick.
- Carry out your regular tamp after nutation.
Another technique that has been making rounds, and worth mentioning, is polishing or twisting motion while removing the tamper after pressing down on the coffee puck. This can help smooth out any uneven spots on the surface of the puck and further improve overall consistency.
To polish or twist:
- Simply press down on the coffee puck as you normally would.
- Gently rotate or twist the tamper back and forth before lifting it off.
- This movement helps ensure an even extraction by creating a uniform surface for water to flow through.
I don’t really see the point of this though, and it can easily mess up the angle of your entire puck.
Keep in mind that these advanced techniques may require some practice to master, so don’t be discouraged if they don’t produce immediate results.
How to Troubleshoot Common Tamping Issues
Even with the most careful and precise tamping technique, sometimes things just don’t go according to plan. But fear not, I’m here to help troubleshoot some of the most common issues that can arise during espresso tamping.
Uneven Shots or Channeling – Causes and Solutions
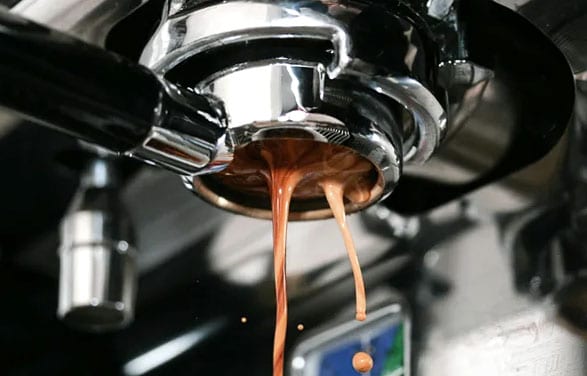
If your espresso shot is coming out unevenly – meaning some parts are over-extracted while others are under-extracted – you may be experiencing channeling. This occurs when water finds a path through the coffee puck that isn’t evenly packed and creates pockets where extraction can occur too quickly.
It can quickly be identified on naked portafilters, and commonly presents as sputtering on spouted ones.
To avoid this issue, make sure you’re distributing your grounds evenly before tamping and applying an even amount of pressure throughout the tamping process. You could also try adjusting your grind size or tamper shape if needed for more consistent results in your crema-crowned drink.
Over-Extracted or Under-Extracted Espresso
If your shot tastes bitter or burnt, it might be over-extracted due to too much pressure applied during tamping, which restricts the flow of water too much.
On the other hand, if your shot tastes sour or weak, it may be under-extracted due to insufficient tamp pressure, since the water just gushes through your grinds.
In both cases, making adjustments to your tamping technique can help achieve better extractions. Try experimenting with different tamp pressures until you find what works best for your coffee beans and equipment.
Tamping Pressure Inconsistencies
Another common problem baristas face is consistency in their tamp pressure from one shot to another. If you’re noticing inconsistencies, the issue may lie in your body posture or grip during tamping. Make sure you’re standing in good posture and holding the tamper correctly.
You could also try using a precision scale to measure your tamp pressure and adjust accordingly. Remember that even slight variations can have a big impact on the flavor of your espresso shot, so it’s worth taking the time to ensure consistent pressure every time.
How to train for consistent tamping pressure?
The best way to train for consistent tamping pressure is through practice. Start by focusing on applying pressure slowly and evenly, using both hands (one on top of the other) for better control. Try experimenting with different amounts of force until you find what works best for you.
If you’re still struggling to pull well-extracted espresso shots consistently, you might want to consider using espresso puck screens. This further promotes the water distribution in your tamped coffee grounds to avoid channeling in your coffee.
Final Take on Tamping
Tamping can be quite exciting and challenging at the same time. Trust me, it really requires patience, practice, and most importantly, consistency. But don’t be discouraged if you can’t get it right the first few times. When I first started learning how to tamp, my pressure was just all over the place.
However, with practice and experimentation, I slowly began to understand the nuances behind tamping.
So keep tamping away and never stop learning, and you’ll be pulling perfect espresso shots in no time.