When and How to Replace Your Moka Pot Gasket
If your trusty moka pot has started sputtering, leaking or just isn’t brewing up coffee like it used to, it may be time to replace the rubber gasket.
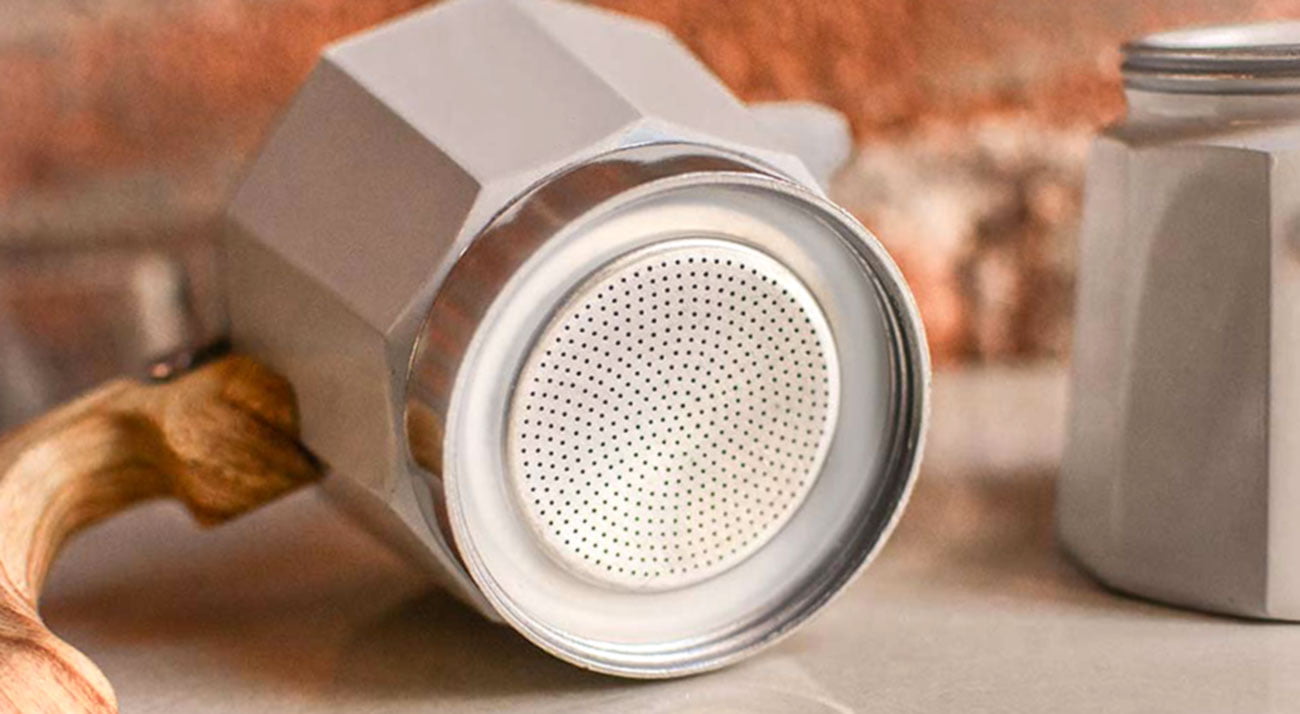
The Moka pot gasket or seal is a small rubber ring that sits between the top and bottom chambers of the brewer, sealing it from the inside. This small but mighty part plays a crucial role in ensuring your stovetop espresso maker can build up the pressure needed to yield a rich, full-bodied brew.
Luckily, swapping in a new gasket is a quick and easy fix that will have your moka pot back to crafting delicious coffee in no time.
Key Takeaways
- Moka pot gaskets should be replaced every 3-12 months depending on usage, or when showing signs of wear.
- When replacing the gasket, it’s important to get the correct size that is compatible with your specific moka pot model.
- The replacement process involves disassembling the moka pot, thoroughly cleaning all parts, carefully installing the new filter screen and gasket, reassembling without overtightening, and testing the pot with just water.
Read on to learn the telltale signs it’s time for a gasket replacement and my step-by-step instructions to get the job done right.
When to Change Your Gasket?
Bialetti recommends replacing the seal once a year, but if you’re a frequent drinker, it may need changing much earlier than that, as early as after 3 months of use.
I always suggest NOT to wait until you encounter issues with your brewing before replacing its gasket, so a 6-9 month timeframe is good for most households.
3 Signs to Replace the Moka Pot Gasket
Here are the signs that you need to change it with a new one:
- It leaks: This is a telltale sign that your seal is no longer doing its job correctly. Look out for leaks on the side of your brewer when making your daily cup of joe.
- It becomes hard to assemble: When screwing the top and bottom chambers of the coffee maker is not as easy as it used to be.
- Visual signs of tear: If you notice any cracks, tears, or loosening in the rubber material, it’s a clear indication that you need to change it.
When these become noticeable, it’s time to take out that seal and change it with a new one.
Choosing the Correct Replacement Gasket
When it’s time to replace your moka pot gasket, it’s crucial to choose the right size and material to ensure a proper fit and seal. Here’s what you need to consider:
- Gasket material: Most moka pot gaskets are made of rubber, but I’ve found that getting a silicone one when it needs replacing is better. Both materials can provide a good seal, but silicone gaskets tend to be more durable and heat-resistant. They also don’t have that rubber odor, which can actually go into your coffee.
- Authentic parts: For the best fit and performance, purchase replacement gaskets from reputable retailers. Avoid generic or low-quality gaskets, as they may not provide a proper seal or could affect the taste of your coffee.
- Gasket size: Moka pot gaskets come in different diameters to fit specific pot sizes. You need to find exactly the right size for your model. Unfortunately, sizing isn’t simply a matter of the capacity of your moka pot. I’ve fallen into this trap before several times. You need to know the exact inner and outer diameter of your gasket to get the right size. For harder-to-find models, you may have to make your own gasket from a silicone baking sheet.
By selecting the correct size and material from a trusted source, you’ll ensure your new gasket fits perfectly and keeps your moka pot brewing great coffee.
The BigCupOfCoffee store carries them in all major sizes:

Moka Pot Gasket with Filter Plate
These durable silicone gaskets are designed to replace worn-out moka pot gaskets. Choose your size carefully! They are available in 1, 2, 3, 6, 9, 12 cups sizes.
Step-by-Step Guide on How to Change the Moka Pot Seal
Changing your coffee maker’s gasket is very easy, just follow these steps:
1. Prepare your tools
First, make sure you’re all set. You just need a new seal that’s compatible with your brewer and a butter knife or flat screwdriver.
You’re also going to clean the moka pot, so it’s best to be over the kitchen sink.
2. Disassemble your coffee maker
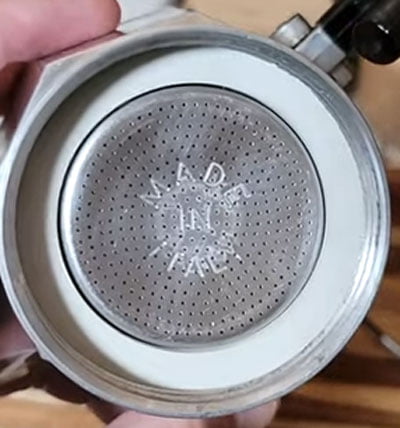
Separate the top chamber from the bottom chamber as you usually do. Turn the upper chamber over, here you’ll get a view of the seal tucked inside.
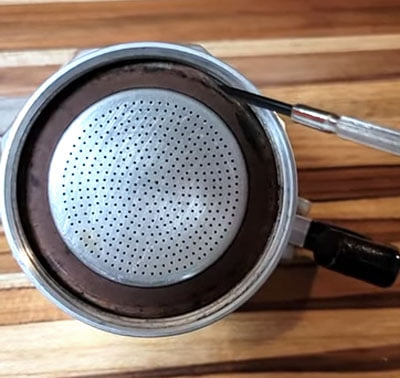
3. Pry out the gasket with a knife or screwdriver
Using a butter knife or a flat screwdriver, gently pry out the gasket from its groove. You also get to remove the filter plate from the top chamber.
In my experience, the old gasket often sticks to the filter screen, so be patient and gently pry them apart.
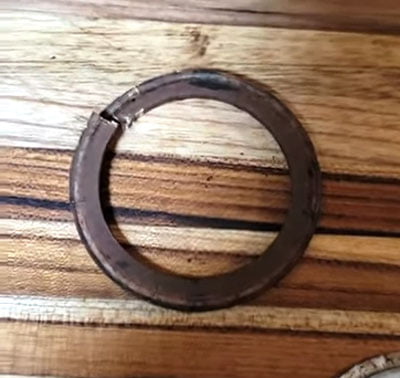
If you waited too long to change the gasket, it will tear and come out in chunks. Let that be a reminder for next time…
TIP: Directing water from the faucet onto the metal filter can slightly lift the gasket, making it easier to remove.
4. Clean the disassembled parts
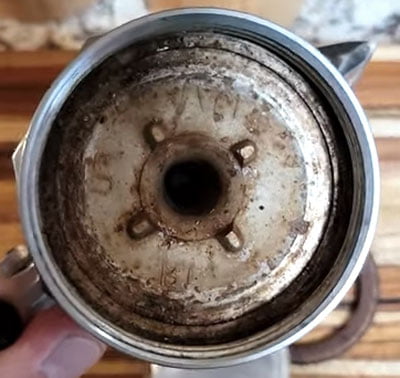
Take some warm water and wash the inside of the brewer’s chamber thoroughly. You don’t want to use soap with aluminum moka pots, but you can with stainless steel ones.
There will be a lot of coffee oil and gunk under the gasket you’re replacing, so that will need some scrubbing. I also use a spatula or something flat to remove the coffee grinds stuck in the nook.
Also, clean the filter plate if you’re not replacing it. I find that a bottle brush helps get into the nooks and crannies where coffee residue tends to accumulate.
5. Insert the new filter screen and gasket
Now you can get your new gasket and filter.
- Place the new filter screen into the top chamber
- Position the new gasket around the edge of the filter screen
- Ensure the gasket sits evenly in the groove and doesn’t stick out
Ensure that it fully fits in its groove without any gaps or misalignments, otherwise it won’t seal properly.
6. Reassemble and test it
Reattach all of the parts, making sure that everything fits right with no issues. I screw it on until I feel resistance, then give it about a quarter turn more. That’s the sweet spot.
I always do a test run with just water to confirm I installed the gasket correctly, and that it doesn’t have any odors from the new gasket.
- Fill the base with water up to the safety valve
- Run a brew cycle without coffee grounds
- Check for any leaks or sputtering
TIP: If your water (or coffee later) smells or tastes like rubber, you need to boil the gasket in 1 part water/1 part vinegar for 10 minutes, then discard the liquid and bring another vinegar/water solution to boil, at which point you can turn off the heat and leave the gasket soaking for 20 minutes. This will take the rubber smell away.
If the pot performs well, you’re ready to brew coffee again start brewing moka pot coffee again.
Tips for Longer Gasket Life
While replacing your moka pot gasket is a simple process, there are some care and maintenance practices you can follow to extend its life and keep your pot brewing smoothly. I’ve learned a few tricks along the way, many of which I talk about in my moka pot maintenance article:
First and foremost, I always make sure to hand wash my moka pot after each use. As soon as it cools down after brewing, I disassemble it and rinse all the parts with warm water. I avoid using soap, as it can leave a residue that affects the taste of my coffee. Once everything is clean, I dry all the components thoroughly before reassembling. Not everyone does this though, you can get away with removing and cleaning the gasket every 10-20 uses or once a week.
When I’m not using my moka pot, I store it disassembled. Leaving it assembled can cause the gasket to become compressed and lose its shape. I keep the base, filter funnel, and top chamber separate in a drawer next to my coffee beans, so they’re always ready to go. This allows the gasket to relax and maintain its elasticity.
During reassembly, I’ve found that a light touch goes a long way in preserving the gasket. I screw the top chamber onto the base gently until I feel resistance. Over-tightening can strain the gasket and cause it to wear out faster. A gentle, snug fit is all that’s needed for a good seal.
Lastly, I give my gasket a quick eyeballing every month or so when I do a deep clean of my moka pot. I check for signs of wear that I talked about, such as cracks, tears, or loss of elasticity. If I notice any damage, I just replace the gasket to avoid leaks or brewing issues or even moka pot accidents.
These simple maintenance habits will prolong the life of your moka pot gasket and ensure your stovetop espresso maker continues to produce great coffee.
Frequently Asked Questions (FAQs)
Here are quick answers to common questions about the Moka coffee pot gasket:
If you don’t change your gasket even after there are obvious indications of wear and tear, it will not seal the upper and lower chambers properly. You will get water/coffee sputtering out the center of the device, and it might even lead to a failure of the threading due to the lopsided pressure.
While the Bialetti Moka coffee pots usually come with a rubber gasket, I recommend choosing a silicone replacement. It’s a bit pricier but it’s more durable, seals better, doesn’t smell like rubber, and is easier to clean.
Go Get a New Gasket
You can easily find gasket replacements at the Bialetti website and other shops online. We also have moka pot gaskets available in our online store, so you can check those out.
Leave us a comment if this guide helped you out.