AeroPress Iced Coffee Recipe – Two Ways to Brew This Cool Drink
I’ve been brewing coffee with the AeroPress for years now, but it was only this summer that I started experimenting with AeroPress iced coffee recipes.
If you’re a fellow coffee enthusiast who can’t resist multiple coffees per day, it’s only natural to seek iced coffee during summer. Today, I’m sharing with you my two favorite iced AeroPress coffee recipes, from a clean cool cup to a refreshing beverage mixed with the zest of orange.
Let’s start brewing.
What You Need to Make AeroPress Iced Coffee
- Aeropress: This coffee brewing device uses air pressure to extract flavors from the coffee grounds.
- Grinder: Used to achieve a finer consistency on your coffee than our regular Aeropress recipe.
- Measuring Scale: Necessary to measure the precise amount of coffee and ice used in the recipe.
- Cup/Mug: The vessel into which you will serve the coffee.
- 20 g of coffee: coffee is the base ingredient for making this drink.
- 120 g of ice: Adding ice helps cool down and dilute the brewed coffee, creating a refreshing drink.
- 180 grams of boiled water: Hot water is poured over the ground coffee to extract its flavors and create a concentrated brew.
- Additional ice at the end: Ice is added after the initial 120g of ice melts.
Step-by-Step Guide for Iced AeroPress Recipe
Flip the hot days by sipping on a cool iced coffee using your AeroPress. Just follow these simple instructions:
1. Grind 20g of coffee.
- Set your coffee grinder to a slightly finer size than usual, as this will help with the extraction process in creating a well-balanced brew.
- Measure out precisely 20 grams of ground coffee and set it aside, which is also a little more than usual Aeropress coffee. If you’re using an AeroPress scoop, it can typically hold 16.5 g of whole coffee beans.
2. Put ice into a mug or cup.
- Take a mug that can hold up to 120 grams of ice and put it over your scale.
- Pour the measured amount of ice into the mug.
3. Pour the coffee into the AeroPress chamber.
- Add a filter to your AeroPress and place the 20 grams of coffee into the chamber.
- Put the AeroPress over the mug.
4. Add the hot water to the chamber.
- Heat fresh water until boiling, then allow it to cool slightly before pouring onto the coffee.
- Gradually pour 180 grams of hot water onto the grounds in a circular motion, aiming for thorough saturation.
5. Stir the mixture
- Once you have added all the water, immediately start agitating the brew vigorously and thoroughly.
- This ensures even extraction despite using less water than normal.
6. Let it steep and stir again.
- Allow the brew to steep for 2 minutes to extract flavors fully from the coffee.
- After the steeping time elapses, give it another gentle stir.
7. It’s time to plunge your AeroPress.
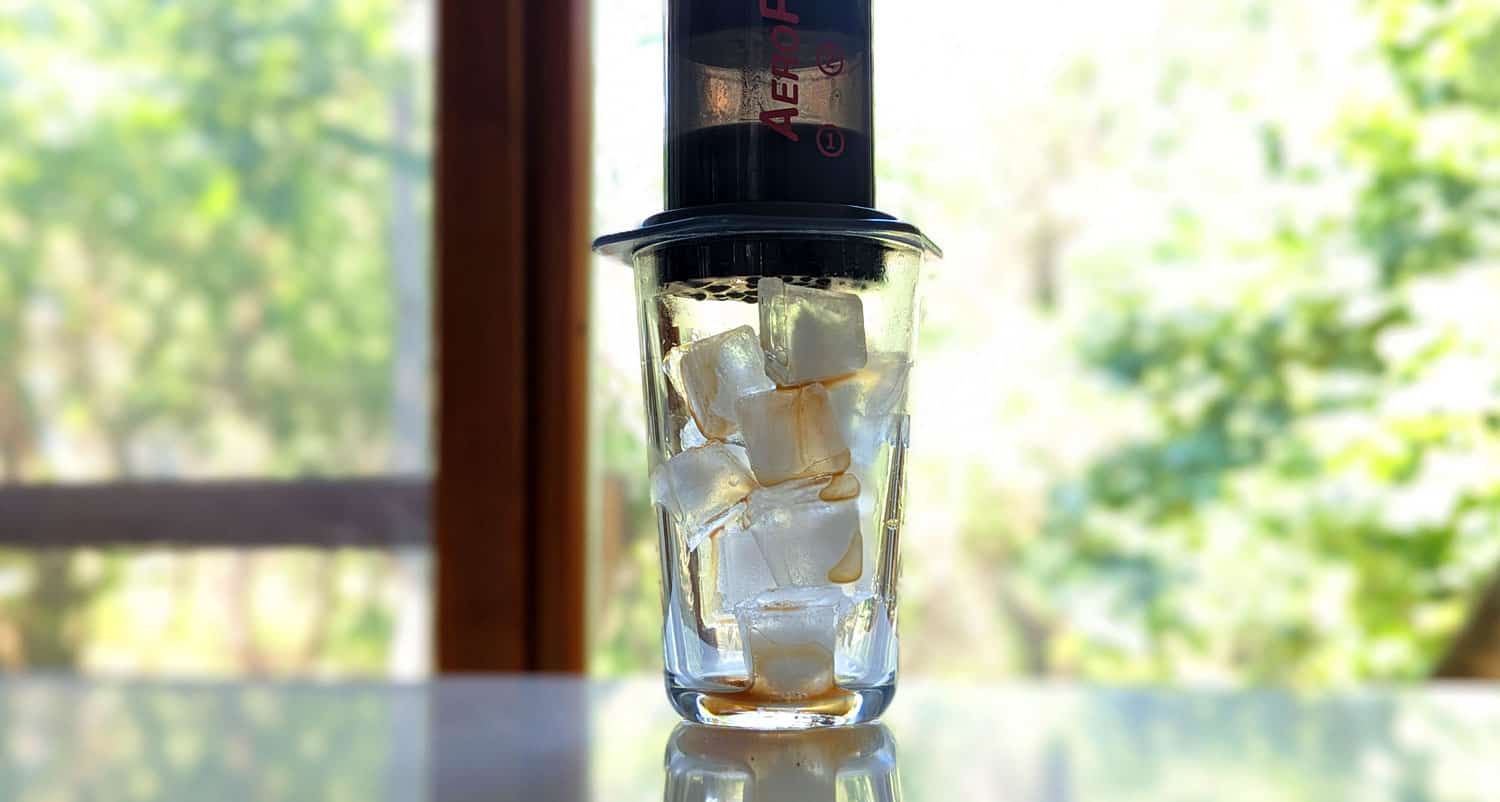
- Now carefully press down on the plunger directly over the mug containing the ice cubes.
- As you plunge, be cautious as some melted liquid will mix with the brewed coffee, diluting and cooling it simultaneously.
8. Remove the AeroPress and stir.
- Once the coffee has dripped down into your mug, remove the AeroPress on top.
- Stir gently after plunging to encourage complete melting and mixing of ice with the brewed coffee.
9. Add more ice and serve.
- Finally, add one large chunk of ice to keep your drink refreshingly cold while you savor its flavors.
AeroPress Iced Coffee Recipe – Two Ways to Brew This Cool Drink
Ingredients
- 20 g Coffee (fine size)
- 1/2 cups Ice
- 180 ml Hot water
- 1 pc Chunk of ice
Instructions
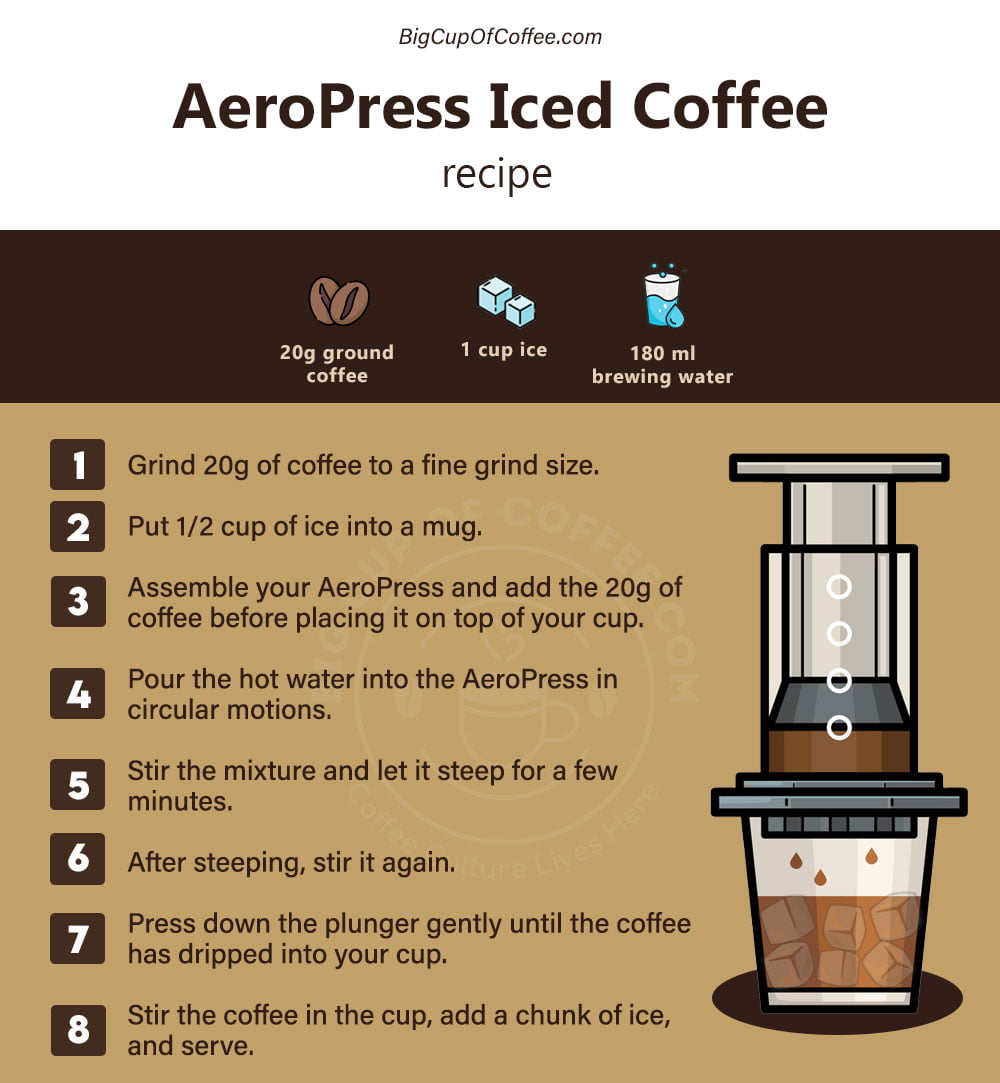
- Grind 20g of coffee to a fine grind size.
- Put 1/2 cup of ice into a mug.
- Assemble your AeroPress and add the 20g of coffee before placing it on top of your cup.
- Pour the hot water into the AeroPress in circular motions.
- Stir the mixture and let it steep for a few minutes.
- After steeping, stir it again.
- Press down the plunger gently until the coffee has dripped into your cup.
- Stir the coffee in the cup, add a chunk of ice, and serve.
Video
Notes
Refreshing Recipe #2 – AeroPress Iced Coffee with Orange Slices
Here’s a creative recipe to take your iced coffee with the AeroPress up a notch. I really like this one because it is more refreshing with the addition of orange slices and lime.
What You’ll Need
Gather the following equipment and ingredients for your iced AeroPress coffee:
- AeroPress and carafe
- Cup for serving
- 2 slices of orange
- 30g of coffee beans
- 300g of ice
- 1 slice of dehydrated orange (optional)
- 1 slice of dehydrated lime (optional)
- 200g of hot water
Step-by-Step Guide for AeroPress Iced Coffee with Orange Slices
Once you have what you need, here are the steps to make this refreshing iced coffee recipe with your AeroPress:
- Put the 2 orange slices at the bottom of your carafe.
- Add 250g of ice on top of the orange slices. Set aside the remaining ice cubes.
- Add a paper filter (which you can rinse beforehand) to your AeroPress and put it on top of the carafe.
- Grind your coffee beans finely and put them into the AeroPress chamber.
- Pour 200g of hot water in a circular motion and stir.
- Let it steep and bloom for two minutes and 30 seconds.
- Press down the plunger.
- Mix the drink and transfer some of it into a cup for serving.
- Add the remaining ice cubes into the cup.
- Drop a dehydrated orange and dehydrated lime slice and enjoy.
What cup to serve your AeroPress iced coffee in?
Much like with other cool coffee drinks like cold brew and your usual iced coffee, this drink can be served in any cup large enough to make room for both the coffee and ice cubes.

Conclusion
Now you have two more recipes to choose from when you want a cup of iced coffee on a hot day. They’re easier and faster to make than cold brew, nitro cold brew, and frozen cappuccino but delicious nonetheless.
To cap this guide, here’s one final tip: Feel free to experiment with these recipes by adding other ingredients such as milk and sweeteners to suit your preferences. So go ahead and try them for yourself and let me know how it went in the comments below.