7-Steps to Using a Moka Pot Properly (Secrets of the Stovetop Coffee Maker Unlocked)
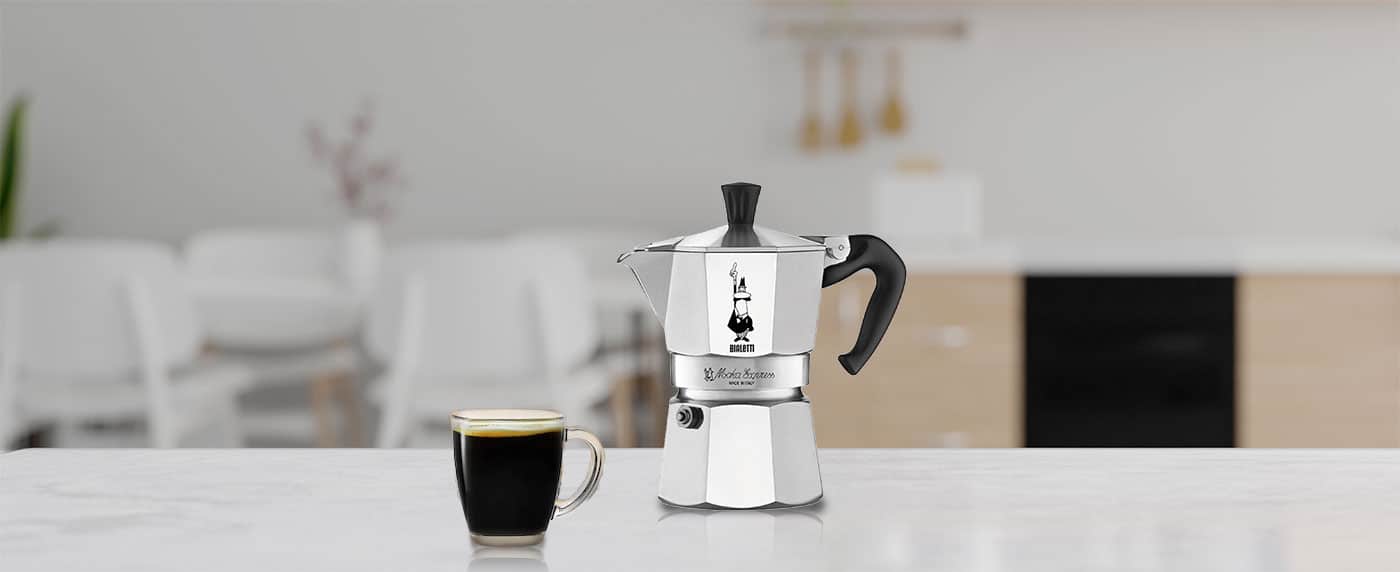
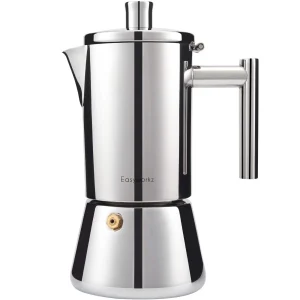
A friend has taken note of your love for coffee and has decided to gift you a Bialetti Moka Express.
The problem is, you have no idea how to make coffee with a Moka pot. Yet!
You’ve come to the right place. I’ve been using this classic stovetop coffee maker for decades, and I’ll get you making coffee in a Moka pot in no time at all.
What is a Moka Pot?
The Moka pot is a stovetop coffee maker that makes strong coffee, similar to espresso. It was invented by Alfonso Bialetti in 1933 and named after the Yemeni city of Mocha, famous for its quality coffee.
It doesn’t necessarily require electricity, nor the complex mechanics associated with espresso machines today.
Due to its ease of use and ability to produce a delectable cup, it’s considered one of the most notable innovations in the coffee world.
It has been a staple in many households for almost a century. And once you learn the proper method of brewing with the Moka pot, you’ll make delicious coffee yourself almost anytime, anywhere, even at a campfire.
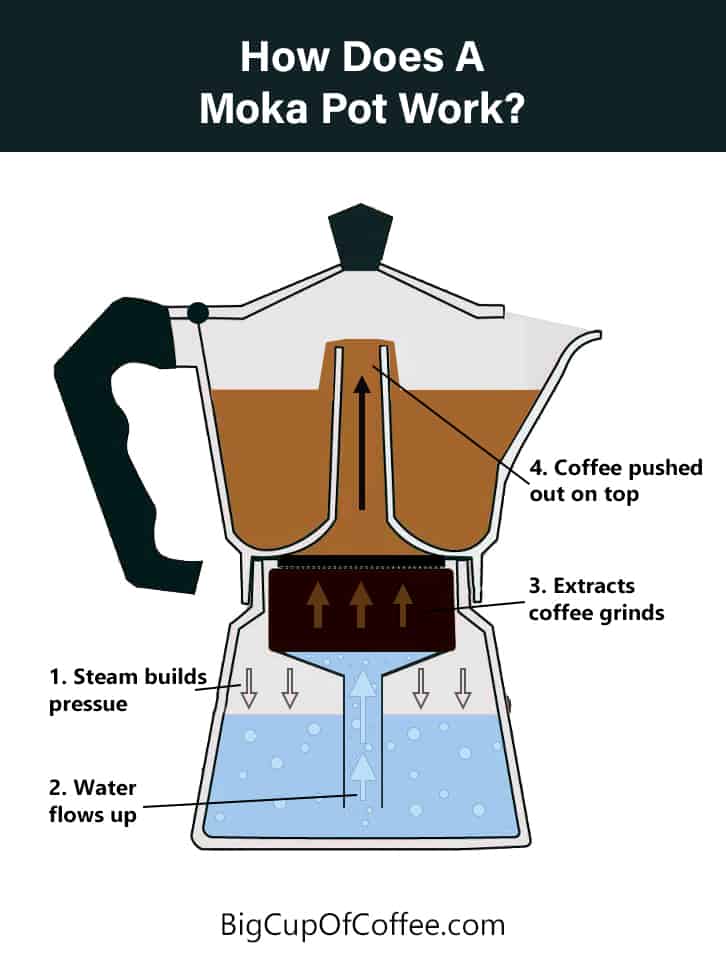
How Does It Brew Coffee
The Moka pot functions similarly to espresso machines because they both use pressure to force heated water through the coffee grounds.
This is why many refer to the Moka pot as a stovetop espresso machine.
- Water boils in the bottom chamber of the pot, creating steam.
- The steam gradually builds enough pressure to push the brewing water up through the funnel to the middle chamber, where the ground coffee is.
- As the pressure continues to push the water up through the system, the extracted coffee sputters out into the top chamber.
How long does it take?
Because the pot brews upwards, it does not have the short brew time of an espresso machine that uses high-pressure water. It takes several minutes to brew coffee with a Moka pot, depending on the size of the device you use.
What does it taste like?
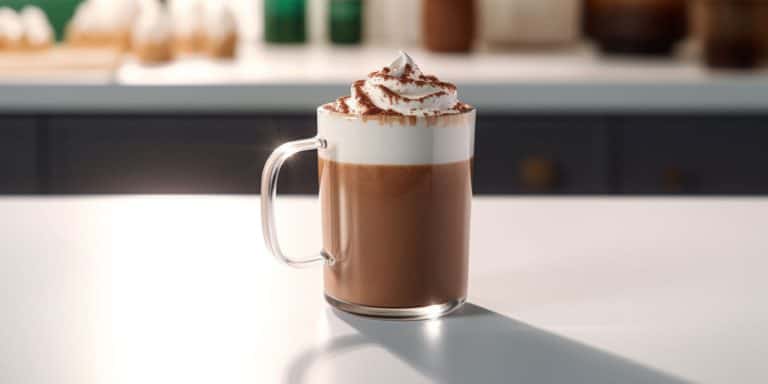
The pot does not technically make espresso but still creates a rich, full-bodied coffee. Some would argue that it’s very similar to espresso and is the closest you can get to the flavor without owning a machine.
Espresso machines use 9 bars of pressure, while a Moka pot can create around 2 bars. Not even close to a real espresso machine, but the taste is close.
So even if you don’t have an espresso machine, the Moka pot is a great alternative if you want to make cappuccinos or lattes.
How to Use Your Moka Pot
Now it’s time to make coffee! Get ready to experience a taste of traditional Italian coffee with these 6 easy steps.
Step 1: Choose the Right Coffee
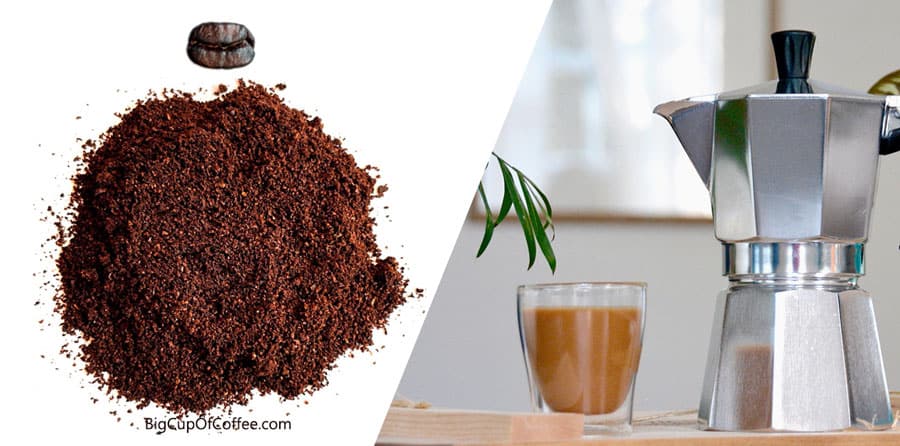
You need to get your coffee grinder ready because it’s best to use freshly ground coffee.
The best grind size for Moka pot brewing is a medium-fine grind. Don’t use a fine espresso grind, as it could clog the filter and cause damage over time. And never use extra-fine grinds, it could blow up your Moka pot.
I recommend using medium-roast coffee beans if it’s your first time handling the pot.
Step 2: Pre-boil and Fill the Pot
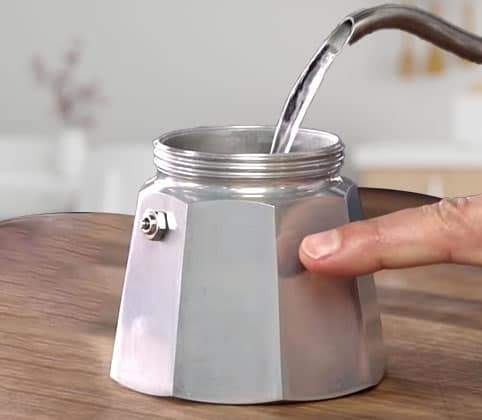
Pre-heating the water before pouring it into the bottom chamber of your pot will do you wonders. It lessens the chances of burnt grounds which is common if you let it sit in the heat for too long.
Most Moka pots will have an indicator of how much water you should put in. If yours does not, fill the chamber up to under the pressure release valve.
Step 3: Add Coffee Grounds
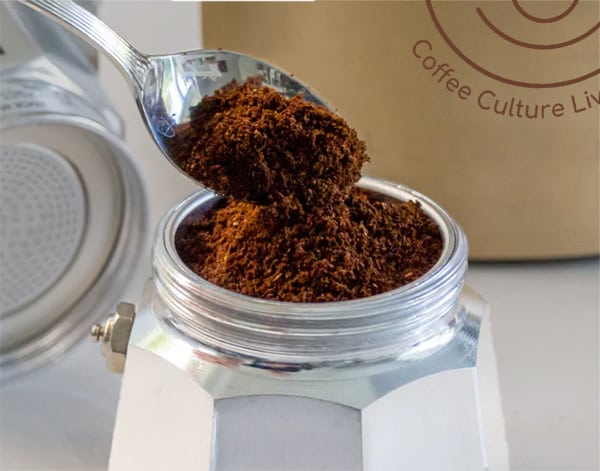
Your Moka pot will have a small metal filter basket where you add your coffee grounds.
You want your coffee grinds to be loose in the basket, so DO NOT pat it down or tamp it like an espresso puck. That could actually be dangerous, as it could stop the water flow. Simply shake the edges of the basket carefully to level the grinds and help it settle evenly.
How much coffee you put in grams depends on the size of the Moka pot you are using.
After leveling, put the filter disc onto the coffee
Step 4: Screw the Top of the Moka Pot in Place
Once everything is set, you can put the top portion of your Moka pot in place. Hold the base with one hand and secure the top by turning it. Make sure it’s closed tight.
Be careful when holding the pot. Remember that you already filled it with pre-boiled water.
Step 5: Place the Pot on the Stove at Medium Heat
Now it’s time to brew the perfect cup. Put the pot directly on the stove burner (electric or gas stove, whichever you have) over medium heat.
Be sure not to use high heat as it will burn your coffee, make it bitter, and eventually cause damage to the pot.
After a few minutes, the upper chamber will start filling with delicious coffee.
A helpful tip: If you notice a slow bubbling, you’ll need to turn up the heat. Conversely, if there are rapid bubbles and the liquid is gushing out noticeably, turn your heat down.
The Moka pot will begin to whistle or create small hissing sounds once it’s done brewing.
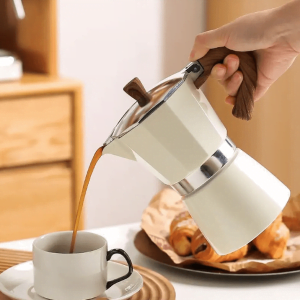
Step 6: Remove the Moka Pot from the Heat and Serve
Turn the burner off, and your coffee is ready to be served.
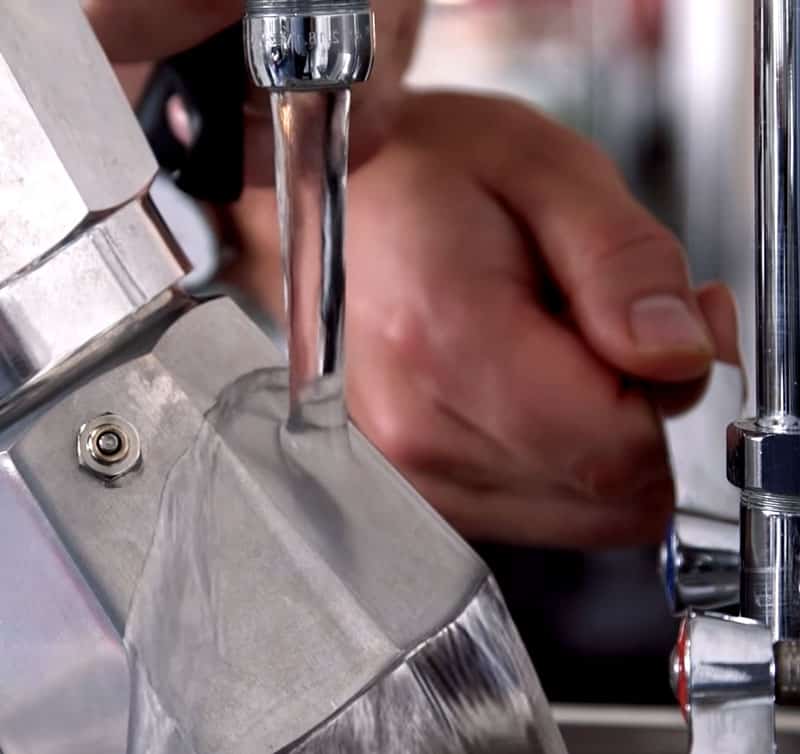
TIP: You can run the base of your pot under cold tap water to stop the extraction and avoid getting overly bitter coffee.
Now pour your drink into a cup and enjoy the coffee made with your trusty Moka pot.
Step 7: Clean Your Moka Pot
Cleaning isn’t technically a step in the brewing process, but it is necessary to know and carry out. I wrote a detailed post on how and when to clean a moka pot you will want to read, but here are the basics.
Great-tasting coffee always starts with clean tools. Any mineral or oil build-up from leftovers will affect the taste of your future brews.
In some extremely rare cases, the Moka pot could even explode if the pressure release valve is not cleaned properly and gets clogged.
I recommend you make it a habit to clean your Moka pot thoroughly after every use:
- Hand wash your pot with warm water. Do NOT use dishwashing liquid.
- Use a soft-bristled brush to get to the hard-to-reach parts.
- Remember to clean the filter and the pressure release valve too.
- Let the parts air dry.
Important: It is very important to keep the pressure release valve clean and free of limestone deposits. Check it regularly!
How to Choose a Moka Pot?
Buying a Moka pot is not that easy anymore.
A while back, we just had the original Bialettis, but now, there are many types and brands of Moka pots (good & bad) out there. We also made comparisons between Bialetti Moka pots.
Here are a few things you should consider before getting a Moka pot:
Type of Stovetop
First, check what kind of stovetop you have. Aluminum Moka pots don’t work on induction stovetops, but they work everywhere else.
Use this as your starting point and choose one depending on your stove.
Sizes
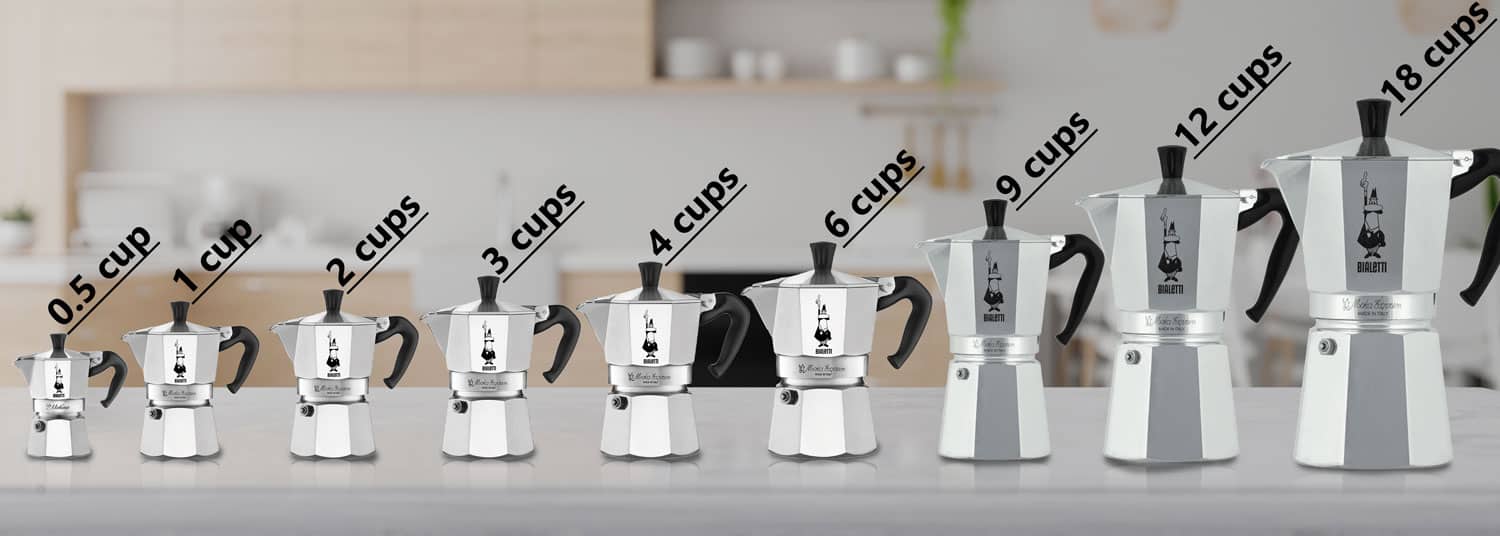
Moka pot sizes are classified depending on the number of cups they produce, determining how much coffee you can make at a time and how long it will take to brew.
For example:
- There are 1-cup stovetop espresso makers that can serve 2 oz, perfect for a single cup.
- Then you have the 2-cup pots that can produce around 3.4 oz for 2 cups of espresso-like coffee.
TIP: Each size will work only when filled appropriately. This means that if you have a 6-cup pot, it is not a good idea to put in only 3-cups worth of coffee and water.
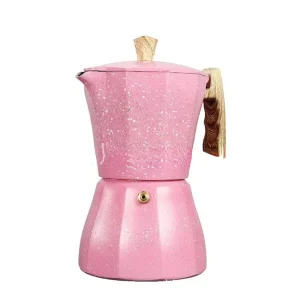
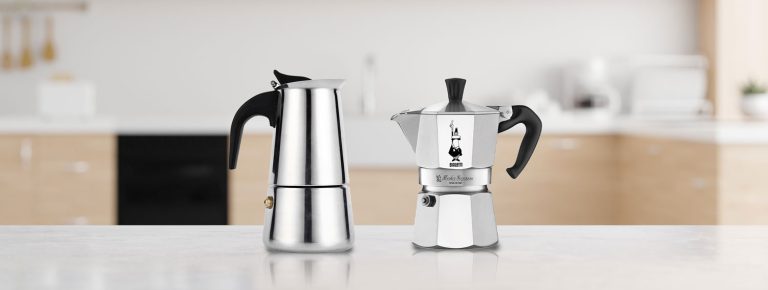
Aluminum vs. Stainless Steel
You will also find aluminum and stainless steel options. Stainless steel is more durable, but since it conducts heat faster, you must be extra careful with maintenance.
On the other hand, aluminum is less expensive and is the more traditional option.
-
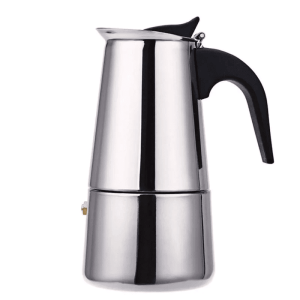

Stainless Steel Moka Pot
$18.90 – $29.90Select options This product has multiple variants. The options may be chosen on the product page -
Sale!

Pink Aluminum Moka Pot
$32.90 – $34.90Select options This product has multiple variants. The options may be chosen on the product page -

Nordic Aluminum Moka Pot
$24.90 – $32.90Select options This product has multiple variants. The options may be chosen on the product page -


Heart-Patterned Aluminum Moka Pot
$24.90Select options This product has multiple variants. The options may be chosen on the product page -


Glass and Stainless Steel Moka Pot
$53.90 – $70.90Select options This product has multiple variants. The options may be chosen on the product page -

EasyWorkz Stainless Steel Moka Pot
$51.90 – $77.90Select options This product has multiple variants. The options may be chosen on the product page
Crema or No Crema?
Another option you have is a Moka pot that is capable of producing crema similar to espresso.
Most Moka pots can create a foamy layer reminiscent of espresso crema, but it requires some tricks to achieve. However, Bialetti’s Brikka Moka pot has a special valve that makes producing this crema easier compared to other models.
It’s important to remember though that crema on a Moka pot coffee does not indicate a perfect brew like with espresso, but it can enhance the overall appeal and experience of drinking your coffee.
Master the Moka Pot
As with other ways of brewing delicious coffee at home, brewing with a Moka pot will take some practice to get it right.
I hope this article helped you get a better grasp of the classic Moka Pot, please let me know how you did in the comments below.

Great article, Tom. I’ve been a barista for years, and you’re spot on with the Moka Pot tips. To follow on from Wanderlust’s question, I’d definitely recommend stainless steel for durability and a consistent brew. Just a bit more expensive but worth it.
Just wanted to say thanks, Tom @ BigCupOfCoffee, I’ve had my Moka Pot sitting around for ages, not quite mastering it, your step-by-step guide was a game changer. I’ve finally managed to brew coffee that tastes almost as good as the espresso in my favorite cafe, it was the grind size I had wrong. No more bitter mornings for me.
Hey. I followed your steps, but I’m running into an issue where the coffee isn’t sputtering out correctly. It seems to come out too fast. Do I just turn down the heat, or could it be the grind of the coffee? A bit more detail on Step 5 would be great.
Yes, I think you probably have too coarse coffee grinds, so the water flows through them faster.
I’ve been a dedicated French press user, but you’ve convinced me to try out a Moka Pot. Could anyone advise if the stainless steel or aluminum variant is better for a newbie? I’m leaning towards stainless steel for durability.
Thanks for this delightful read. I’m super curious about step 7. How often do you recommend cleaning the Moka Pot, and do you have any special tips for keeping it in tip-top shape? Especially after brewing a dark roast.
You should give it a rinse after each use, but don’t use washing detergents. The oil that forms on the device is part of the moka pot brew, sort of like patina on a vintage watch.
Yo, Tom, nice article. I’ve been using my Moka Pot for a couple of years now and I definitely agree that medium-fine grind is the way to go. Gotta say, nothing beats the aroma of fresh coffee in the morning. Keep those tips coming.
What an insightful read, Tom. As someone who has recently switched from a coffee pod system to a more traditional brewing method, your guide has been instrumental. Just a tip for others – ensuring you don’t tamp down the grounds too much can make a world of a difference in the taste of your coffee.
So awesome to find this article right after getting a Moka Pot as a gift. I just have one question – you mention not to use a fine espresso grind, but what about using pre-ground espresso that’s labeled for espresso machines? Would that still clog the filter?
Espresso grinds are too fine for moka pots. But general pre-ground coffee is ok.
This is the guide I needed. As a total newbie, I was intimidated by my Moka Pot, but these steps are straightforward and easy to follow. For first-timers, trust the process, and you’ll enjoy a lovely cup of coffee in no time.