How to Use a Reusable K-cup: A Detailed Manual for Better, Sustainable Keurig Brews
Congrats on your smart decision to start using reusable K-Cups!
You were probably skeptical at first since they are not as convenient as disposable pods, but trust me, the learning curve is easy enough to get through. The minor inconvenience of using them is a small price to pay for a more affordable, eco-friendly way to brew, not to mention the fact that you’ll get to experiment with loads of new coffee beans as well, which is a lot of fun 🙂
In this article, you’ll learn all about using and cleaning refillable K-cups, plus I’ll share many insider tips about these nifty brewing tools.
Step-by-Step Guide to Using a Reusable K-Cup
Being a barista who loves the environment and wants to help you make the most of your reusable K-Cup, I’m here to show you the ropes in brewing with these pods.
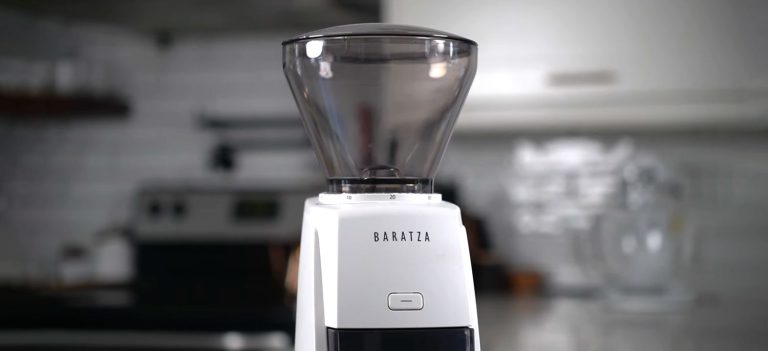
Step 1: Prepare your Keurig machine.
Before you get started, make sure that your Keurig coffee machine is ready for brewing. Fill the water reservoir with fresh filtered water and turn on the machine according to its instructions. Just allow it to preheat as you move on to the next step.
Step 2: Remove/add the adapter or lid from your reusable K-Cup.
Depending on your specific model, some reusable K-Cups come with an adapter or lid that needs to be added/removed before use with your specific Keurig machine. Take a second and check the instructions of your pod to see if this applies to yours.
Also, unscrew or lift off the cap or lid from the pod, so it doesn’t interfere with filling it.
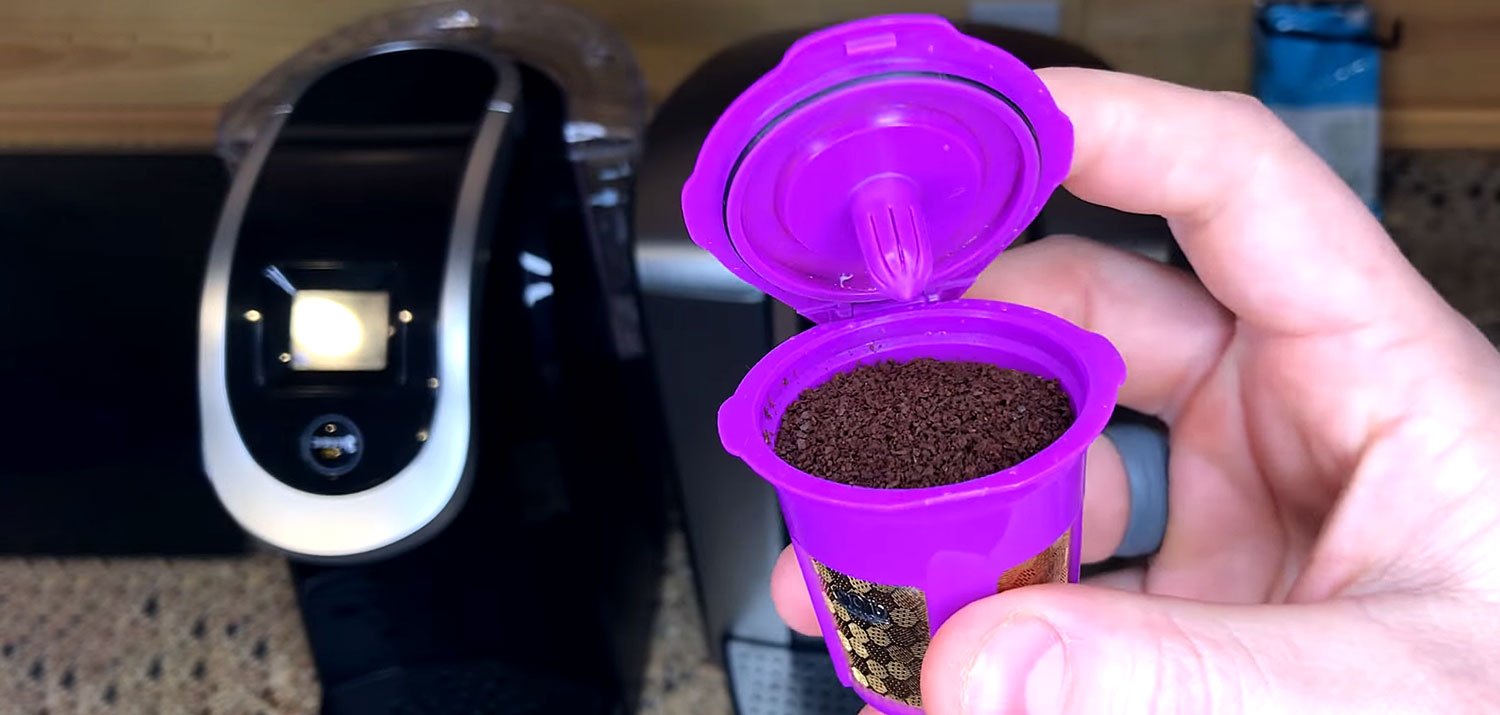
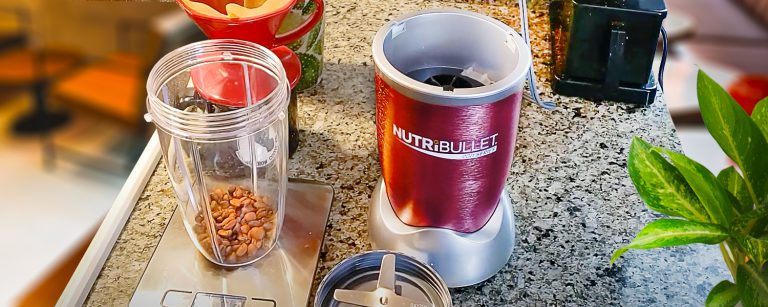
Step 3: Fill the K-Cup with ground coffee.
Now it’s time to choose your coffee grounds. You should use use medium-sized ground coffee with the Keurig, which you can grind on your own, or just purchase from a grocery store or coffee shop. I recommend the prior though, since grinding your beans just before brewing really captures those oils and aromas that would otherwise escape over time with pre-ground coffee.
If you are using a paper filter to make cleaning the pod easier, now is the time to put it in.
Once your grind is ready, pour it into the reusable K-Cup. Check for fill lines inside the cup – they indicate the appropriate amount of coffee grounds based on how much coffee you want to brew, whether it’s a regular cup of coffee or a travel-sized mug.
But be warned, do not go beyond the maximum fill line at the top, as this can cause clogs in your Keurig. I remember doing this when I was just starting out with the reusable K-cups I bought for my mother, and it was a mess both in the taste of the coffee and the insides of the machine.
And of course, remember to close the lid of the k-cup after filling it!
Should you prepare the K-cups in advance?
I would not recommend filling reusable K-cups in advance, even though it may be more convenient. The reason is that coffee is best with freshly ground beans, and they will quickly lose their aroma if you prepare them way before drinking.
It’s better to have ground coffee in an air-tight container, and just scoop in the coffee right before you use it.
Step 4: Insert the reusable K-Cup into your Keurig machine.
Now that your machine and reusable K-Cup are both ready, let’s bring them together.
Lift the handle of your Keurig machine and put the K-Cup right into the filter holder. Give it a good look, making sure that any arrows or printed indicators on the top align with the machine’s.
Once everything’s in place, gently lower the handle and lock it in.
Step 5: Start the brewing cycle.
Ready your cup and place it underneath the Keurig’s drip tray.
Now as you would with a normal pod, simply press the brew button for your desired serving size and wait until your delicious coffee drips fully into your cup.
Now enjoy your coffee and the fact that you just saved money and the environment.
Step 6: What to do post-brew.
After the brewing cycle, I make sure that I clean up immediately to preserve my K-Cup. To do this, just remove your K-Cup from the machine, empty it into the trash or your coffee recycle bin, and rinse it under warm running water until it’s cleared of any coffee residues.
This is the biggest disadvantage versus single-use pods, and the reason why many people stop using refillable ones. It’s just something you have to accept if you want to save the planet and a lot of money.
Later in this guide, I’ll detail how to clean and maintain your reusable K-Cups to give them a longer life.
Tips for Using Reusable Keurig Pods
To help perfect your brews and to avoid any issues, here are some tips I’ve learned while using these k-cups:
1. Using a paper filter makes cleanup easier
You can buy little pre-shaped paper filters that go right into the reusable K-cup, and pour your ground coffee in there.
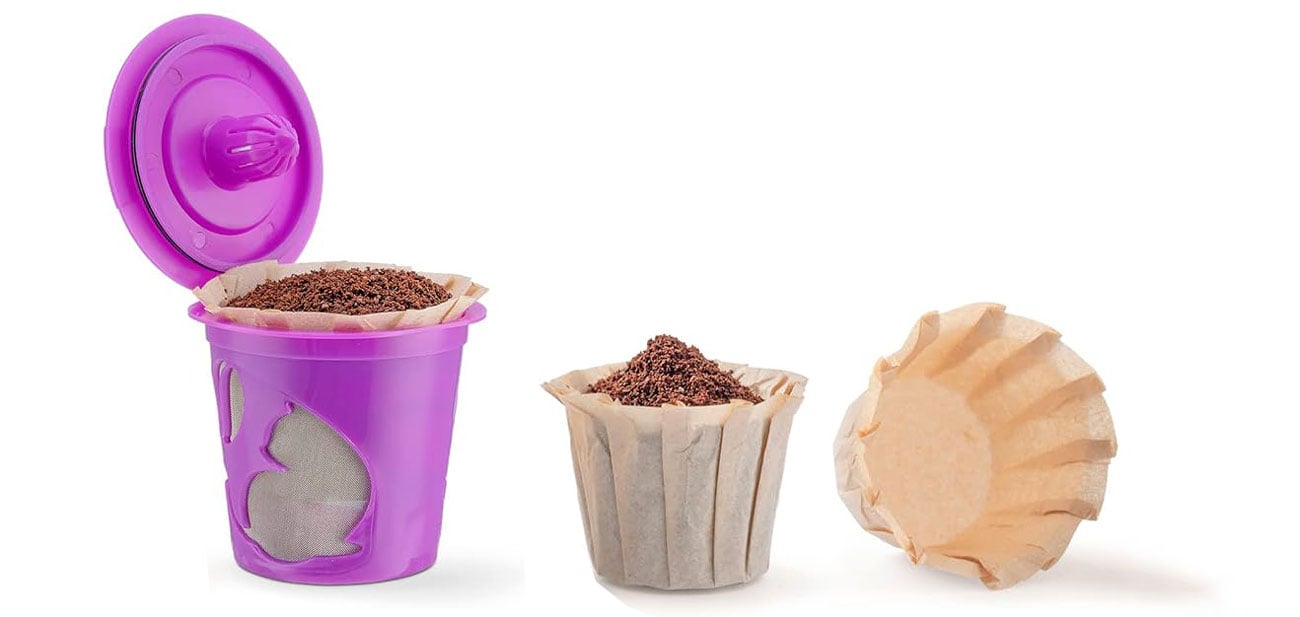
There are 2 advantages to this:
- The fine particles are filtered out effectively
- The filter makes cleaning the pod a LOT easier, since you just take out the used paper filter and give the pod an easy rinse. The coffee doesn’t get stuck in the mesh anymore, there is no more scrubbing.
But yeah, the downside is that you have to buy the filter and produce a little extra waste, but I would say it is worth it due to the added convenience during cleanup.
2. How much coffee to put into a reusable K-Cup?
Each reusable K-cup model will have a max fill line, which I’ve found is equal to around two tablespoons or 10 grams of coffee per reusable K-Cup. This may seem like a small quantity compared to drip filter coffee brewing, but remember that Keurig brews with higher pressure, not just gravity.
Finding the right amount of ground coffee for your reusable K-Cup is key to achieving a well-balanced flavor, so you may need to experiment with the fill level. Different types of coffees, different roast levels, and different grind sizes will all influence this.
You can even get a single-handed scooper to make filling the K-cup a breeze.
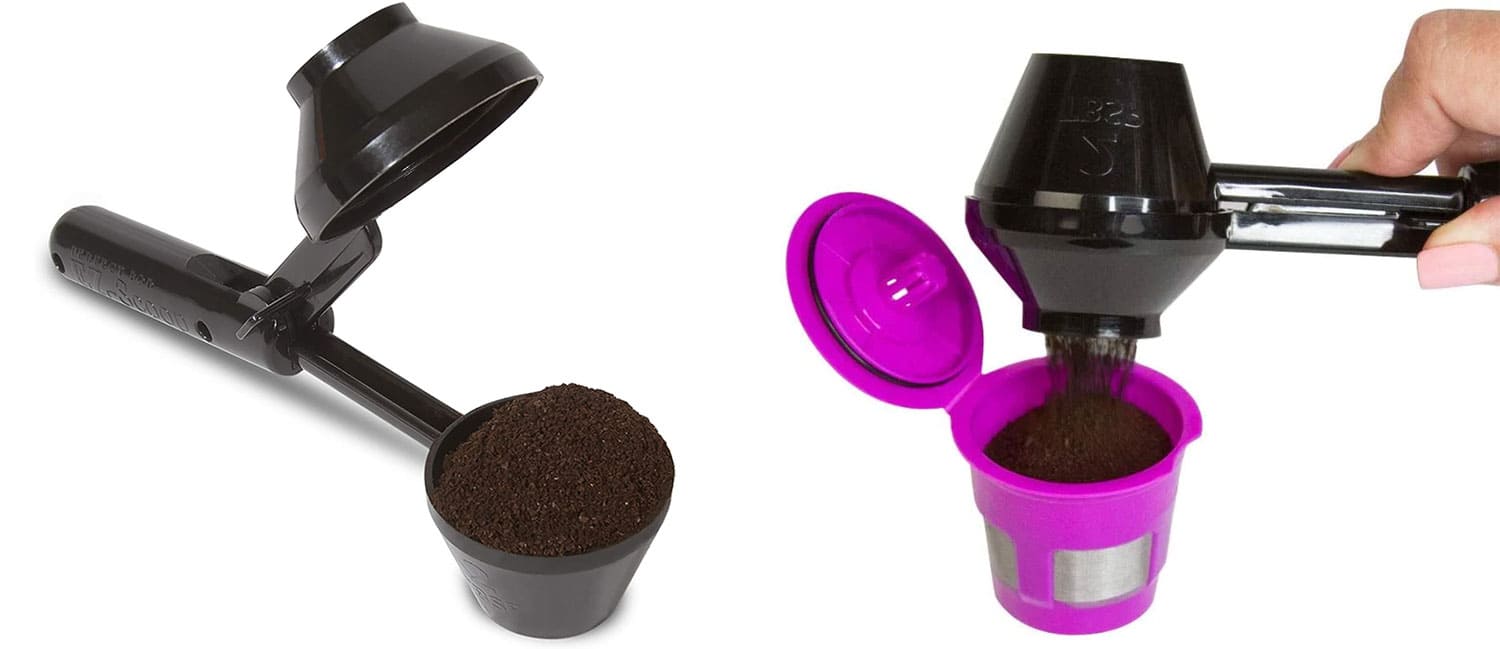
Whatever method you use to fill it, remember that you don’t need to tamp the coffee in the pod though, as you would an espresso machine’s portafilter.
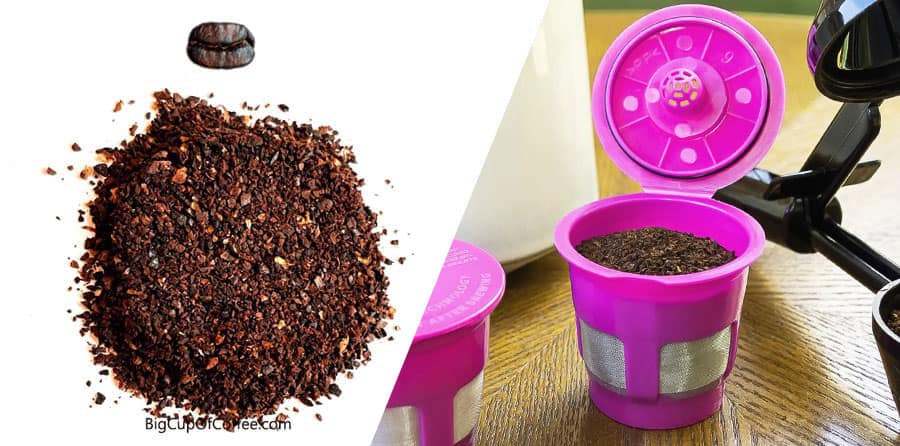
3. What’s the best coffee grind size for reusable K-Cups?
The best grind sizes for your K-Cups are medium to medium-coarse. If you go any finer, you can clog the mesh in your K-Cup, while coarser grounds will result in an under-extracted coffee.
I also recommend that you invest in a high-quality burr grinder, not just for your Keurig coffee maker but also for other brewing methods that you use. Check out my list of the best manual burr grinders in 2024 for some great grinders, and to see what I use every day.
4. Adjusting the strength of your coffee
One of the advantages of using a reusable K-Cup is having control over the strength of your brew. Here is how:
- Add more ground coffee to increase the intensity and strength of your coffee (just don’t go over the top indicator to avoid clogging).
- On the flip side, reducing the grounds will give you milder results.
- You can also tweak the grind size, opting for a little coarser grind to brew a weaker cup of coffee or a bit finer if you want a stronger cup.
- Another thing I do to reduce my coffee’s intensity is dilute it with water after brewing, just like what you’d do in an espresso to make an Americano 🙂
- For stronger coffee, you can also give the K-Cup a very slight tamp. Do not tamp it as you’d do with an espresso, just compress the grounds together a bit. Experiment with the pressure that you’re applying to get your desired strength.
5. Is your reusable K-Cup compatible with your Keurig machine?
You want to check how your specific Keurig model supports reusable K-Cups. All machines accommodate these pods, but there are some models that require additional attachments or adapters such as the Plus Series Brewer Adapters to allow compatibility.
Also, if you have any existing adapter in your machine, be sure to remove it if it interferes with your reusable K-Cup.
Here are the Keurig models and other coffee pod machines that are compatible with reusable K Cups:
- All Keurig Machines
- Plus Series/Keurig 2.0 Models require an adapter
- Cuisinart Single Serve Brewing Systems
- Hamilton Beach FlexBrew
These are just some of the well-known machines that are compatible with your K-Cups. There are other brands out there that are also compatible with these pods, but check their manual first to ensure compatibility.
6. Bypassing the DRM restriction
This can be a rare case today, but if you have an older machine produced around 2014, brewing might still be tricky with the Keurig 2.0’s DRM restriction. The DRM stands for Digital Rights Management, and it’s a technology that prohibits your machine from brewing pods without Keurig’s special tag on the label.
Doing so will give you the message: “Oops! This pack wasn’t designed for this brewer. Please try one of the hundreds of packs with the Keurig® logo.”
After the complaints from its users though, Keurig has allowed for more compatibility with reusable K-Cups and licensed other branded coffee pods. But in the case that this feature still gives you a hard time, you can try buying a coffee pod that works with your machine, and sticking its label on top of your reusable pod.
How to Clean and Maintain Your Reusable K-Cups
To get the most out of your reusable K-Cups, it’s important to clean and maintain them properly. Not only will this lengthen their lifespan and result in better brews, but it will also prevent any unwanted mold from growing (which might even cause Keurig sickness).
Here are simple steps on how to keep your reusable K Cups in tip-top shape:
Cleaning After Each Use
After brewing your coffee with a reusable K-Cup, you need to remove and clean it immediately. Here’s how I do it:
- Remove the reusable pod from the K-Cup holder or adapter. Be very careful as this might still be hot.
- Unscrew or lift off the caps or lids of the K-Cup.
- Throw away the used ground coffee. Even better, recycle your used coffee grounds.
- Hold the K-Cup upside down and rinse it under warm running water. Pay attention to clear any clogs by running water through the top cap.
- After cleaning, be sure to air dry it completely before storing it for the next use.
Alternatively, you can also check if your K-Cup is dishwasher-friendly. If so, you can place it on the top rack of your dishwasher to give it a good clean.
Weekly Deep Cleaning
In addition to regular rinsing and cleaning after each use, I also highly recommend performing weekly deep cleans for your K-Cup. Just follow these steps:
- Disassemble all removable parts available.
- Wash all plastic components in warm water using dishwashing detergent.
- Use a small brush or toothbrush to scrub out stuck grinds and oils from hard-to-reach areas.
- Rinse all components under hot running water to ensure all coffee and soap residue is removed.
- If there are any stubborn stains or lingering odors, soak the parts in a mixture of equal parts white vinegar and water for about 30 minutes before giving them another gentle scrub.
- Rinse everything thoroughly once again under hot water to remove any traces of vinegar.
- Allow all components to air dry completely before reassembling.
Storage
Once your K-Cup is completely dried, you want to store it in a clean, dry place away from direct sunlight or excessive heat exposure. I used to put mine in a kitchen drawer away from sharp utensils that could accidentally damage it.
Frequently Asked Questions (FAQs)
To address any lingering questions you might have, here are the answers to some frequently asked questions regarding this topic:
To fill a reusable K-Cup, remove the lid from within your Keurig device. Then, carefully pour your desired quantity of coffee grounds into the filter basket of the reusable K-Cup up to either the “cup” or “travel mug” line. Remember not to pack down the coffee grounds too tightly.
Yes! Reusable K Cups are versatile and can be used not only for brewing coffee but also for preparing hot chocolate. Simply follow the same steps outlined earlier with cocoa powder instead of coffee grounds.
A high-quality and well-maintained reusable K-Cup can last between 100-200 uses before needing replacement—depending on factors such as usage frequency and cleaning habits.
Yes, all K-cups are made from BPA-free plastics and aluminum mesh filters, making them food-safe and suitable for repeated use.
It is generally recommended to hand wash your K-Cup for longevity. However, some models are top-rack dishwasher safe. Be sure to always refer to the manufacturer’s instructions.
While there aren’t any specific restrictions or guidelines based on color, using a purple reusable K-Cup follows the same steps as any other model or brand. The only difference is the color choice.
Conclusion
If you read through this guide, you should be ready to make coffee at home with any reusable K Cup. Switching from the very convenient but costly disposable coffee pods to the reusable ones will feel overwhelming at first, but you’ll quickly realize that it’s a piece of cake adjusting to your new coffee routine.
Not only will you save money and the planet, but you’ll also get a consistently perfect cup of coffee every time from your single cup machine. And don’t forget to experiment with your coffee beans. Who knows? You may earn a new favorite coffee recipe to add to your list.


As an avid Keurig user, your piece on using reusable K-Cups was quite informative. I’d just like to add that ensuring your coffee grind size is right is crucial. Too coarse and you get a weak brew; too fine and you risk clogging the machine. It’s all about that perfect medium grind.
I was always confused about the DRM restrictions and never quite figured out how to get around them. Your section on bypassing this feels a little brief. Could you possibly explain this in a bit more detail, or recommend additional resources?
Your article is interesting, but I’m curious about the compatibility of K-Cups with different Keurig models. Could you delve a bit deeper into that? I want to ensure I buy the right kind for my machine.
Just gotta say, I’ve been using a reusable K-Cup for ages, and your tip about using the paper filter is spot on. It’s a game-changer for the cleanup process. Wish I had this manual when I first started out, would’ve saved me from some epic messes.
I was honestly skeptical about using a reusable K-Cup, but this step-by-step guide laid out everything I needed to know. I’ve followed your absolute gem of an article and couldn’t be happier with the eco-friendly switch I’ve made – plus, the coffee tastes fresher.
I’ve seen a lot of talk about reusable K-Cups, but your conclusion about them being a smart decision convinced me to give it a shot. There’s a lot of good info here about sustainable brewing. It’s great to see a barista weigh in on this – definitely boosts your credibility in my eyes.
I’m keen on trying out a reusable K-Cup, especially for my morning routine. Before I jump in, any advice on storing them long-term? I travel often and would hate for my K-Cup to get moldy or damaged.
Yes, just air dry them after washing and store them in a dry place. Nothing else is needed.
Hey Tom, I followed your steps to the letter, and I’m impressed with the quality of my coffee now. One thing though – I found that the coffee strength varies a lot depending on the beans. Do you have a specific bean type or brand you recommend for consistent results?
That’s the beauty of it, you are not restricted, you can test all sorts of beans and find the ones you like the most.
Tom, I’ve been a Keurig user for years but never ventured into the land of reusable pods. Your article’s been a wake-up call. This is just what I needed to reduce waste and save some cash. I tried your tips, and my morning joe has never tasted so good. Who knew a small change could make such a big impact?
After reading your guide, I took the plunge and bought a reusable K-Cup. But I’m a bit puzzled about the weekly deep cleaning advice. How’s that different from the regular rinse after use? A little extra guidance would be amazing here.
If you just rinse the k-cup, the coffee oils are not removed 100%. The deep cleaning removes that as well.