Homemade Dairy-Free Coffee Creamer – Make your Morning Brew Guilt-Free!
Are you tired of the same old boring coffee creamer options? Or do you want a way to spruce up your morning coffee without worrying about your allergies?
You’re in luck because I have the perfect solution: a homemade, dairy-free coffee creamer recipe that will leave you feeling good about what you’re putting in your cup.
So, put down that store-bought creamer, and let’s get brewing!
What is a Dairy-Free Coffee Creamer?
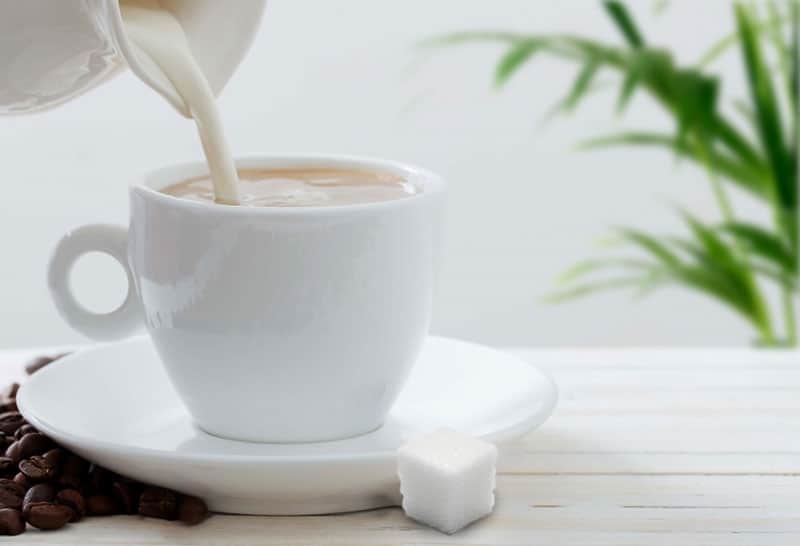
Coffee creamer is a powder or liquid product used in place of milk to enhance the taste of various hot and cold drinks like cold brew. Dairy-free creamers are an ethical, allergy-friendly alternative to homemade creamers that use milk as their primary ingredient.
People opt for dairy-free coffee creamers mainly because of 3 reasons:
- Dietary Restrictions – Coffee creamers are marketed as a non-dairy product. Still, some brands are not entirely lactose-free, making them unsuitable for people who are lactose intolerant (as much as 75% of the world’s population is lactose intolerant to some extent). People with gluten and nut allergies may also contribute to this reason.
- Ethical Reasons – Some people exclude animal products from their diets for ethical reasons (vegetarians and vegans). Vegans typically shy away from most coffee creamers because they contain sodium caseinate, a milk derivative.
- Religious Reasons – Some store-bought creamers may contain ingredients that violate a religion’s dietary laws (“nonkosher” or “haram”) in their coffee creamers.
What You Need to Make Homemade Dairy-Free Coffee Creamer
Like regular coffee creamer, its dairy-free variant is made with just 3 ingredients:
- nuts, oats, rice, or whatever you want to base it on
- water
- salt (optional)
- sweetener (optional)
- vanilla extract (optional)
Adding vanilla is completely optional. You can play mix and match to your preference, like adding a splash of hazelnut extract along with vanilla extract or cocoa powder to make a mean mocha.
Adding salt tends to bring out the sweetness of the base ingredient. Be gentle with the salt though, you don’t want to be able to taste it in the end.
Choosing Base Ingredient to Use
You have several choices when choosing the base ingredient for your non-dairy creamer.
The most commonly used ones are:
- Almond – Low in protein and with moderate fats, it’s great to use in coffee-related recipes because of its nutty taste.
- Coconut – Tastes very nutty and fruity. Canned coconut cream is great to use if you want a thicker and creamier result because of its high-fat content.
- Cashew – Creamy but low-fat alternative to coconut milk. It is known for its mildly sweet and salty flavor.
If you have a nut allergy, you can try these alternatives:
- Soy – The closest to cow’s milk in terms of nutrients. Characterized by its mild, “beany” but creamy and sweet flavor.
- Oat – High in healthy carbs and low in fat. It also contains fiber that helps with digestion.
- Rice – Sweet and watery.
Water Ratio
To make a creamer, I found it is best to use a 1:2 nut-water ratio. This means that for almond milk creamer, you would use 1 cup soaked almonds, blended with 2 cups of filtered water.
This ratio gives us a thicker cream.
If you were to use a 1:4 ratio, you would get more of an almond milk type beverage than a dense creamer.
Homemade Dairy-Free Coffee Creamer Recipe
Ingredients
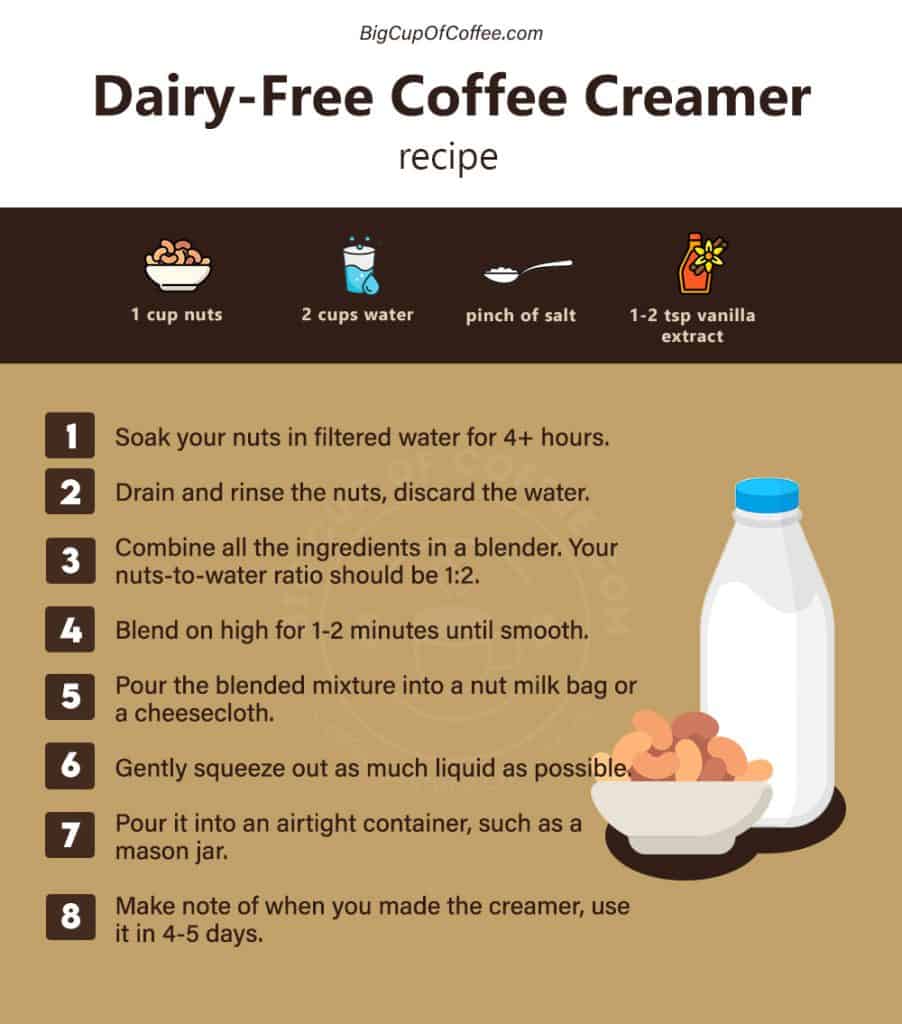
- 1 cup nuts (almond or cashew, but coconut and oat work as well)
- 2 cups water
- 1 tsp vanilla extract (optional)
- 1 pinch salt (optional)
Instructions
- Soak your nuts in filtered water for at least 4 hours.
- Drain and rinse the nuts, and discard the water.
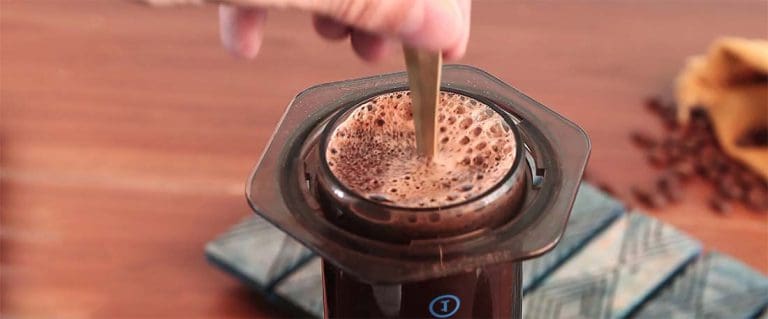
- Combine all the ingredients in a blender. Your nuts-to-water ratio should be 1:2.
- Blend on high for 1-2 minutes (or until the mixture has a smooth and creamy consistency).
- Pour the blended mixture into a nut milk bag or a cheesecloth and place it over a container.
- Gently squeeze out as much liquid as possible.
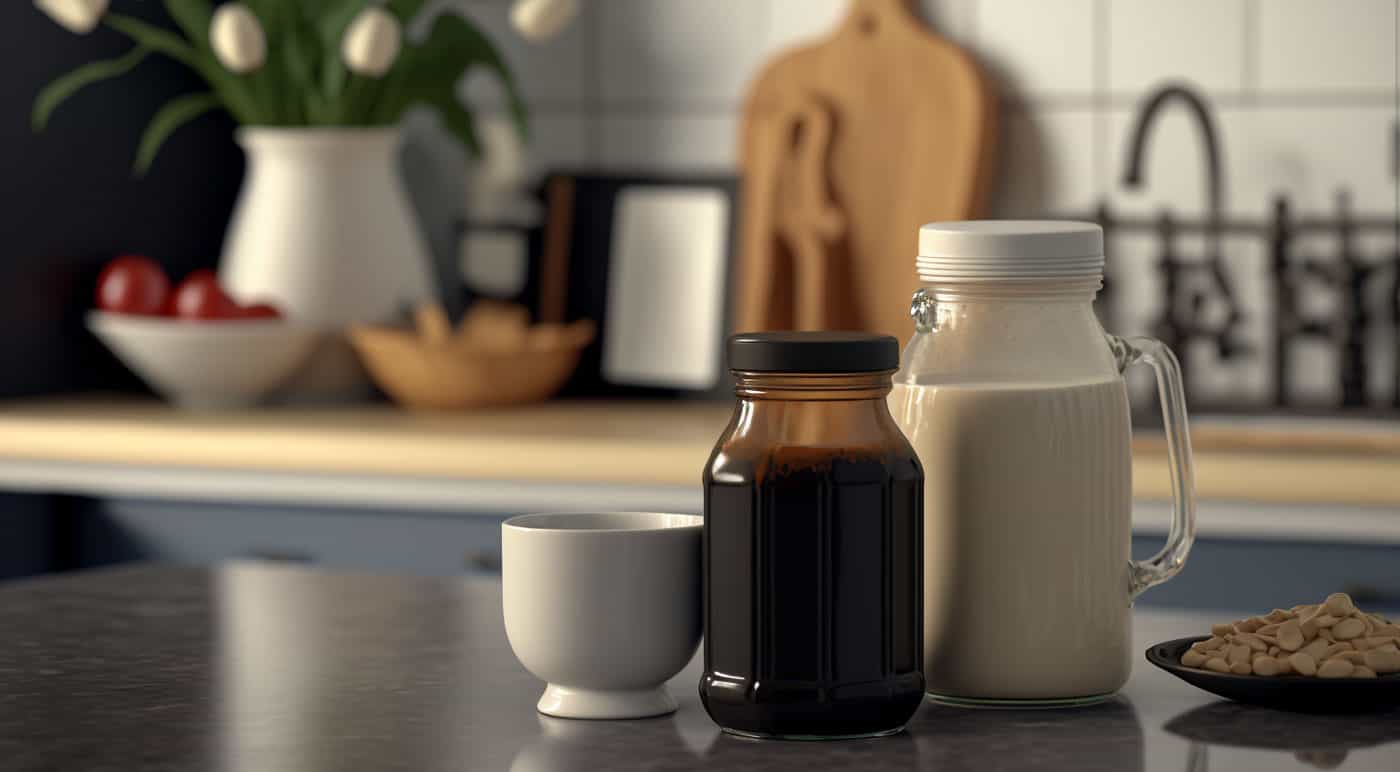
- Pour 400ml of the milk and 150mg sugar into a heavy-bottomed saucepan.
- Warm the mixture over low heat, stirring until the sugar is completely dissolved.
- Once the sugar is dissolved, increase the heat to low/medium and bring the mixture to a gentle simmer. Avoid stirring after this point to prevent the mixture from crystallizing.
- Allow the mixture to simmer for approximately 30-40 minutes, or until it has reduced by half, darkened to a deep beige color, and thickened noticeably. (Note: After about 15 minutes, the milk will start to darken and thicken.)
- Once done, remove the saucepan from the heat and carefully pour the condensed milk into a jar, avoiding any crystallized sugar that may have formed around the rim. Allow it to cool completely before sealing with an airtight lid.
- Store the condensed milk in a refrigerator, labeling the jar with the date.
Video
Notes
- You can use your cream for 4-5 days from the fridge. That’s why it’s important to make note of when you made it.
- You can use vanilla beans instead of vanilla extract for a more flavorful result.
- Making rice-milk creamer would involve the same steps.
- You can add any sweetener (such as honey or maple syrup).
Other Dairy Free Creamers
The steps to making alternative milk and creamers as outlined above are the same for whatever your base ingredient is, if your it is a hard ingredient.
If you use something softer, there will be 1 single modification.
If the base of the creamer is soft, you do not need to soak it in water prior to blending, as they blend without it. This is true for:
- Coconut milk creamer
- Oat milk creamer
- Soy milk creamer
So again, the basic recipe is unchanged:
You’ll need the following:
- 1 cup base ingredient
- 2 cups water
- pinch of salt (optional)
- sweetener (optional)
- vanilla extract (optional)
Directions:
- In a blender, combine ingredients.
- Blend on high for 1-2 minutes (or until the mixture has a smooth and creamy consistency).
- Pour the blended mixture into a cheesecloth.
- Gently squeeze out as much liquid as possible.
- Discard the pulp or save it for later use (baking).
- Transfer the creamer into a mason jar and refrigerate for later.
What kind of Containers Work Best for Dairy-Free Coffee Creamers?
A glass container with an airtight lid (like a mason jar) is perfect for a perishable condiment like homemade coffee creamer.
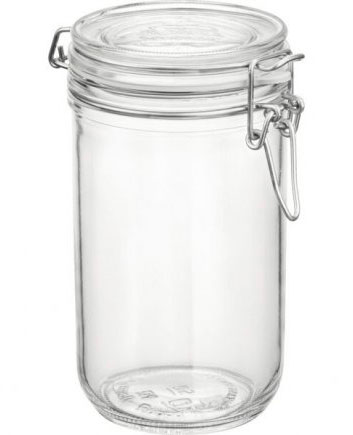
They’re easy to clean, easier to pour the creamer into and look pleasing to the eye. What more could you ask for? 🙂
Tips for a Smoother Finish
- Since your homemade version doesn’t contain gums or emulsifiers, your creamer will separate in the refrigerator, so give it a good stir or shake before pouring it.
- If you don’t have a nut milk bag or a cheesecloth available, other types of cotton fabric (like a clean towel) can work as a makeshift filter.
Frequently-Asked-Questions
The Takeaway
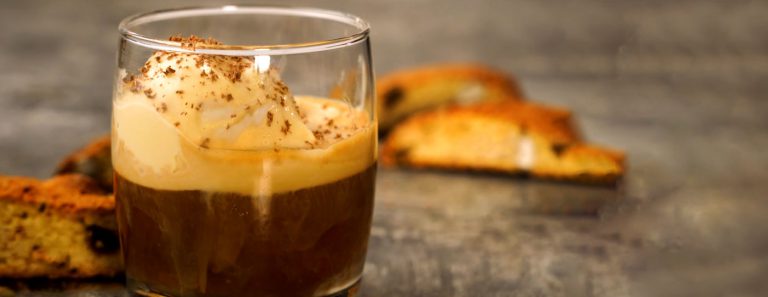
There’s no need to sacrifice taste for the sake of being dairy-free. Not only is this recipe easy to make, but it’s also customizable to fit your restrictions and taste preferences. Give it a try with an espresso, and may the first sip be the start of your journey toward living healthy.
If you loved this recipe, let me know what you think by commenting down below!