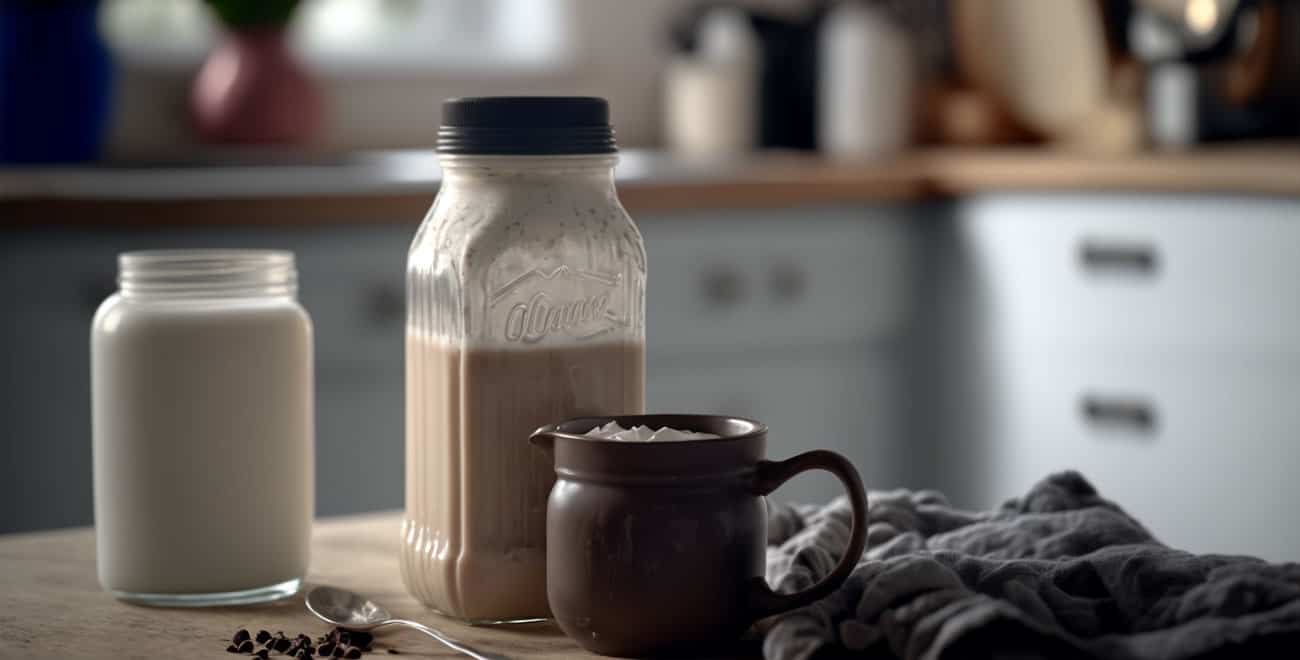
How To Make Coffee Creamer At Home – Healthy For You and Your Wallet Too!
Coffee creamers are a classic condiment we coffee lovers have grown to love, but store-bought options can be pricey and filled with artificial ingredients.
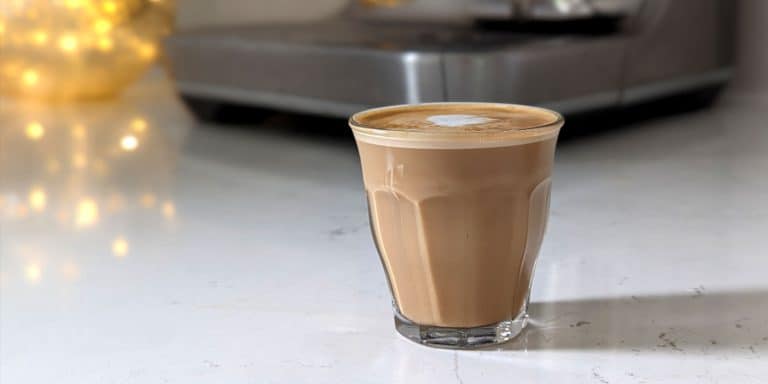
As a barista, I can recommend a simple and budget-friendly recipe to make your coffee creamer at home.
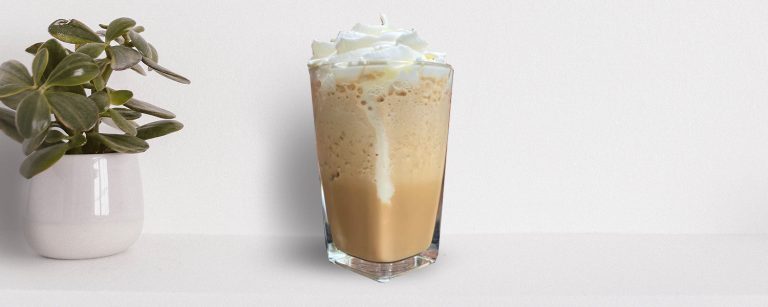
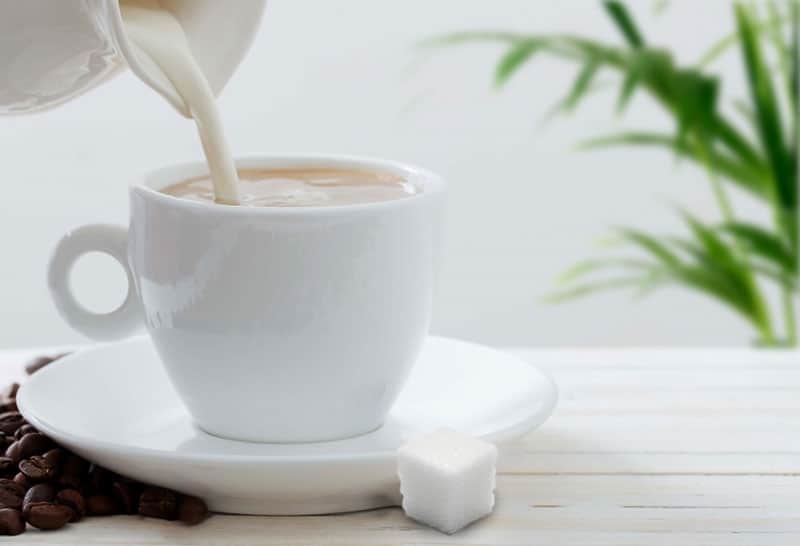
That way, you can enjoy your morning coffee with an added rich and creamy taste without sacrificing your health (or your wallet!).
What is Coffee Creamer?
Coffee creamer is a powder or liquid product used as a substitute for milk or cream. Coffee creamer is not meant to be enjoyed on its own but rather used to elevate the flavor of various hot and cold beverages.
There are 2 types of creamers available on the market:
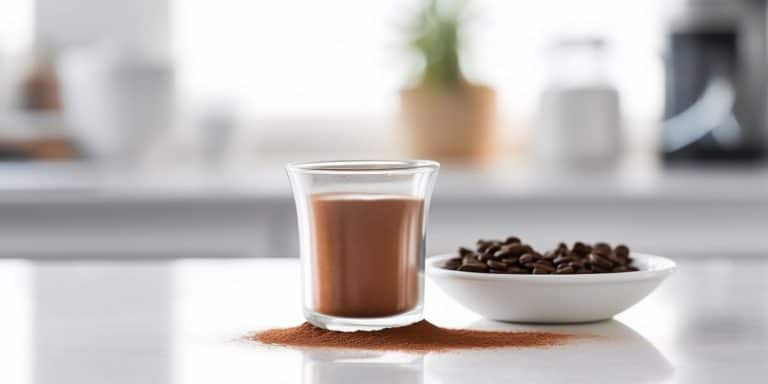
- Powdered – used mainly in hot beverages like black coffee, hot chocolate, and tea. You may need to do some extra stirring for it to dissolve.
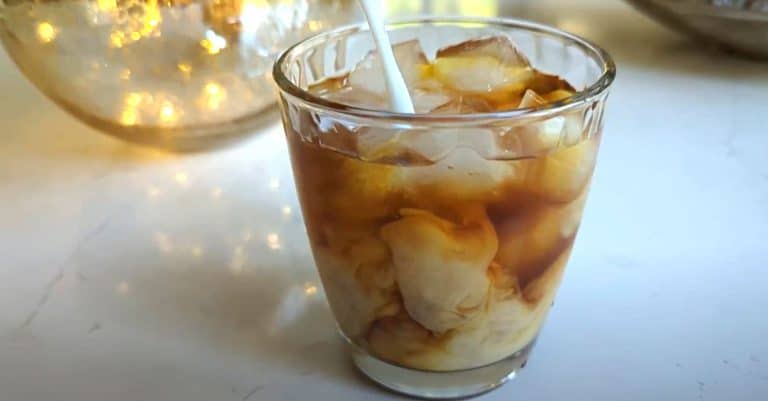
- Liquid – used mainly in cold beverages like cold brew and iced coffee.
The Origins of Coffee Creamer
Coffee creamer is a modern invention, and they have only been around for less than a century. It was an answer to the scarcity of dairy products in the US during World War II.
During the war, canned milk and cream were in short supply to the typical American consumer as the US rationed it for use by our troops and allies of the Lend-Lease program. This move pushed manufacturers to opt for imitations and alternatives, which fueled the creation of non-dairy products.
The first coffee creamer prototype was pioneered in the US in 1943 by a Rich Products employee named Holton “Rex” Diamond while developing a soy-based milk substitute that wouldn’t clump or curdle when added to coffee.
Fast forward several years, Carnation Farms developed a similar product, replacing most milk content with vegetable oil. This invention was the turning point that brought modern-day coffee creamer into existence.
Today, Coffee creamers are a common sight in coffee shops and diners in the US, and to the average coffee drinker, a staple condiment in their home.
What You Need to Make Homemade Coffee Creamer
Most store-bought coffee creamers are made from water, sugar, and vegetable oil. No cream…
Our homemade creamer will be different, let’s make the real stuff!
It only takes 3 ingredients to make your own creamer:
- 1 (14-ounce) can sweetened condensed milk
- 1 ¾ cups of milk
- 1-2 teaspoons of vanilla extract (optional)
Adding vanilla to the basic ingredients will make it a vanilla coffee creamer. You can experiment with other taste combinations as well, like maple syrup, cinnamon, or even cocoa powder for a mocha-style creamer.
Aside from regular milk, you can also choose any milk you want from the following:
- whole milk
- heavy cream
- half and half (also known as sweet cream)
- skim
- 2 percent
If you are lactose-intolerant, these are great milk substitutes you can use:
- almond milk
- coconut milk
- cashew milk
Make French Vanilla Coffee Creamer At Home That’s Healthy For You and Your Wallet
Ingredients
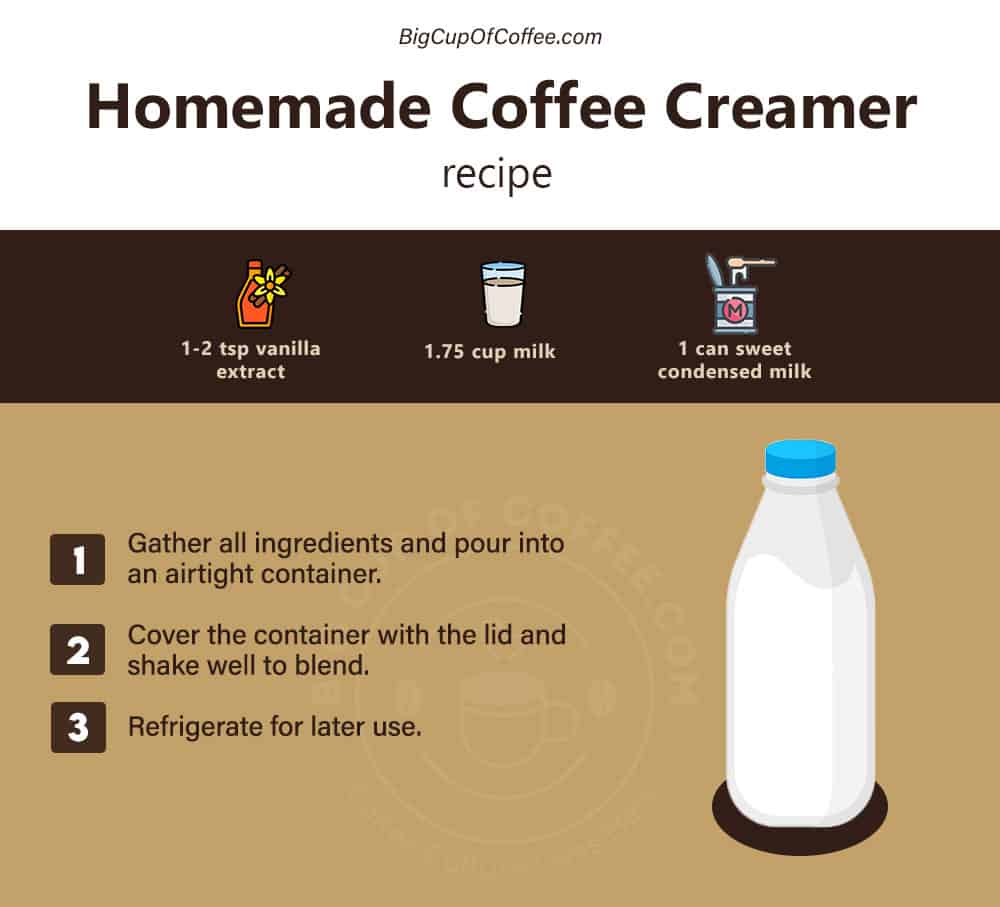
- 1-2 tsp vanilla extract
- 14 ounces sweetened condensed milk
- 1.75 cup skim milk
- 1 tsp vanilla extract (optional)
Instructions
- Gather all ingredients and pour into an airtight container.
- Cover the container with the lid and shake well to blend.
- Refrigerate for later use.
Video
Notes
- You can substitute different flavors in place of vanilla extract to suit your taste (like cinnamon, cocoa, pumpkin spice, etc).
- You can use evaporated milk as a substitute for condensed milk if you want to cut back on sugar.
- The nearest expiration date of the ingredients you use will be the expiration date of your creamer. You might want to label your jar so you don’t forget.
Creamer With Real Vanilla Pods
This variation makes the same result as the recipe card above. The only difference is that I used split vanilla beans instead of regular extract to enhance the flavor, which makes it more expensive and more time-consuming.
You’ll need the following:
- 1 vanilla pod
- 1 can (14 ounces) sweetened condensed milk
- 1 ¾ cup skim milk
Directions:
- Split the vanilla pod in half using a knife and scrape the seeds into a small saucepan.
- Add the remaining ingredients into the saucepan as well.
- Continuously stir over medium heat for 5-7 minutes.
- Remove from heat and cover for 15 minutes to cool.
- Remove the vanilla pod from the saucepan.
- Pour into an airtight container and cover with the lid.
- Shake well to blend.
- Refrigerate for later use.
What kind of Container Works Best for My Homemade Coffee Creamer?
I recommend storing your coffee creamer in a glass bottle with an airtight lid like a mason jar. They’re easy to clean and sterilize, so your creamer stays fresh and safe while bacteria stay out.
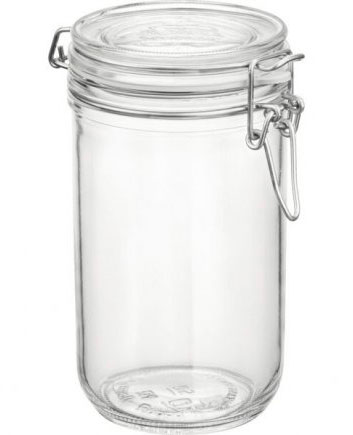
Also, not only do they look good, but you’ll have an easy time pouring the creamer into these jars.
Tips to Remember
- Remember to shake it up before using your homemade coffee creamer. The condensed milk tends to fall to the bottom of the jar.
- Take note of your condensed milk’s expiration date because the creamer goes bad with it.
- You can also make your creamer dairy free by following this recipe.
Frequently-Asked-Questions
Try the Recipe!
Making your own homemade coffee creamer is an easy and delicious way to elevate your coffee. It also allows you to live a healthier lifestyle by avoiding preservatives and artificial flavors, and it can be highly customizable to your preferences.
Give it a try and see how it can transform your morning brew.
Let me know how it went by commenting below!