Using The Aeropress Go While Traveling – My Experience, What to Pack, & Recipe
If you’re a coffee geek and need your fix of caffeine while traveling, you have a problem:
- You won’t find cafés in the mountains when hiking,
- the instant coffee on the train’s restaurant wagon is not that great,
- and the cheap hostel reserved by your friends serves black coffee brewed two days ago.
I feel you and have a solution!
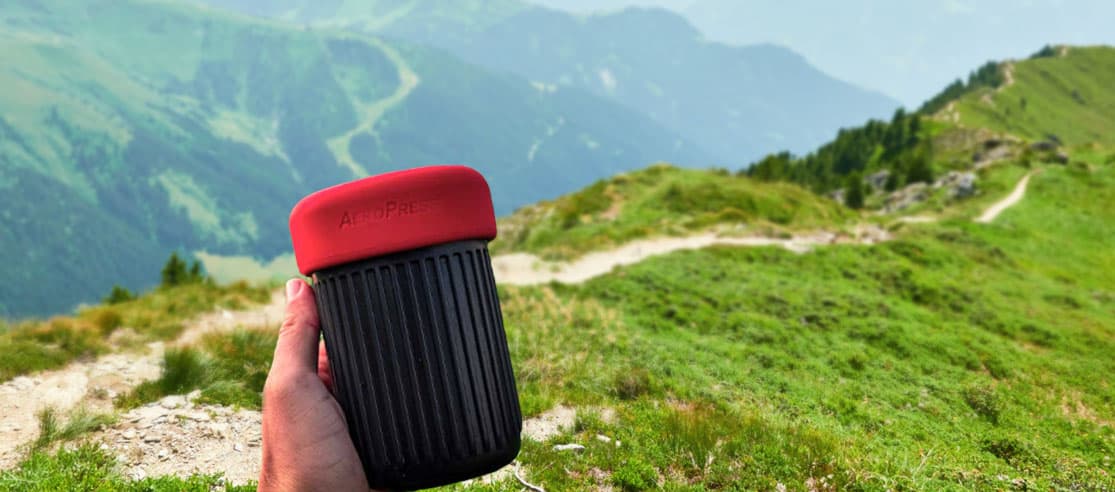
I recently used the Aeropress Go while hiking in Austria, and it was a great experience. In fact, you can use the Aeropress to make great coffee in pretty much any travel setting.
I’ll show you how below.
Is the Aeropress good for travel?
Yes, the Aeropress is a good choice if you want fresh, high-quality coffee on the road. You can use the Aeropress to make great coffee while kayaking, camping, hiking, on a train, or anywhere else. Access to hot water is a definite plus, but you can also use cold water to make cold brew Aeropress in minutes.
The weight and size of the complete package are also tolerable, especially if you use the Aeropress Go, a more compact travel version of the popular Aeropress coffee maker.
How much weight does my Aeropress Go kit add when traveling?
You don’t need to take all of the accessories that come with the coffee maker on your trip. This is what I took, I weighed it all since I was curious.
| Item | Weight |
|---|---|
| Brewing chamber | 70 grams |
| Cylinder | 70 grams |
| Filter holder | 20 grams |
| 5 paper filters | 1 gram |
| Mug | 90 grams |
| Silicone lid | 50 grams |
| Coffee | 30 grams |
| Coffee grinder | 270 grams |
| TOTAL | 601 grams |
With a manual grinder, the Aeropress Go kit weighed in at around 600 grams.
I could have used pre-ground coffee and left the grinder out, but I had enough space in my backpack, so I took it along and made the best possible coffee on the go.
Getting hot water for your coffee may be challenging, depending on where your travels take you. Replacing the standard Aeropress Go mug with a stainless steel mug in which you can heat water is a good option for campfires.
5 things you’ll need to make Aeropress coffee while traveling
Inevitably, there are some challenges to making your coffee when you’re traveling.
But if you know what to pack, you’ll use your Aeropress on the road as easily as in your home kitchen.
Here is a list of things you’ll need to have on your trip to make coffee with an Aeropress.
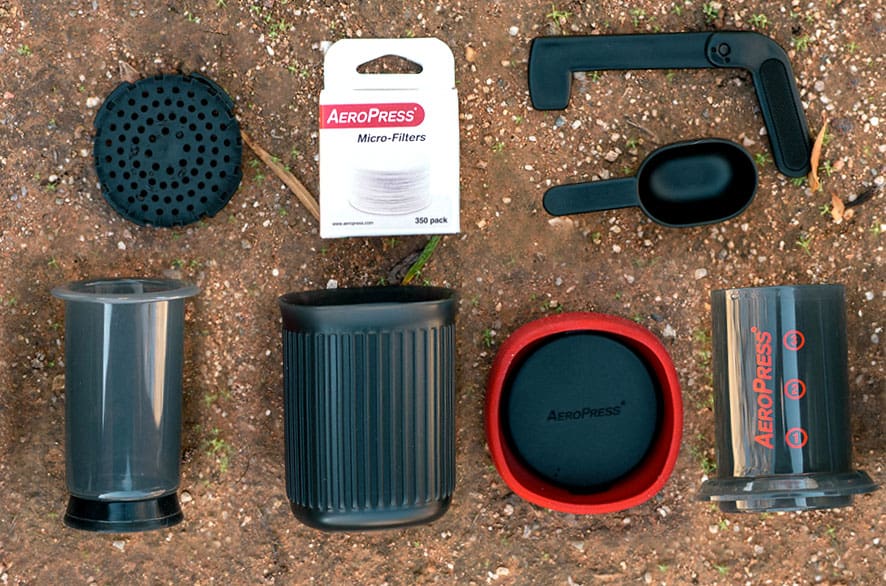
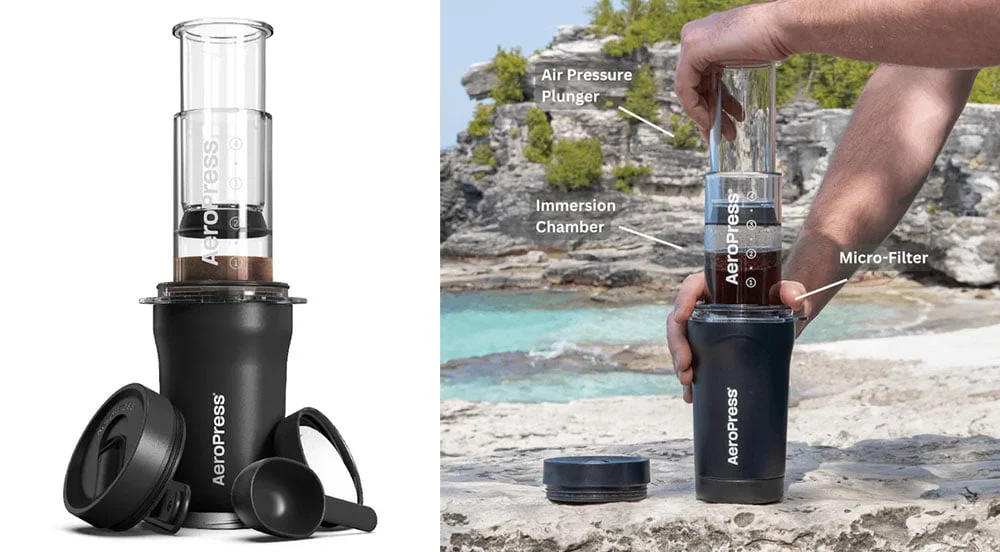
1. Aeropress + its accessories
You don’t actually need everything in the Aeropress Go kit, though.
You’ll need:
- Aeropress chamber
- Cylinder
- Filter holder
- As many paper filters as you’ll need, or a metal filter you can wash
- A stirring spoon
You do not need the funnel, the 300+ paper filters, or the coffee scoop used for measuring.
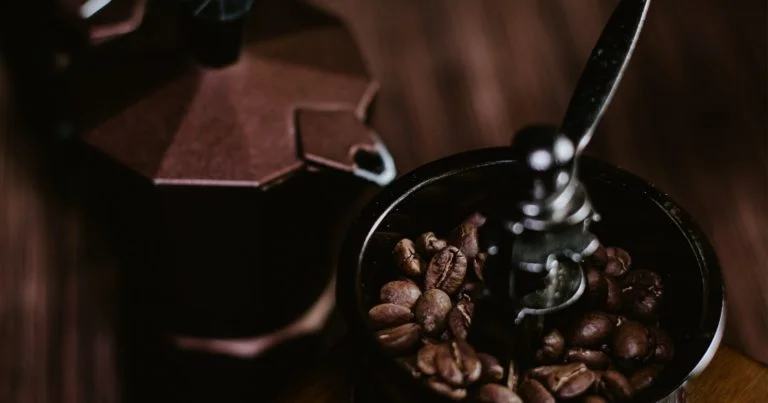
2. Coffee beans portioned out
It’s best to pre-pack given portions of your favorite whole coffee beans.
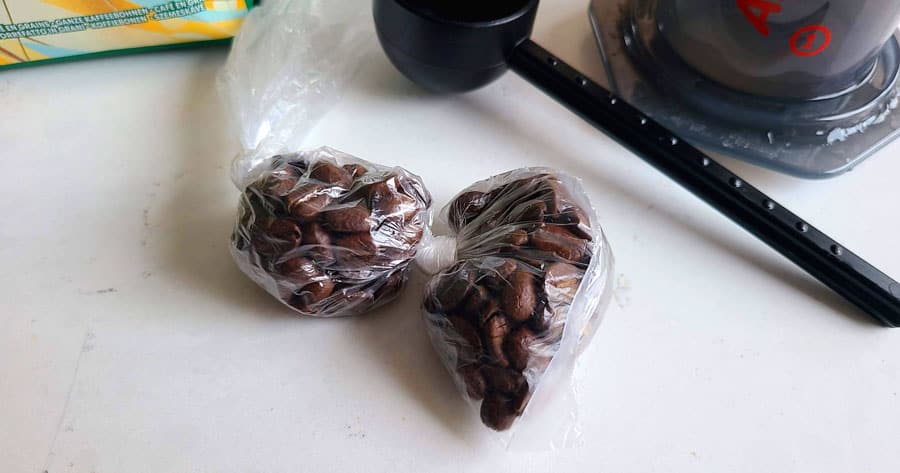
You can use a single bag to store several portions by tying off the bag right above each bean serving.
Try to squeeze all of the air out of the individual holders before you seal them, so your beans retain their aroma.
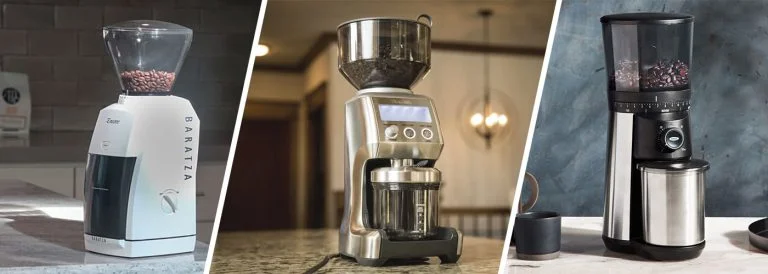
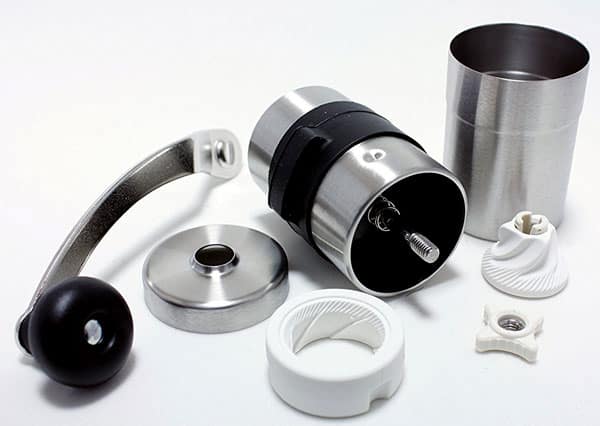
3. Hand grinder
As you know, delicious coffee requires freshly ground coffee beans. Pre-ground coffee loses its aroma and oils quickly.
A fresh grind is only good for about 20 minutes, so grinding everything at home in advance is not ideal.
The Hario slim grinder is a good choice. It is cheap, does the job well, and packs light.
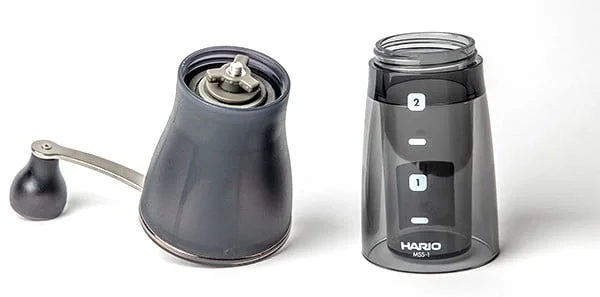
The Porlex Mini is even better for traveling, as it fits into the cylinder of the Aeropress, saving space. It is more expensive, though.
4. Hot water
Obtaining 94°C brewing water may not be easy when you’re on the road. Not to mention that you ideally need filtered water…
Microwave: If you are in a hotel room, your job is easy.
Immersion water heater: If you have access to an electrical outlet, you can get an immersion water heater to boil your water. For example, this is an excellent option on a car road trip since you can plug it into the car’s cigar lighter.
Steel mug: Camping, kayaking, and hiking trips will usually involve campfires. You can quickly boil water in a steel mug over a fire. CAUTION: The handle of the mug will be burning hot! Please don’t touch it with your bare hands!
Ask for water: If you’re in a place where you can ask for hot water, do so. This includes airplanes, trains, etc.
If all else fails (or you don’t want your coffee hot), you can make Aeropress cold brew coffee with this recipe which uses room temperature water.
5. Mesh bag
It’s a good idea to keep your coffee gear organized in a dedicated bag instead of having everything scattered about in your backpack.
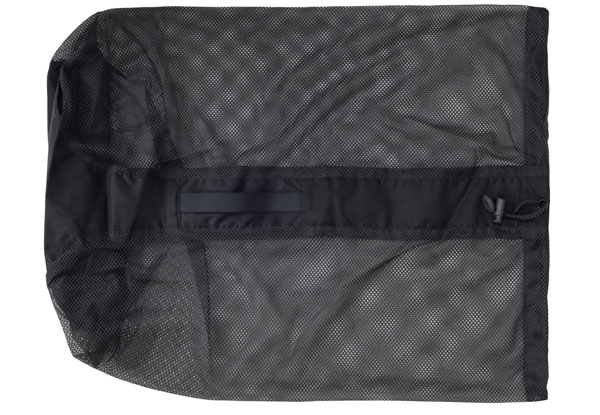
Mesh bags are ideal, as they let your gear dry after washing them.
How do you use an Aeropress while traveling?
You can use the same delicious Aeropress recipe on the road as you would at home. In essence, you’re bringing a bit of home into every cup of coffee you make.
I have a few great Aeropress recipes on BigCupOfCoffee.com in case you want to check them out:
- Standard Aeropress method made better
- Aeropress Espresso style coffee (this would be a bit harder while traveling)
- Reverse method
Here is a quick recipe for using the Aeropress while traveling using the standard method.
- Prepare 250ml of brewing water with a water temperature of around 90°C.
- Grind 15 grams of coffee beans to a medium-fine grind.
- Insert the filter into the filter holder, and rinse it briefly with hot water to rinse it of any paper taste.
- Place the brewing cylinder with the filter bottom on your coffee mug and add your ground coffee (15g).
- Slowly pour hot water into the brewing chamber to 3/4.
- Stir the coffee-water mixture evenly a few times.
- Fill the AeroPress completely.
- Let your coffee brew for 30 seconds. You don’t want to wait too long, as you will over-extract the coffee, and it will be bitter.
- Place the cylinder into the brewing chamber, then slowly and evenly press it down. The motion should last 20-30 seconds as the coffee flows into your mug.
Some people prefer the inverted method over the standard method while traveling, but I like the standard one more.
So all of this may seem like a lot of effort, but if you want delicious coffee while traveling, this is your best bet.
You can also prepare about half a liter (2 cups of coffee) the same way, simply by using a double portion of ground coffee and diluting the resulting beverage. Like an Americano.
2024 Brings the Aeropress Go Plus
Ever since Alan Adler sold Aeropress to a venture capital firm, we’ve seen a number of new Aeropress products released.
The Aeropress Go also had an update, the Go Plus. The Aeropress Go Plus builds upon the compact, travel-friendly design of the original Aeropress Go, with a few key differences:
- Larger capacity: The Go Plus has a 10 oz capacity compared to the 8 oz capacity of the original Go. This allows you to brew 1-2 cups at a time.
- Full-sized chamber: The Go Plus uses a full-sized Aeropress chamber, similar to the original Aeropress. The original Go has a chamber about 1/3 smaller. I don’t really understand this mod, the whole point of the Aerorpess Go is to keep it portable…
- Redesigned accessories: The Go Plus comes with an improved travel mug that has a built-in plastic filter holder at the bottom. The lid opening is also spring-loaded and magnetic, which is pretty cool.
The best part of the redesign though is that it packs into a single unit, so you don’t need an extra bag or anything to hold the pieces in one place. - Clear Tritan plastic: The clear chamber is made of shatterproof Tritan plastic, the same as the Aeropress Clear.
- Price increase: The Aeropress Go Plus launched with a retail price of $80, compared to around $40 for the original Go. However, I’ve seen it on sale for $64.
Whether the Go Plus makes sense depends on your needs. If you want maximum capacity in a travel Aeropress and don’t mind the higher price, it could be worthwhile. The included mug is very convenient for sure. However, if ultimate portability is your top priority, the original Go is lighter and more compact.
One big downside with the Go Plus is that it does not work well with the inverted brewing method, since the plunger has a narrower lip. So the Go Plus also trades some versatility for its travel-oriented design.
My Experience With the Aeropress Go While Hiking & Camping
The Aeropress is an incredible coffee maker that is perfect for anyone who loves coffee. It makes a rich cup of coffee that is full of flavor and aroma.
I found that it was great for traveling because:
- The strong plastic it is made of makes it safe and durable, so it can be thrown around in your bag.
- It is small enough to pack, even with a hand grinder.
- It cleans up easily with a rinse.
- The filter paper is biodegradable, so you can just push the used coffee grounds out along with the filter, and it will become part of nature again.
I will definitely use the Aeropress Go in the future while camping with our friends, hiking with my family, and kayaking with my son.
But I will not use it in more civilized circumstances like a train, as I think I’ll just wait until I find a coffee shop.
How about all of you coffee lovers out there? Where are you taking your Aeropress?