When to Start Timing Your Espresso Shot? A Barista’s Explainer
Baristas know full well how important precision is when pulling that perfect shot of espresso. Aside from the measurement of the ingredients, temperature, and pressure, another key factor is the timing.
Timing plays an essential role in crafting that perfect cup. And yet, there seems to be a never-ending debate on when exactly to start the timer for the best extraction.
If you’re confused by this as well, then let me help. In this article, I’ll be breaking down the different methods of timing your espresso shot and how you can fine-tune it to achieve the drink that suits your taste best.
Let’s get started.
The Debate: When to Start Timing Espresso Shots
I’ll go straight to the persisting debate over when to start the timer for your espresso. It’s well-known that pulling an espresso shot takes 25 to 30 seconds, but when do you to start?
I have heard different opinions on this topic:
- Some start it when the pump is activated.
- Others do it after the first drops begin.
- Some wait until preinfusion finishes to start their timer.
I believe each has its own merits, which I’ll explain further.
Starting the Timer from the Moment the Pump Is Activated
Personally, I am a big believer in starting the timer from the moment the pump is activated. This method ensures that you capture every second of your extraction process and therefore have more control over how long your shot runs for.
The main benefit here is that the total timing accounts for any delay between activating the pump and the espresso hitting your cup. This delay can be caused by differences in pressure, preinfusion, or distance between your portafilter and group head, giving you an accurate representation of what’s happening in your shot, so you could adjust accordingly.
So in essence, your stopwatch starts as soon as water hits your grounds coffee. And if you think about it, this is the moment extraction begins, even if coffee doesn’t start flowing yet.
It also includes low-pressure preinfusion, which is a feature of many modern machines, and can be emulated by hand on prosumer espresso makers.
You also want to consider how long it takes for the first drops to appear after starting your machine. If it is too fast, you will encounter a watery shot.
Starting the Timer when the First Drops Appear
A popular alternative is starting the time once the first drops of espresso appear. This method is for you if you prioritize pre-infusion and want to capture the full flavor potential of your coffee.
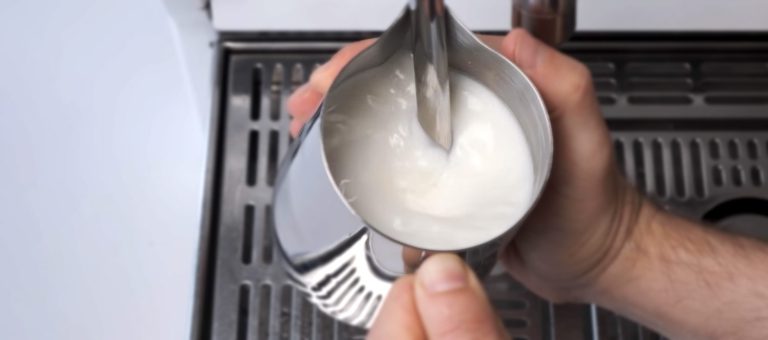
First, you want to activate your machine’s pre-infusion feature, if available. Pre-infusion involves wetting and resting the coffee grounds before applying extraction pressure, which can improve overall flavor balance and reduce bitterness.
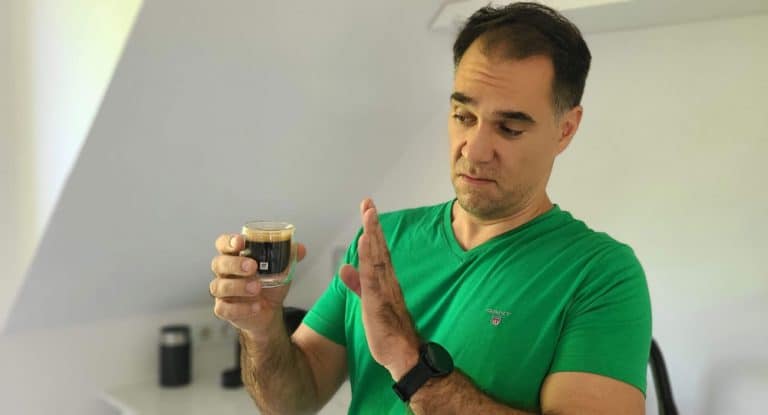
Once you’ve engaged pre-infusion, simply wait until you see those initial droplets fall from the portafilter into your shot glass or cup. Then, start your timer.
Benefits and Drawbacks
The benefit of this method is that it allows for more control over pre-infusion time and ensures that all parts of the puck are evenly saturated before the actual extraction begins.
The disadvantage here is that it may be difficult to consistently identify exactly when those “first drops” start to drip – especially if you’re using different beans or machines with varying water pressure.
Additionally, because pre-infusion times can vary depending on these variables as well as other factors like grind size and dose weight, you may end up with less consistent shot times overall.
My Hybrid Timing Method
During my years brewing espresso, I’ve noticed that neither approach is perfect. The first drip method completely disregards preinfusion times, and the first push method can easily lead to under-extraction if there was an inconsistency with any of the variables.
I use a hybrid espresso timing method, since it’s important to know
- How long preinfusion takes
- How long the flow of coffee takes
Why do I use this method?
Because being 100% consistent with your prep in a home setting is close to impossible. The same beans will differ next day, since they lose moisture. The temperature will be different, affecting your grinder and beans. And I could go on.
With my hybrid method, I can modify the flow if I need to, based on how preinfusion turns out:
- If the first drop is too quick to the cup, I may let extraction it run a little longer to avoid under-extraction. The yield will be more, but it will be drinkable, not a sour mess.
- If the first drop is spot on (around 7 seconds from starting the pump), I aim for a total extraction of around 30-32 seconds.
- If the first drop is late, well, I’ll probably yield a ristretto in around 30 seconds, rather than an espresso. But that’s ok, at least I know not to let it run too long, since it will be over-extracted.
| When to Start | Pros | Cons |
| Pump Activation | – A more accurate representation of your shot – Offers more control over each phase of the extraction | – Timing would not solve channeling – Gap between pre-infusion and pump activation may vary between machines |
| First Drops | – More control over pre-infusion time | – It may be difficult to consistently identify “first drops” – Consistency is hard to achieve |
| My hybrid method | – Can observe both preinfusion and actual flow – Can modify water flow length in real time | – None |
Visual Cues to Watch Out For
There are also a few visual cues that can help you recognize if you’re still pulling your shot properly:
- Blonding: One thing to look out for is the stream of espresso turning from a rich brown color to light yellow. This means you’ve pulled enough of your espresso.
- Thinner flow: Another sign is the flow of your espresso getting thinner. This means there’s nothing else to extract to keep its thick viscosity.
- Crema: The flow should finish off your espresso pull with 1/4 to 1/3 of crema crowning the full drink.
Remember though, a great espresso requires precision, so I recommend that you don’t just rely on these visual cues to make your coffee. Otherwise, you’ll suffer from inconsistent shots.
Factors Affecting the Timing of Espresso Shots
It is also important to recognize the factors that can affect the timing of your espresso shot. Here are the key variables to take into account:
- Grind size: Finer grinds lead to longer shots, while coarser grinds can produce faster shots.
- Coffee dose: For your brew ratio and dose, more coffee requires a longer extraction time and vice versa.
- Tamping pressure: Too much tamping pressure needs longer shot times and less pressure equates to shorter extraction time.
- Extraction pressure: Higher pressures generally lead to shorter shot times.
- Water temperature: Lower temperatures may result in longer extraction times, while higher temperatures can lead to shorter ones.
- Espresso machine: I have used different espresso machines, and I found that the optimal timings differ depending on the equipment. Click here to check out my list of the best automatic espresso machines in 2024.
It’s important to note that these factors all interact with one another and finding the right balance takes some skill and experimentation. Remember to time your shots and take notes.
As a bonus barista tip, you can also buy an espresso puck screen, which is used for pulling consistent and well-extracted espresso shots.
In Summary…
Timing really plays a critical role in pulling the perfect shot of espresso. While there is no one-size-fits-all approach to starting the timer, understanding the different methods can help you fine-tune your process to suit your taste preferences.