How to Steam Milk for Silky Lattes + What NOT to Do!
You know that silky, smooth latte you sip on at your favorite café? That’s served to you by baristas who have mastered the art of milk steaming, an essential component of espresso and milk drinks. It not only adds a sweet, silky texture, but also acts as a canvas for latte art.
Now if you want to learn how to steam milk at home, you’re in the right place.
I’ve been a barista for a while now, and I’ll show you everything from the science behind milk frothing, the best tools to use, the optimal choice of milks, step-by-step guide to steaming with a proper steam wand, and importantly, what NOT DO while doing all these.
Understanding Steamed Milk
To learn how to create steamed milk, I think you need to first understand the science behind it.
So what really happens when you steam milk?
- Aeration – When the steam wand is inserted into the pitcher of cold milk and turned on, tiny air bubbles are introduced into the liquid. These bubbles give rise to a process baristas call “aeration,” where they expand within the milk and create foam.
- Stretching – The longer you keep the steam wand near the surface of the milk during this aeration stage, the more your foam expands. This is called stretching the milk. However, too much foam can result in an imbalanced drink with excessive froth.
- Texturing – Once enough foam has been created, it’s time to shift our focus to achieving that smooth and velvety texture we all love in our lattes and cappuccinos: enter what baristas call “texturization.” To achieve the desired texture known as microfoam, we move the steam wand deeper while keeping it tilted slightly at an angle. This creates a spinning whirlpool effect inside the milk jug.

The Science Behind Steamed Milk
When you steam milk, two main processes are occurring simultaneously:
1. The introduction of air
When you use a steam wand, air and water are introduced into the milk through the rapid injection of steam. They act like tiny, fierce whisks, breaking the surface of the milk and folding air into it. This process creates foam.
2. The heating of the milk
Simultaneously, the steam heats the milk, causing the proteins, which constitute about 3.4% of the milk’s volume, to unwind from their tightly coiled structures. These proteins encapsulate the air bubbles, forming a sort of protective jacket around them.
This happens due to the dual nature of the proteins – one side is hydrophobic (water-repellent) which clings to the air bubbles, and the other side is hydrophilic (attracted to water), holding onto the water content in the milk. This is why the milk forms and stabilizes foam.
But the process is delicate, overheating the milk will cause the proteins to break down entirely and collapse the foam. This is why you need to steam cold milk. Achieving the desirable velvety texture becomes harder if the milk is already warm above room temperature.
The microfoam will eventually collapse, as gravity causes the lighter bubbles to rise and the heavier liquid milk to drain from the foam. The air bubbles grow larger and pop as the proteins encapsulating them are not strong enough to contain them.
Why is steamed milk sweeter?
The taste of steamed milk is sweeter since the heat breaks down longer-chain carbohydrates found in milk into simpler sugars.
Specifically, heating milk to temperatures between 150-155 degrees Fahrenheit triggers a process that breaks down lactose (the long-chain carbohydrate sugar that is naturally present in milk), into glucose and galactose. These broken-down sugars are considerably sweeter to the palate than lactose, thus making it taste sweeter.
But be careful, above 70°C milk starts to scold, and can become bitter.
Selecting Your Tools and Ingredients
Let’s take a look at what you’ll need to make perfect steamed milk at home.
Essential equipment
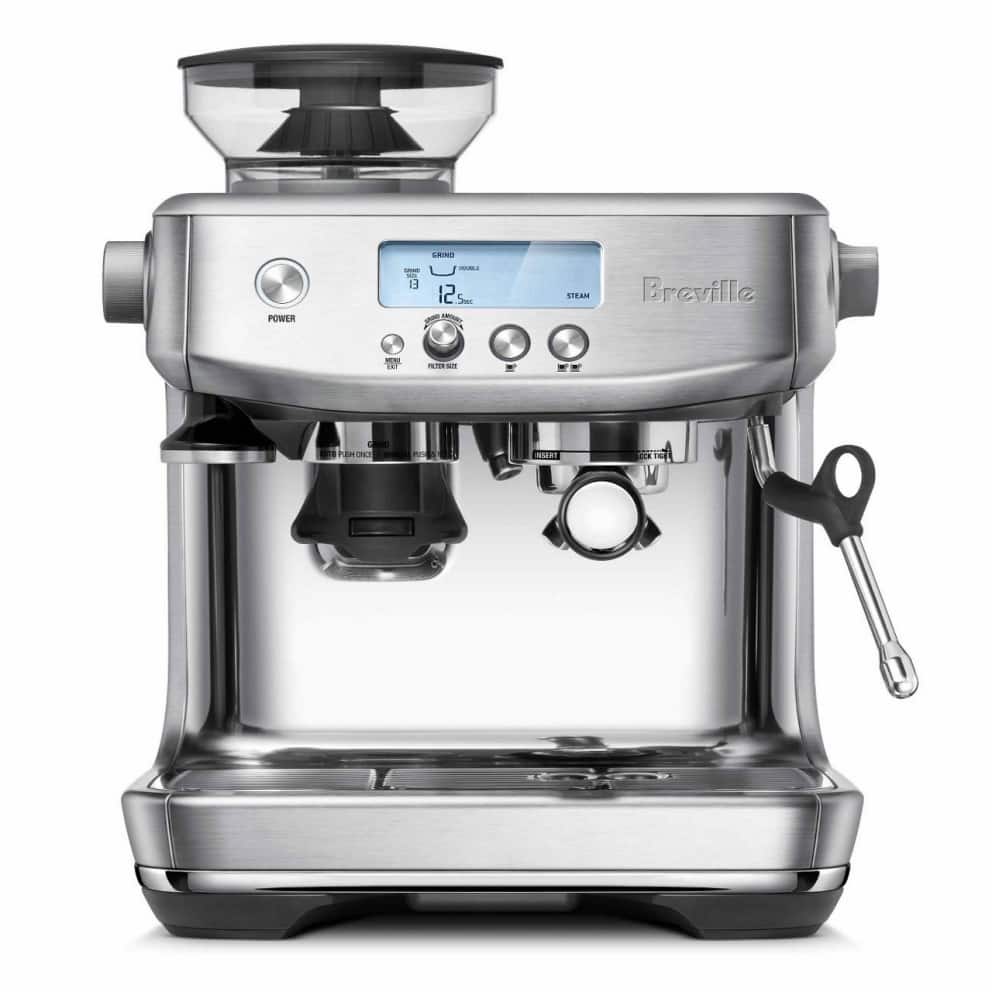
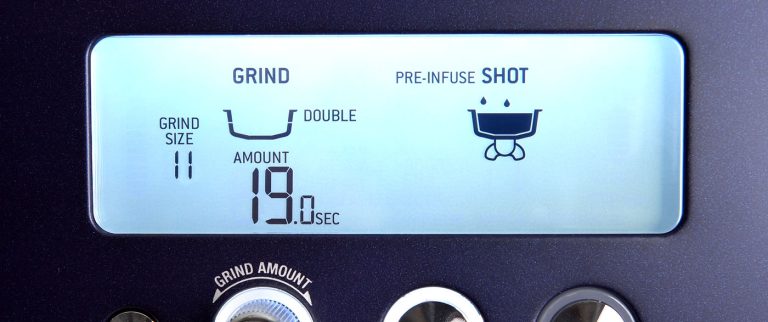
To achieve that perfect microfoam, you’ll need an espresso machine with a steam wand. This tool allows you to control the steam flow and create those silky bubbles in your milk. These Breville espresso makers are affordable and great for home use.
I use and recommend the Breville Barista Pro, here is my detailed review of this machine.
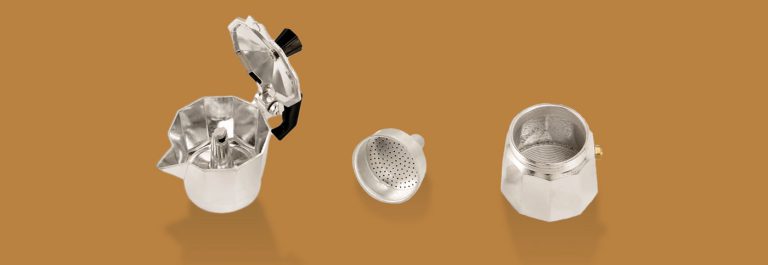
But if you don’t have access to an espresso machine, don’t worry. There are alternative methods we can explore later on, but they don’t create the exact texture a steam wand can.
A metal milk pitcher provides better heat retention compared to other materials which helps maintain the ideal temperature during steaming and pouring.
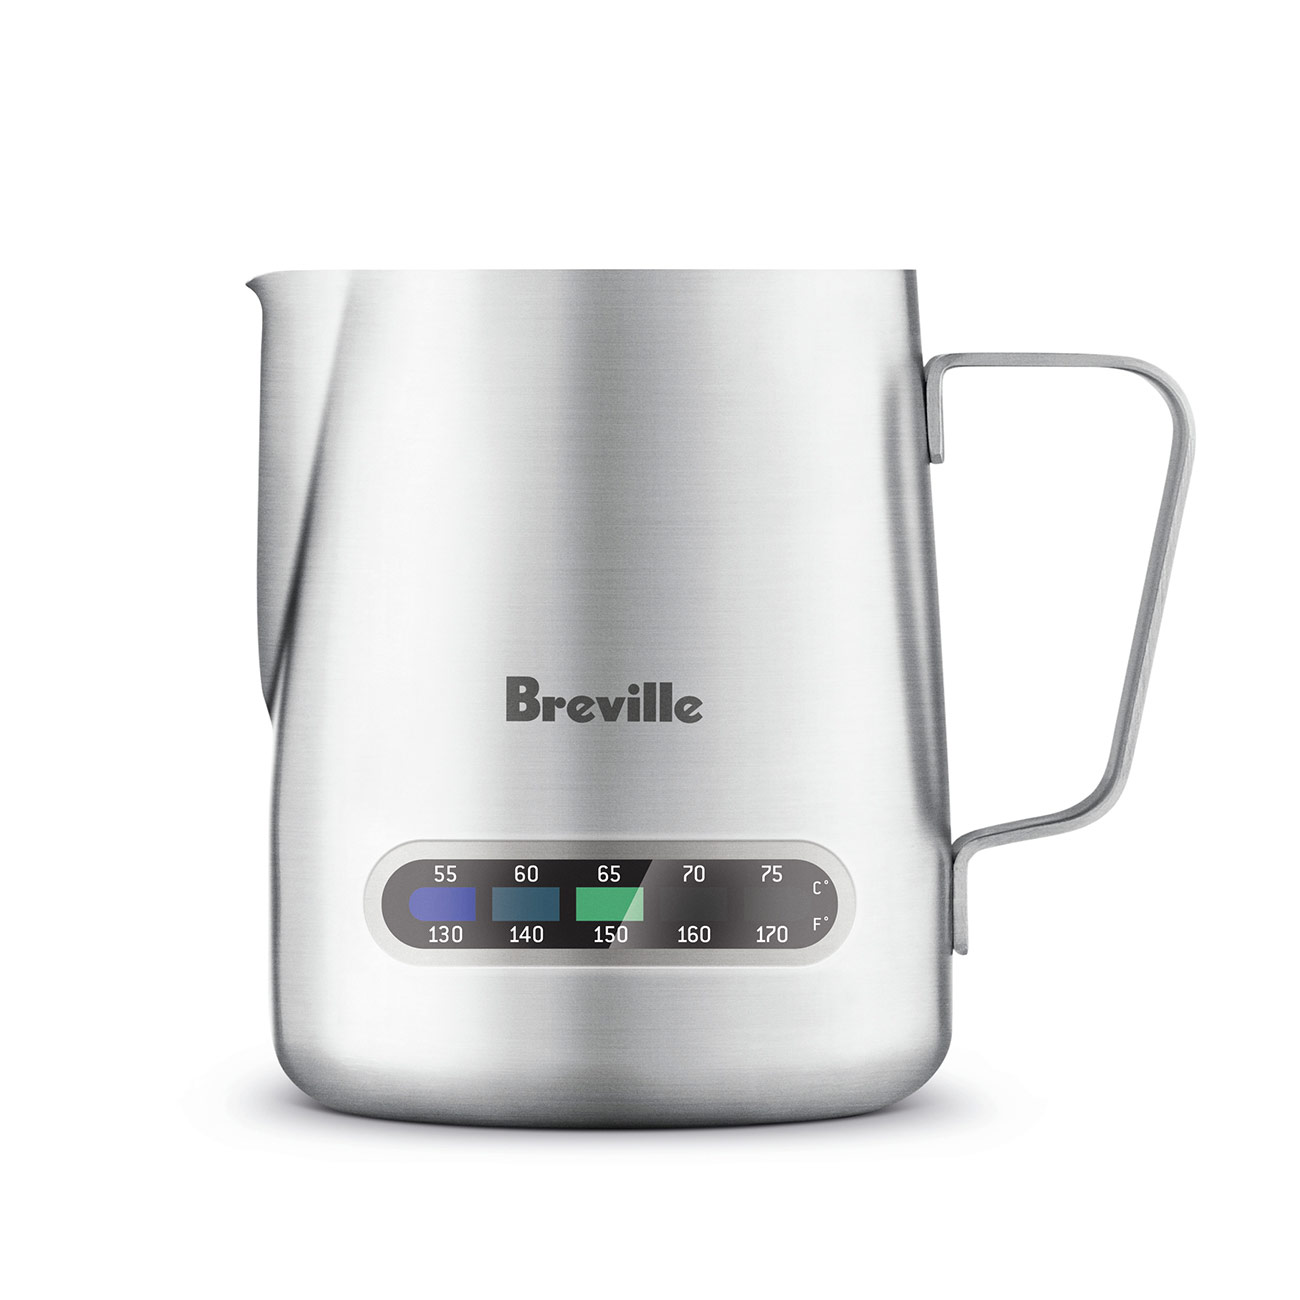
A temperature sticker attached to the side of your pitcher can be incredibly helpful too. Being able to monitor the temperature ensures optimal results every time without any guesswork involved. But of course, you can just gauge the temperature of the steaming milk with your hand
Choosing the right type of milk
The milk you choose obviously affects the outcome.
Whole milk is definitely my top recommendation because it contains more fat which helps create that creamy texture we love in lattes and cappuccinos. This is definitely the best milk for latte art, it is what they use at all coffee shops.
However, low-fat milk will work as well, but it is a bit harder to work with. I’ve found that even after thousands of tries during my barista career, skim milk is not as consistent as working with whole milk.
If dairy-free options are more your style, oat milk has been known to froth up nicely and adds its own unique flavor to your drinks. You can also find “barista” versions of many different types of milk, which have a bit of extra fat in them to make it easier to steam your milk.

Remember, freshness and temperature matter when it comes to selecting your ingredients. Make sure your milk is as fresh as possible, and straight out of the refrigerator.
How to Steam Milk in 6 Steps
Now that you know all of the above, let’s learn to steam milk step-by-step. First a video of the process, but I’ll explain everything in detail after.
1. Preparations
Before you start, there are a few things you need to check and prepare.
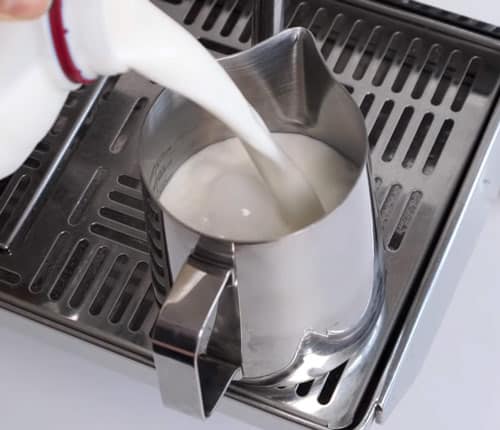
Firstly, make sure the milk is cold. Cold milk creates silkier foam and gives you more time for steaming. The ideal temperature is 15 °C, straight out of the fridge. Fill your metal pitcher up to the bottom of its spout with cold, fresh milk or your milk alternative of choice. for non-dairy options, try oat milk as it froths up well).
Secondly, rinse your milk pitcher from any residue. This ensures a clean starting point for achieving optimal results with each new batch of milk. You don’t need to wipe it dry though.
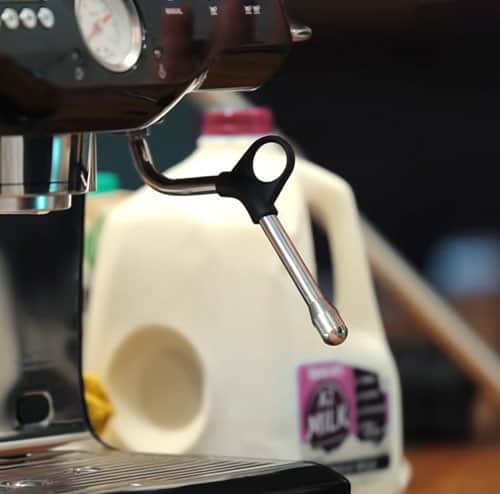
2. Purge your steam wand and pull it out to 45°
You want to quickly purge your wand to get rid of any condensation inside the machine, and make sure there is enough steam pressure.
After purging, you want to pull it outward so that it’s at about a 45°angle. This is the maximum that most wands go to.
3. Aerating and Stretching the Milk
Place the steam wand at the spout of your pitcher, pointing to its side, at a diagonal angle to the milk, just below the surface of the cold milk. Finding this angle and depth takes practice, here is an image that will help.
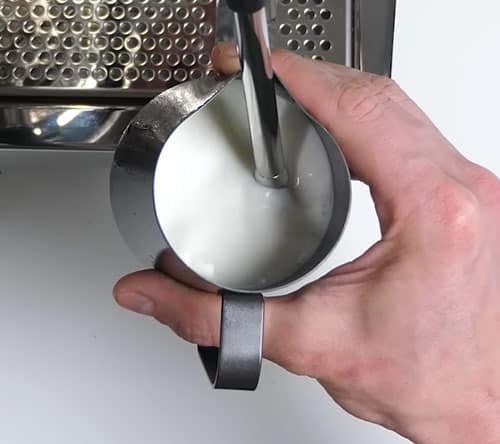
Now turn on full power, and stretch the milk.
Keep an eye on these two factors:
- Position – Make sure the tip of the steam wand is positioned vertically in the middle of your pitcher and horizontally at either side (left or right).
- Timing – Depending on whether you want caffé latte style or cappuccino style microfoam, adjust how long you stay closer to or away from the surface while foaming.
- For caffé latte-style microfoam: Stay close to the surface for only a few seconds, until the milk in the pitcher expands just slightly.
- For cappuccino-style macrofoam: Extend that duration until the milk stretches considerably more.
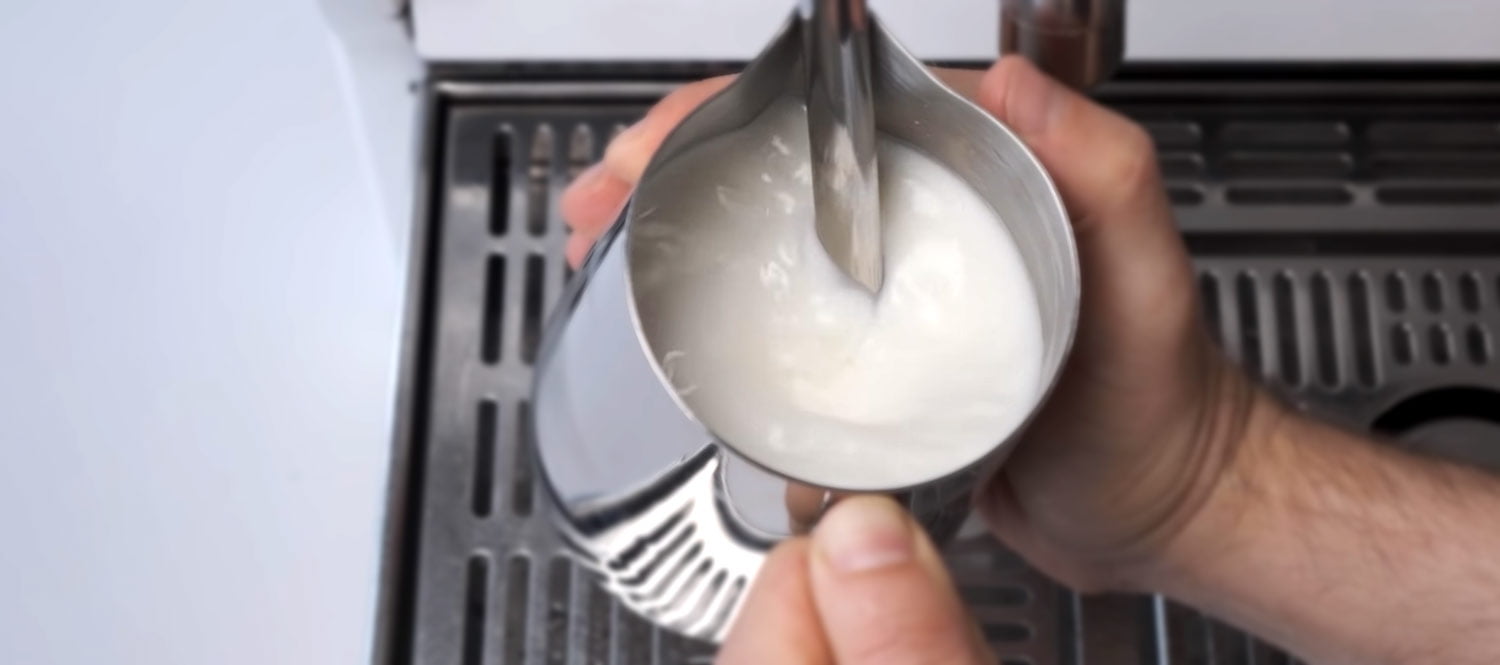
4. Texturing: The Importance of Creating a Whirlpool Motion
After you’ve created enough foam, it’s time to create the crucial whirlpool/vortex movement of the milk in the pitcher. This step breaks down the larger bubbles and creates silky milk, and as such is a vital step. Unfortunately, I find that it is one of the most difficult ones to master for people new to the process.
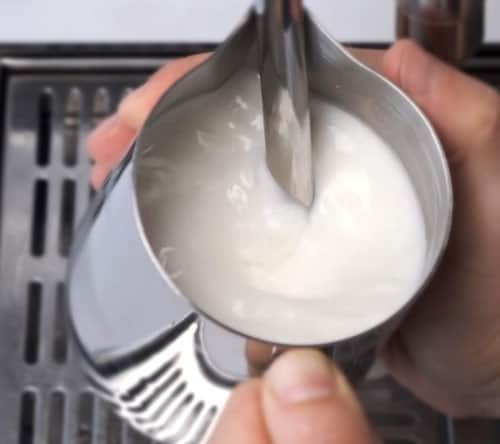
To create a vortex, you simply need to lower the tip of your steam wand into the milk, so that air is continued to be pushed into the milk, swirling it.
The purpose of the whirlpool is to incorporate any larger bubbles into the milk, resulting in a velvety texture.
Refer back to Step 3 for optimal positioning of both your pitcher and wand during this process.5.
5. Identifying the Correct Temperature To Stop Steaming
The temperature at which you stop is crucial to ensure that your milk is not too cold or too hot when mixed into your coffee.
Generally, aim for a temperature range between 60-65°C (130-150°F).
This is easy with a temperature sticker, but you can do this with any metal pitcher. Here is how:
- Keep your palm on the side or bottom of the pitcher, until it is too hot to the touch.
- Once you need to take your hand away, count to 3 seconds.
- Now put your palm back on the side, it should be too hot to touch.
- Your milk is at a perfect 150°F, promptly turn off the steam and put your pitcher on the counter.
Wipe and purge: A good barista never forgets cleanliness. After you turn the steam off, always wipe the wand and purge it with a quick blast to clear away any milk residue. Failure to do so can lead to burnt milk build-up on the outside of your wand and clogs at the tip.
Basically, cleaning the steam wand after every use is as important as washing your cup after enjoying your coffee.
6. Final Steps: Resting, Polishing, and Pouring
Give the pitcher a few gentle taps on a hard surface to disperse any large bubbles that may have formed during the steaming process.
Next, polish the milk by swirling the jug gently in circular motions. This helps mix together all those tiny bubbles with the silky smooth microfoam.
These are called resting and polishing, and the reason baristas do these steps is twofold: first, by dispersing any big bubbles, you ensure a more even consistency throughout your frothed milk. And secondly, swirling or spinning the jug eliminates any air pockets, and mixes the froth with the bottom layer of the milk.
Important: Time is of utmost importance, don’t wait too long before pouring. Your microfoam will start to separate from the liquid milk, leaving plain foam on top.
To prevent this separation issue when you need to pause momentarily before pouring (for example, when wiping your wand or creating intricate latte art), I recommend swirling your pitcher slightly while waiting and before pouring. These swirls keep everything mixed together inside.
Pour: When it’s time to pour your perfectly steamed milk into your espresso shot, there are a few key techniques to keep in mind:
- Hold your cup in your non-dominant hand and tilt it at a 45° angle.
- Use your dominant hand to begin pouring from about 2 inches above the cup, straight into the middle of your shot of espresso.
- Simultaneously lower your jug as you fill the cup.
- As you continue pouring, gradually straighten out your cup until it sits flat on its base.
- Pay attention to speed: aim for a steady flow without rushing or stopping abruptly.
This is where you would decorate your espresso drink and create latte art, but that is another topic altogether.

Troubleshooting Common Mistakes in Milk Steaming
As a barista, I’ve made and also seen my fair share of mistakes when it comes to steaming milk. I want to help you troubleshoot and fix those common errors, so please read them below:
- The most common mistake you can make is overfilling or underfilling the pitcher. You want to fill just below the start of the spout. I know, it means having to waste milk at times, but that’s the way it is. If you’re only making it for one person, you can think about getting a smaller pitcher.
- The second most common mistake you can make is not creating a proper vortex in the jug due to wrong wand positioning. Remember to put the wand into the jug at its spout, with the tip of the wand at the center of the jug. Now rotate the jug sideways in either direction to position the tip closer to the sidewall. This is how a whirlpool will form, which you can actually practice creating using clean water and just a drop of dishwashing detergent.
- One mistake that I often see is when people position the steam wand too deep in the jug. This prevents them from creating froth as the wand isn’t able to incorporate enough air into the milk.
To avoid this issue, make sure to move your wand closer to the surface of the milk. You want it about half an inch away from the side of the jug, tilted slightly for optimal results. - Another mistake is incorporating too much air while stretching the milk. It’s important to remember that we’re aiming for microfoam, not big bubbles. Start by keeping the steam wand just below the surface of the milk and let it increase its volume. As you do this, be mindful not to introduce too much air. Except for the classic cappuccino, which uses larger macrofoam froth.
- Temperature control is also crucial. If your drink ends up being too cold or hot, it might ruin everything else you’ve worked hard for during this process. Keep an eye on your thermometer or judge by touch, but don’t burn yourself!
- Finally pouring technique. Even if your milk is perfect, a bad pour will lead to an unattractive drink.
By following these tips and avoiding these common mistakes, you’ll be well on your way toward achieving professional-level steamed milk for your coffee drinks. Practice makes perfect, so don’t be discouraged if it takes a few tries.
Steam Wand Tips – Choosing the Right Number of Holes
One detail that you might not give much attention to is the number of holes in your steam wand. Espresso machines usually come with one-hole or two-hole steam wand tips. In the market though, there are tips with 3, 4, 5, or even more holes.
So what do more holes in your steam wand mean?
More holes can steam milk faster, so if you’re steaming with a 4-hole tip, you can steam milk twice as fast as a 2-hole tip. This works best with larger batches of milk, which can take some time if you’re using the standard steam wand.
However, note that the number of holes should also be supported by the steam boiler. If your machine has smaller boilers, it may not have enough pressure to handle multiple holes effectively.
Frequently Asked Questions (FAQs)
Microfoam and macrofoam refer to the different types of foam created in milk during the steaming process.
Microfoam has smaller, more closely-knit bubbles, giving the milk a velvety texture, and is used in latte art.
Macrofoam, on the other hand, has larger, looser bubbles giving a lighter, frothier texture, commonly used in cappuccinos.
Steamed milk and frothed milk are both made by incorporating air into the milk with a steam wand. The difference lies in the texture and volume. Steamed milk is heated and has a small amount of velvety microfoam on the top, perfect for lattes.
Frothed milk, on the other hand, has more volume and stiffness due to a larger amount of foam and milk which is used primarily for cappuccinos.
Most coffee shops or coffee roasters use whole milk for their lattes and cappuccinos due to the creamier and richer taste. It also froths better when air is introduced, giving more foam and making it easier to pour for latte art.
You can use a number of methods to steam milk and create froth without an espresso machine’s steamer:
– battery operated frother
– whisk
– shaking a jar
– French press
– blender
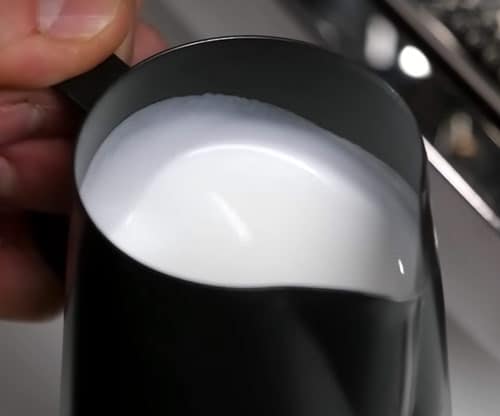
A good microfoam is shiny white with uniform micro-bubbles. It also has a slightly thicker texture, but not as thick as the paint-like consistency of macrofoam.
Conclusion
Steaming milk may seem like a small step in making coffee, but it can make all the difference in creating silky lattes and cappuccinos that rival your favorite café.
As someone who loves their morning coffee just as much as you do, I believe that mastering the skill of steaming milk is truly worth it. The smooth texture and velvety taste add another dimension to your homemade coffees.
After years of preparing my wife’s morning latte, she still loves the taste and latte art designs I surprise her with each morning.
So go ahead and give it a try, but remember that practice makes perfect. Don’t be discouraged if you don’t get it right, it takes a lot of practice. And please share your experience by leaving a comment below – I’d love to hear from you.


How fascinating. The science behind steamed milk described in the article had me intrigued. Do you have any recommendations for someone without a steam wand? Are there any alternative methods or tools to achieve a similar effect that you didn’t cover in the article?
After reading your article, I tried steaming milk with my little espresso machine at home and it’s like night and day compared to my previous attempts. My cappuccinos have that cafe-quality now, and even my cats seem to approve of the quieter mornings without the sound of me grumbling over the milk pitcher 😀
Just wanted to express my gratitude for this article. I’ve been struggling with getting that perfect texture when steaming milk, but following your step-by-step guide made all the difference. The explanation on when to stop steaming based on temperature was especially helpful – no more burnt tasting milk in my lattes, they are sweeter. Thanks Tom
I have to say, I was skeptical about the tip on creating a whirlpool motion for the perfect texture, but it worked wonders. Your guide did a stellar job of laying out the do’s and don’ts, which I’ve not seen portrayed so clearly elsewhere. Also, the troubleshooting section was a lifesaver for the mistakes I didn’t even realize I was making. Now, my Sunday brunches with friends have reached a new level of deliciousness, thanks to your article. Keep up the great work.
Although not mentioned, I believe water quality used in the steam can also impact the taste. It might be worthwhile to consider and experiment with filtered vs unfiltered water to see if it enhances the flavor of the steamed milk.
I found the part about choosing the right type of milkto be enlightening. However, could you clarify how different fat contents in milk affect the overall steaming process? Does whole milk always produce superior foam, or are there cases where skimmed milk could be preferable?
Whole milk will always produce better steamed milk. The lower the fat content, the lower quality microfoam will be produced. You can still make latte art with low fat milk, I do it every morning at home. But it’s harder to get the right texture, and will not be as consistent.