How to Use Your Drip Coffee Maker For AMAZING Coffee
Do you like the delicious aroma of a freshly brewed pot of coffee at home?
With a drip coffee machine, it’s easier than ever to make your favorite hot beverage – however, using one properly is key for making sure your brew comes out just right.
If you want to get the best cup of coffee for every time you crave one and don’t know how to use a drip coffee maker with utter confidence, this article is for you.
From choosing the correct coffee beans and coffee grinder settings, to step-by-step instructions and pro tips, I’ll show you how to make drip coffee better than at most cafés.
Step-by-Step Guide on How to Use a Drip Coffee Maker
Here is how to use your drip coffee maker properly.
1. Choose the right coffee beans.
The coffee beans you use will understandably have a huge impact on the taste of your coffee. My favorite with drip coffee machines is medium roast Arabica beans, but yours may be different.
You can buy some pre-ground coffee or grind the coffee beans yourself at home, just remember that the fresher the beans, the better.
- It’s best to buy beans directly from a roaster, so you know the roast date.
- Supermarket coffee with no roast date, rather an expiry date, will never be that fresh. Some may have been sitting on the shelves for months before being sold.
- Note that the coffee taste also depends on the roast level. If you prefer a bolder taste, opt for a dark roast. This is what you get in most USA diners. If you enjoy a mellower beverage, go for a light or medium-roast bean instead.
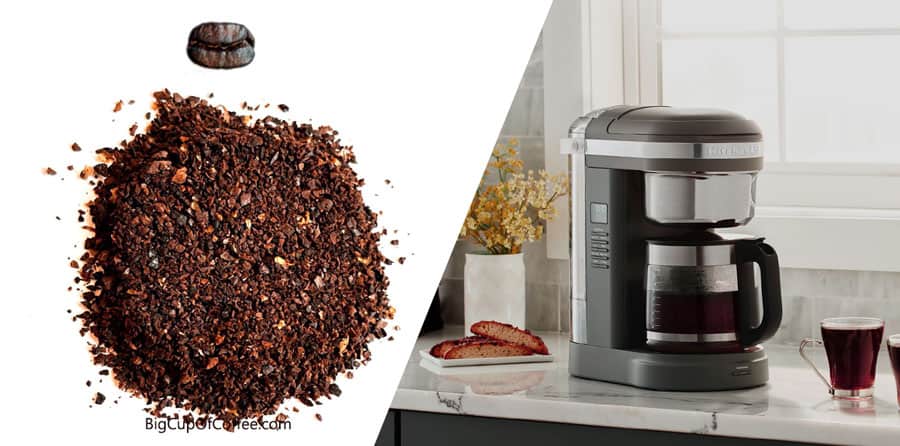
If you are grinding your own beans, a medium-coarse setting is the best for drip coffee machines.
2. Add water to the machine’s reservoir.
The next step is filling up the machine’s water reservoir.
I recommend using filtered tap water for drip coffee. Straight tap water has too many minerals that will interfere with the flavors of your brew, while distilled water’s lack of minerals also results in a disappointing cup.
What is the best coffee-water ratio for drip coffee makers?
Using a 1:17 ratio between your ground coffee and water is ideal for this step. This means that for every gram of coffee you add, you use 17x as much water. Adjust this ratio to increase or lower coffee strength.
Some models allow you to manually change certain settings such as the delay timer and brew strength. With these added touches, you can further customize your cup of coffee.
3. Inserting the filter correctly is essential for achieving even extraction throughout brewing.
You can opt for paper filters or reusable varieties – both work fine depending on which one you prefer using.
Make sure the filter sits flat against the sides of the basket so the grounds don’t escape during the brewing process.
4. Pour your coffee grinds into the filter
Then add your (preferably freshly) ground coffee into the filter and level the surface. Don’t compress the grounds, just level them nicely.
This helps maintain an even extraction across the entire batch of brewed coffee for the best-tasting results.
5. Hit the “brew” button on your machine until you hear a bubbling sound.
Depending on the size/strength of the brew being made, it will take anywhere from 3-8 minutes for your machine to fully finish brewing.
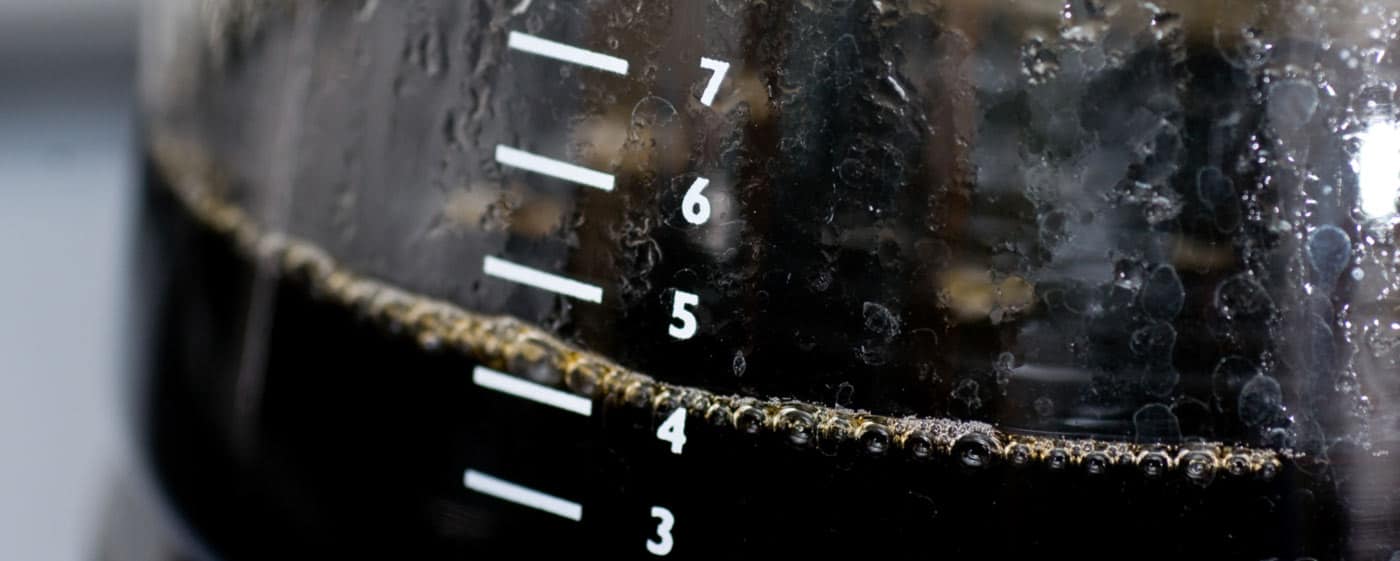
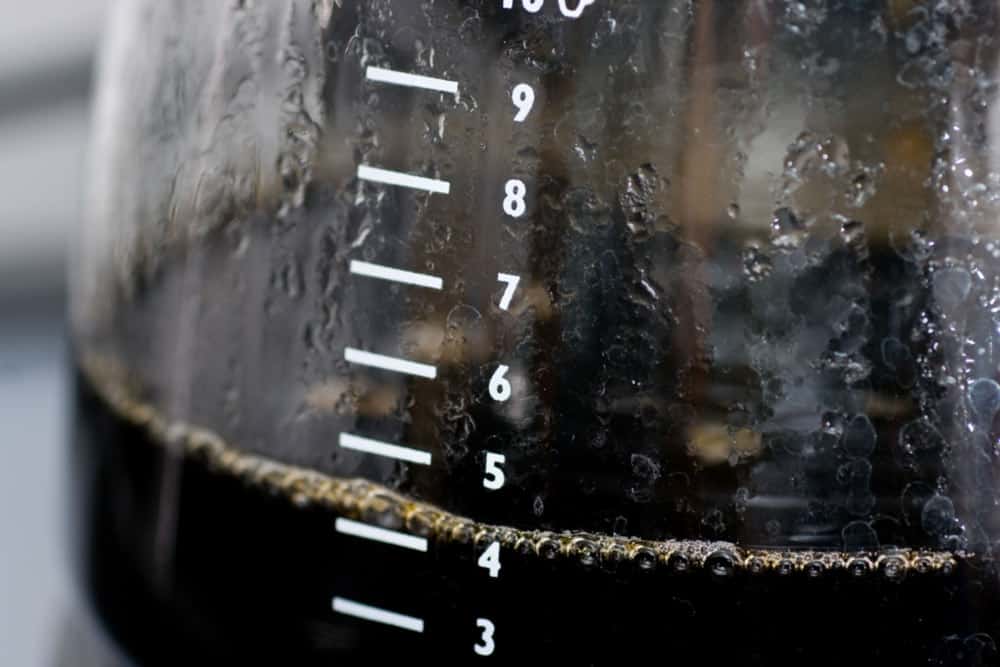
It’s also important to monitor the water level in the reservoir periodically so that it doesn’t overflow – this can be an issue with some machines if you choose the wrong ratio of coffee grounds and water, or if you pack the grounds too tightly.
6. Enjoy your freshly brewed coffee.
Carefully pour into cups, taking care not to spill any over the sides.
Enjoy it as is or add cream, milk, or sugar depending on your desired flavor profile. I don’t add any condiments when I use light or medium roast beans, since they would just take away the natural origin taste of my coffee. But with darkly roasted beans, I might add some sugar or creamer.
Either way, savor every sip while it’s still piping hot and fresh from the machine. But not too hot, you don’t want to burn your tongue. Here is an article on the ideal coffee brewing and serving temps.
7. Cleaning Your Drip Coffee Maker
After enjoying a freshly brewed cup of drip coffee, it’s important to take the time to clean your coffee maker. Cleaning will not only help ensure better-tasting coffee for years to come, but also extend the life of your machine. It only takes a few minutes.
Here’s how to clean your drip coffee maker after each use:
- Remove and discard the used coffee filter and grounds from the filter basket.
- Next up is rinsing. Rinse out both the filter basket and carafe with warm water.
- Wipe down any exterior surfaces as needed using a damp cloth or sponge – this ensures that no leftover oil builds up which can cause off flavors in future brews.
And don’t forget to give your machine some TLC every month or so by running an empty brew cycle with vinegar instead of water. This helps dissolve mineral deposits (limescale) left behind during brewing.
The manufacturer of your specific coffee maker may have also provided instructions for cleaning, as some machines have extra steps. Make sure you check your manual regarding this.
Following these simple steps on a regular basis will keep your drip coffee maker purring like a kitten so you can always look forward to that delicious first sip.
Types of Drip Coffee Makers
When it comes to making a delicious cup of joe, you want to use a coffee maker that does the job right. Many coffee connoisseurs, me included, swear by drip coffee makers because they are efficient, versatile, and relatively affordable – plus, they make great-tasting java.
Check out this comprehensive comparison between drip coffee and pour-over coffee.
But before you start researching all the different types of drip coffee machines available, let’s take a look at your options:
Manual Drip Coffee Makers (pour over)
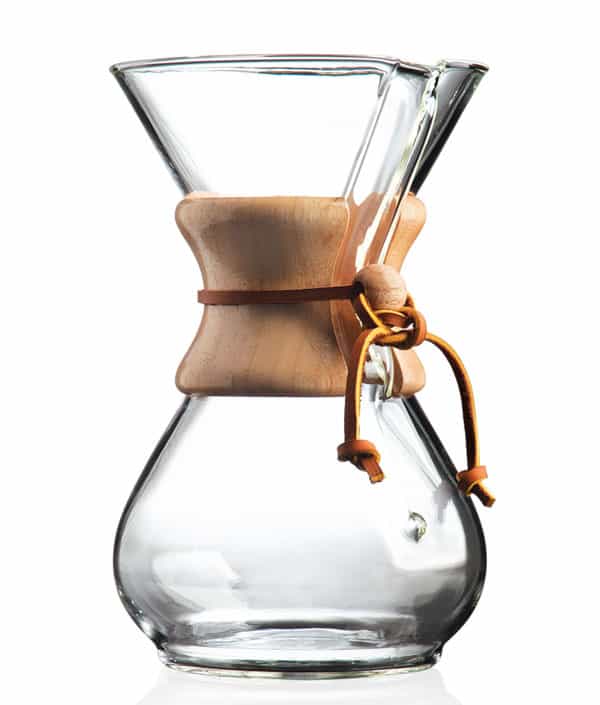
These require a slow pouring process to properly saturate the grounds in the filter with hot water. They rely on gravity alone, since no electricity is required. They may seem simple, but this category includes classics like the Chemex and Hario V60, which are staples of the 3rd wave of coffee.
Automatic Drip Coffee Makers
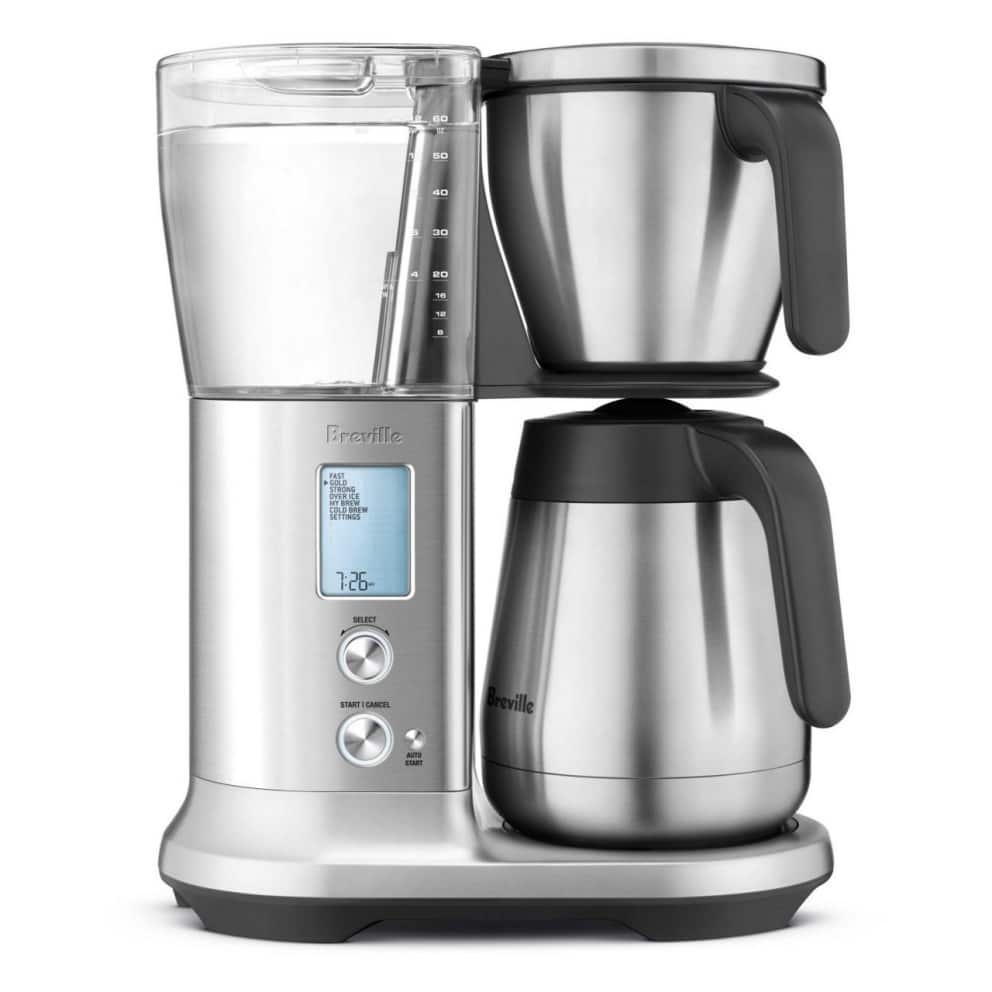
Automatic models come in various sizes that produce anywhere from 2 cups up to 15 cups at once. Usually, all you have to do is fill up its reservoir with water, measure and add your freshly ground beans into the filter basket, press ‘ON’, and you’ll soon have a coffee pot of your favorite brew.
You can also get smaller footprint, single cup coffee makers. Those are perfect for those who live solo or don’t feel like going through the hassle of setting up a larger machine for only one cup. All you need to do is add a single serving size amount of coffee grounds and cold water into the container and turn it on – fast and convenient.
Troubleshooting Common Drip Coffee Maker Issues
When it comes to troubleshooting common issues with your drip coffee maker, there are a few things you should keep in mind. First and foremost, make sure the machine is plugged in securely and turned on – sounds simple enough, but I can’t tell you how many times I’ve heard baristas grumble about customers not even double-checking this basic step.
Frequently Asked Questions (FAQs)
Here are answers to questions you may have about brewing with a drip coffee maker.
Drip coffee makers are great for beginners because they’re easy to use and don’t require any special know-how or skills. The main difference between drip machines and other types of coffee makers is the way in which water comes in contact with the grounds. With a drip machine, hot water slowly drips through a filter containing ground beans before passing into your cup. You don’t have much control over the process, other than the coffee-water ratio you use.
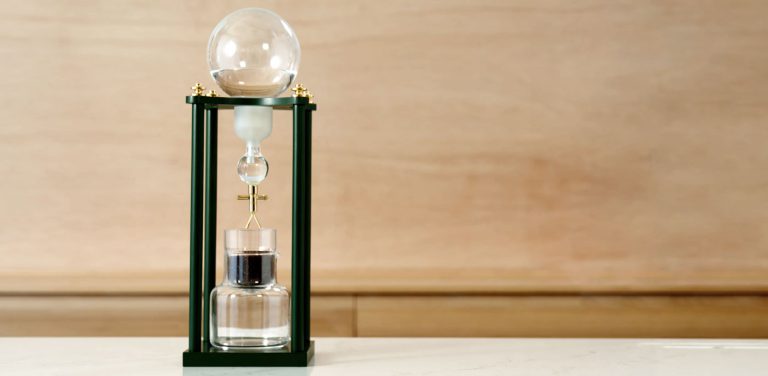
Unfortunately, no—drip machines aren’t designed to make specialty drinks like flavored lattes or iced coffees. To enjoy those kinds of beverages, you’ll need an espresso machine capable of producing steam and/or froth. Similarly, cold brew requires its own equipment since it needs to steep overnight rather than going through a drip brewing process.
When shopping for a drip coffee machine, there are several features to consider based on personal preferences such as capacity, ease of operation and cleaning, energy efficiency settings, programmable timers, and auto-shutoff options. If budget isn’t an issue then you can also opt for one that has various bells and whistles such as temperature control or adjustable flow rate settings.
Ultimately, it all boils down to finding the right fit for yourself so take some time researching different models before deciding on one!
Yes. Mesh filters are a popular alternative to paper filters when making drip coffee. However, I find that paper filters offer a cleaner cup while mesh filters allow for more oils and flavors to get into your cup, but sediments can also pass through.
Conclusion
I hope you feel more confident in your ability to make coffee that delivers decadence in every sip. Now that you know how to select and grind beans correctly, fill the water reservoir, insert and add grounds into the filter basket properly, adjust brew settings, clean after use, and troubleshoot common issues – nothing can come between you and a great cup o’ joe!
The next time someone asks “Where’s the best coffee around?”, tell them it doesn’t have to be from anywhere but home. Let’s get brewing!

