How to Make Coffee Using a Stovetop Percolator – Is It Worth Your Coffee Beans?
Being a barista, I’ve made it my quest to master all of the different brewing methods. One classic way to make coffee that I almost overlooked is the use of a stovetop percolator.
It’s an old-fashioned brewer and frankly, it does not yield the most nuanced brew, but it’s still worth checking out because of its simplicity, convenience, and its stronger coffee.
So if you’re ready to give coffee percolators a try, let me walk you through the steps of making a fantastic cup of coffee using this age-old technique.
What is a Coffee Percolator?
A coffee percolator is a kettle-shaped coffee maker that’s often made with a stainless steel (or aluminum) body with a glass knob on the lid, through which you can watch your coffee slowly percolate. Invented by the Parisian tinsmith Joseph-Henry-Marie Laurens in 1819, the first modern percolator is known for convenience since it can brew with just a stovetop.
You can even use a percolator over a campfire when outdoors, which I’ve done before as well.
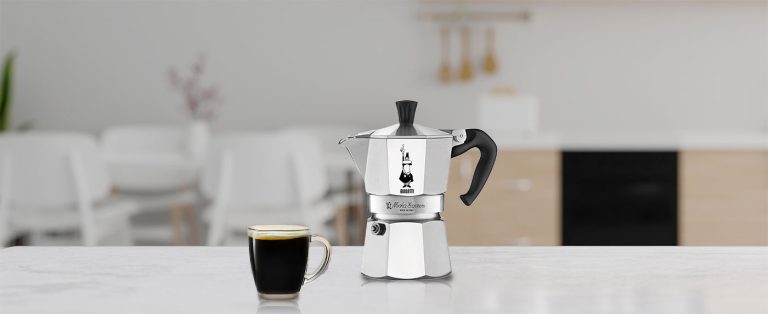
Do not confuse the Moka Pot and the coffee percolator, though. While both can brew coffee over the stovetop, I’d say Moka Pots produces far better coffee because of its richer espresso-like cup. On top of that, percolators take longer to brew, consuming more energy and making it a less eco-friendly option. Here is everything you need to know about Moka pots.
What does percolator-brewed coffee taste like?
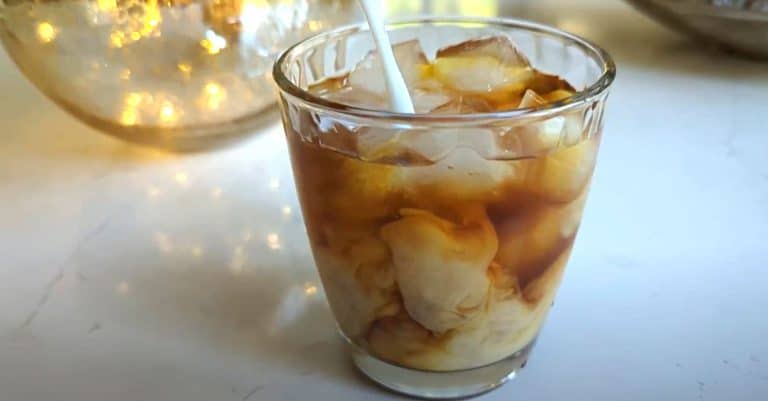
A percolator can fix a regular black coffee that’s stronger than drip coffee, but it won’t have all of the taste elements you would expect from more “sophisticated” brewing methods. I don’t really use my percolator much, except when I don’t have access to any other brewing method for some reason (power outage, camping, etc.)
Is a stovetop percolator safe?
Safety can be a concern surrounding coffee percolators especially if you’re using vintage ones. You need to avoid very old models with metal spouts (these were recalled in the 70s because they tend to break) or those made or lined with aluminum which can be toxic to the body over time.
These only apply to vintage percolators though. If you’re using a percolator that’s brand new or just a few years old, you really don’t have to worry.
Equipment & Ingredients for Percolator Coffee
Before you can get started, get the following ingredients and equipment:
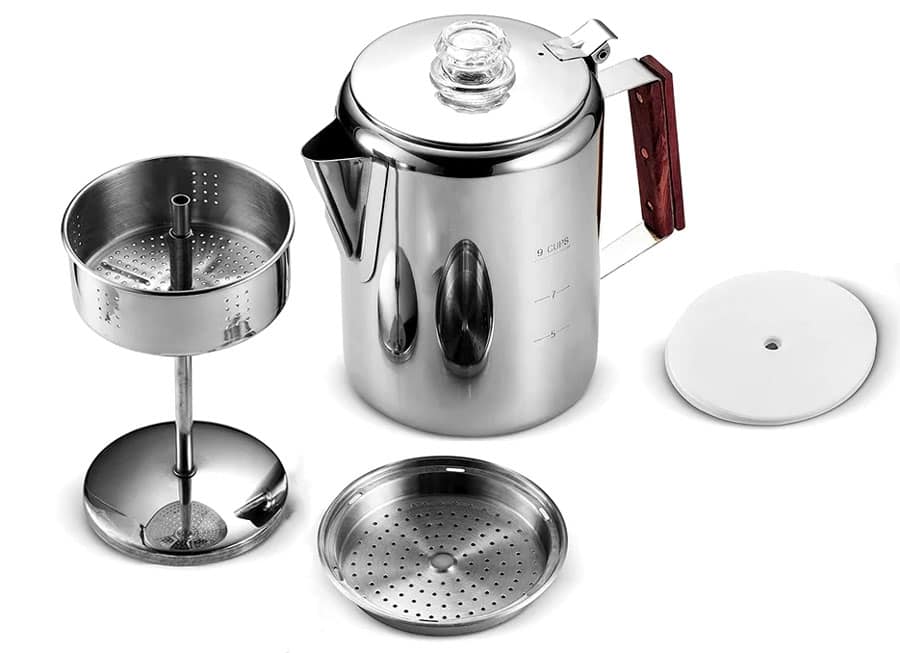
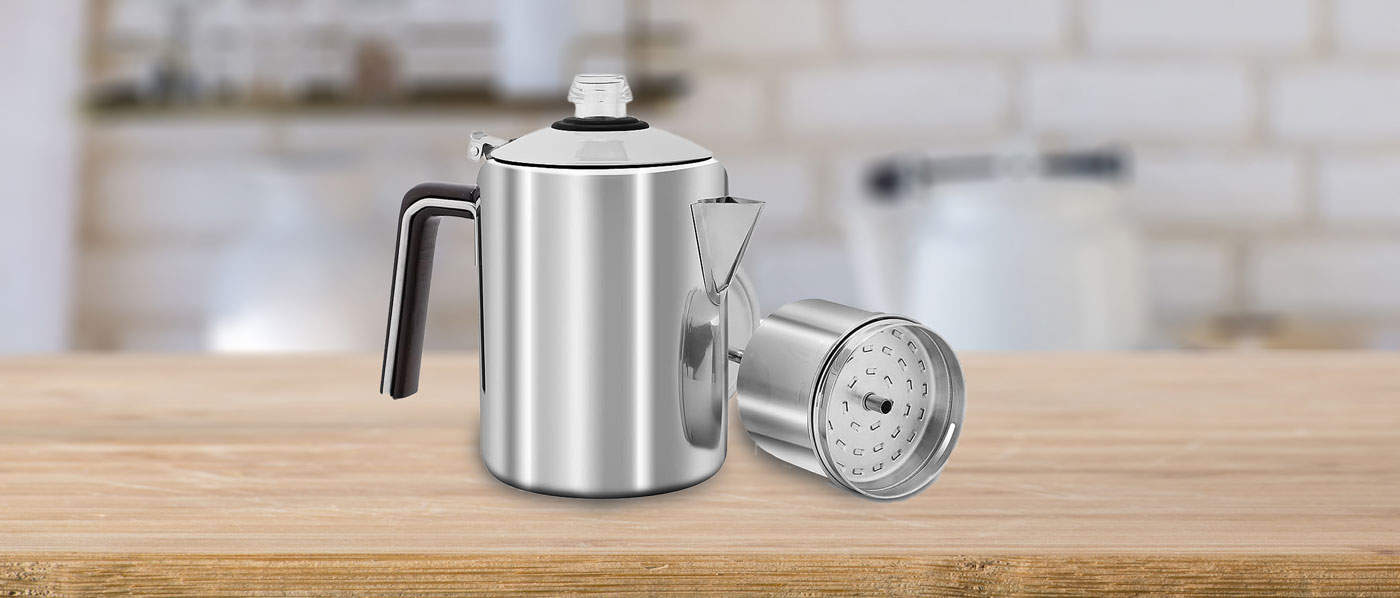
- Coffee percolator: The coffee percolator is your main machine for crafting your coffee. It is comprised of the percolator’s pot, and inside are the basket and stem.
- Paper filter (optional): This will help you achieve a purer coffee drink without any unwanted sediments getting into your cup. Poke a hole at the center of your filter where the percolator stem can fit.
- Stovetop: For this recipe, we’ll be using a cooktop stove, but you can also use a campfire or a wood stove for brewing.
- Water: Water is necessary for making coffee; it fills up the percolator and gets heated to brew the coffee. The amount of water depends on your percolator, and how much coffee you want to make.
- Ground coffee: Your most important ingredient to making this coffee. Use medium size coffee grounds and you can tweak the amount to fit your personal taste. I generally use 1 tablespoon of coffee per cup of water (230 ml).
How to Make Coffee in a Percolator: A Step-by-Step Guide
Using stovetop percolators is not that complicated at all; it’s one of the advantages of using this coffee brewing process. Here’s a detailed guide on how to make your percolator coffee:
1. Prepare your percolator.
- For this recipe, we’re using a regular stovetop percolator. No fancy features or electric percolators.
- Open it up and bring out the stem and the basket.
2. Add water to the pot.
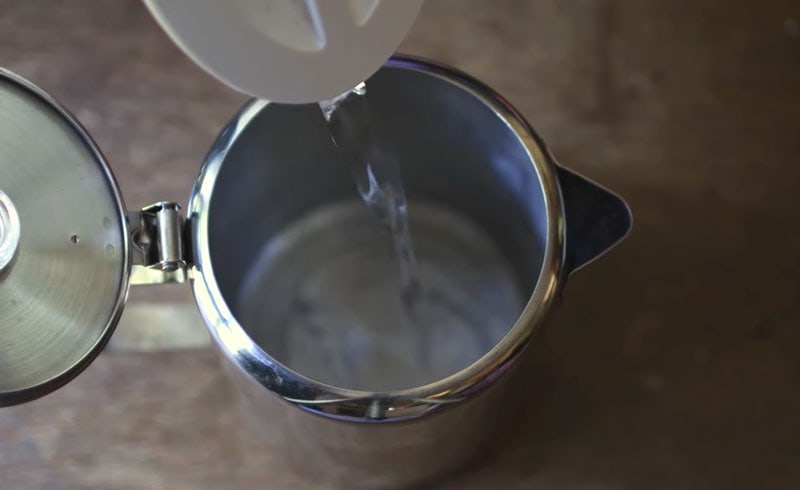
- Fill it with water. Filtered water is best I think.
- You want the water to be maximum just below the holes from the spout.
3. Insert the paper filter (optional).
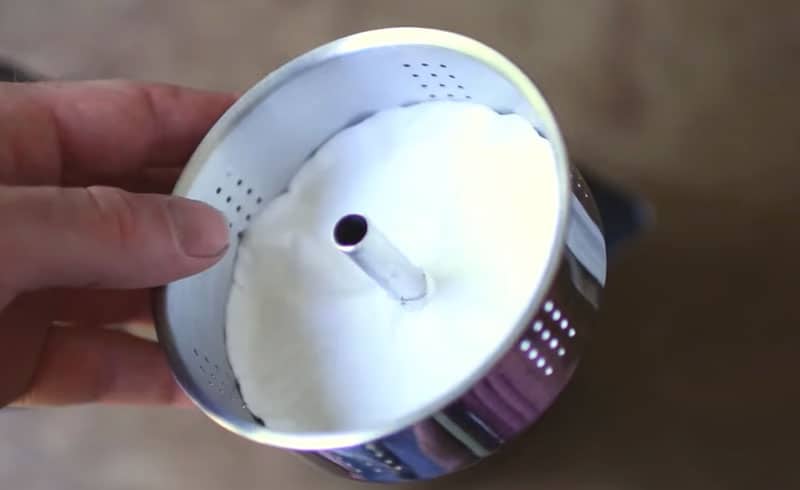
- Get a paper filter, cut out a small hole in the middle, and put it on the basket with the stem poking out.
- This is not part of the traditional way to percolate coffee, but I’ve tested it and it really gives a cleaner cup.
4. Add ground coffee into the basket.
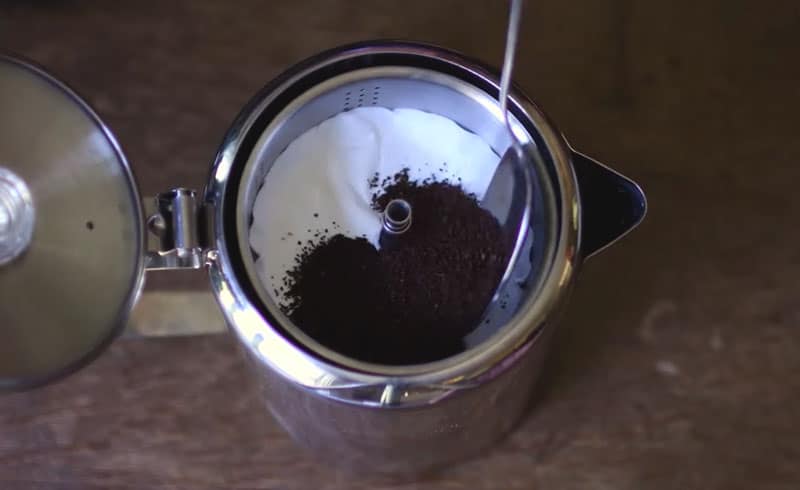
- Back to your basket with a paper filter, add medium grind size coffee grounds. You need about 1 tbsp of coffee per cup of water used. Adjust the amount accordingly, though.
- You want to use a bold roast with a medium grind size.
- You don’t need to use specialty coffee beans with a percolator, it would be a waste, since this brew method can’t extract all of the flavors you are looking for from specialty coffee.
5. Put the basket and stem inside the percolator and place it on the stove.
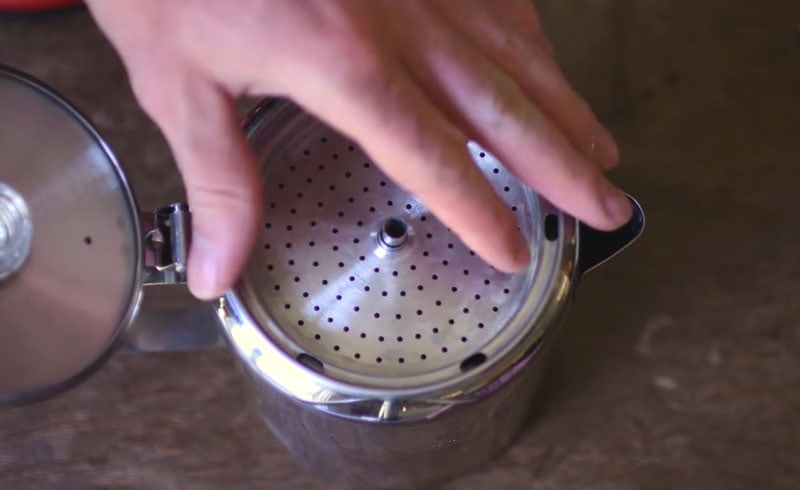
- Carefully place the basket and stem into the percolator pot and put the basket cover on if it has one.
- Once everything is ready, turn on your stove and place the percolator over it, closing the lid.
6. Allow the water to boil for your coffee to brew.
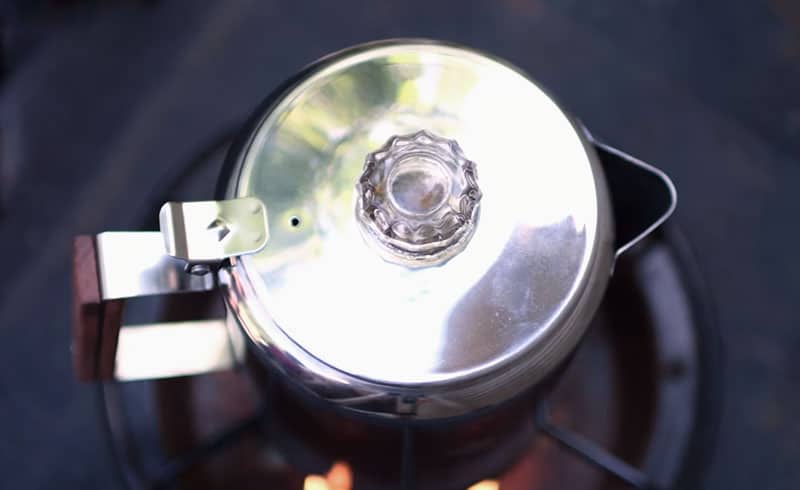
- Wait for your water to boil. You should see the water reaching the top of your percolator and inside the glass knob.
- After it reaches the boiling point, let it boil for a few minutes until you see the color of the water change.
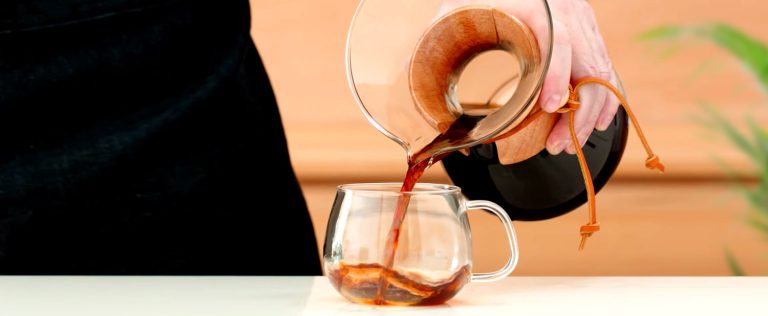
7. Pour into a cup and enjoy.
- After the water has become coffee inside your stainless steel coffee maker, pour it into your cup or mug.
- Enjoy your drink.
How to Make Coffee Using a Stovetop Percolator – Is It Worth Your Coffee Beans?
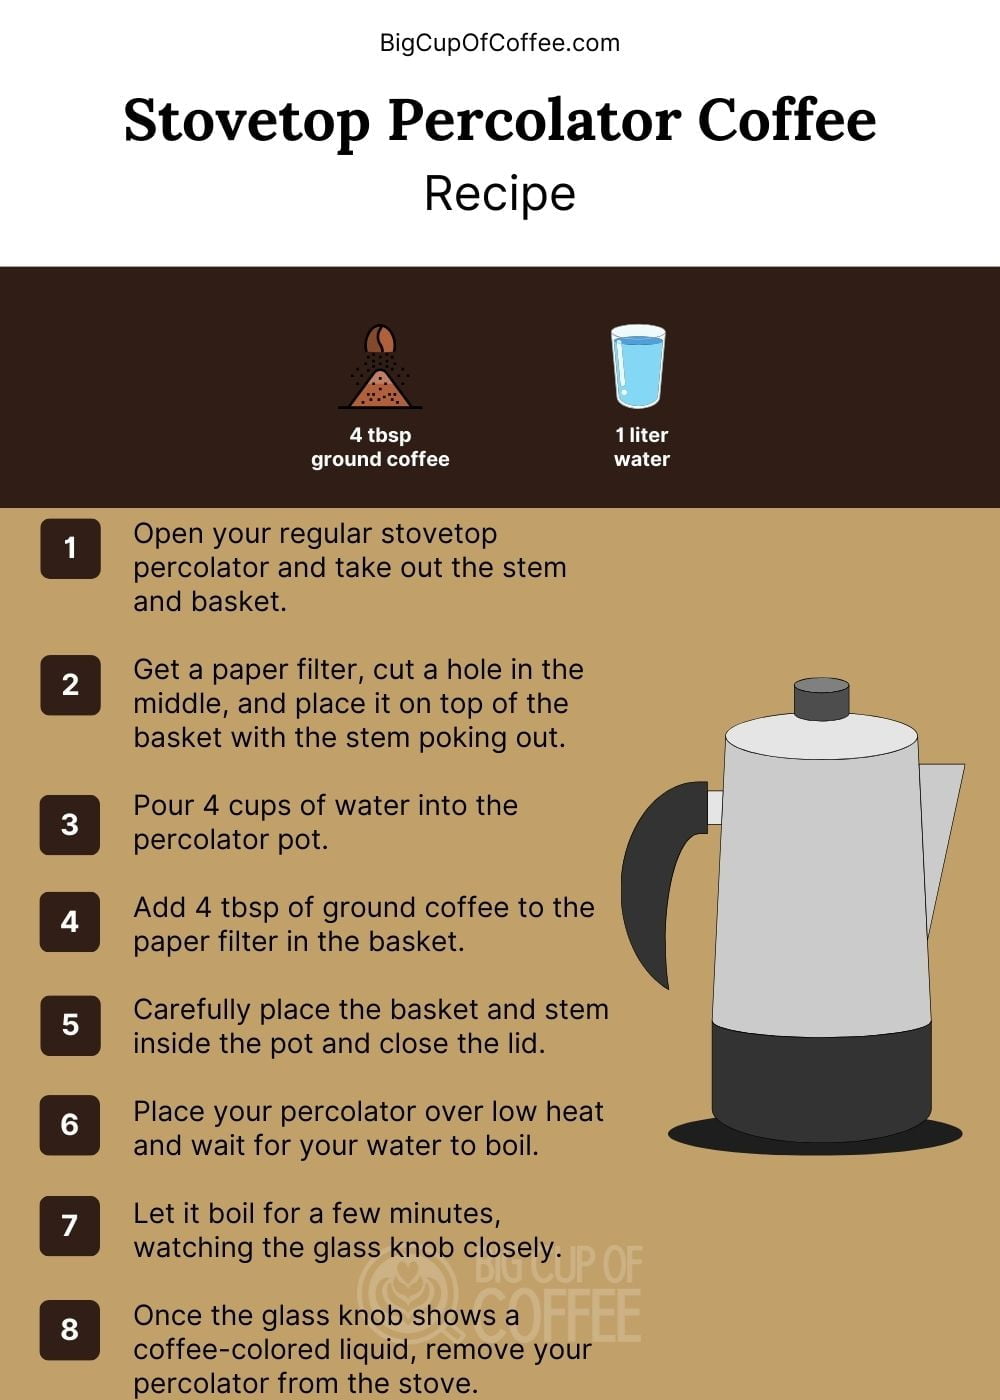
Ingredients
- 946 ml Water
- 4 tbsp Coffee grounds
Instructions
- Open your regular stovetop percolator and take out the stem and basket.
- Get a paper filter, cut a small hole in the middle, and place it on top of the basket with the stem poking out.
- Pour 4 cups of water into the percolator pot.
- Add 4 tbsp of ground coffee to the paper filter in the basket.
- Carefully place the basket and stem inside the pot and close the lid.
- Place your percolator over low heat and wait for your water to boil.
- Let it boil for a few minutes, watching the glass knob closely.
- Once the glass knob shows a coffee-colored liquid, remove your percolator from the stove.
- Pour the coffee into a cup and enjoy.
Video
Notes
How to Clean Your Stovetop Percolator
Now that you know how to make percolator coffee, it’s also important to know how to clean and maintain this coffee maker for consistent performance. Check out this simple process:
Step 1: Disassemble and Empty
Start by disassembling your stovetop percolator and removing the filter basket and stem. Throw away any used grounds into the bin.
Step 2: Basic Cleaning
Fill a dish bowl with a mixture of warm water and a teaspoon of dish soap. Use a dish sponge to clean the interior of the percolator, including the inside walls and filter basket.
Step 3: Rinsing with hot water
Rinse thoroughly with hot tap water to ensure all soap residue is removed.
Step 3.1: Deep Cleaning Option #1 – Baking Soda Scrub
For those more stubborn stains or smells, mix three tablespoons of baking soda with water in the empty percolator until it forms a paste-like consistency.
Apply this mixture to areas where build-up persists, especially on internal surfaces prone to staining from mineral deposits or burnt coffee oils. Allow it to sit for several minutes before scrubbing it gently with a soft brush or cloth. Rinse well afterward, making sure there is no remaining baking soda residue present.
Step 3.2: Deep Cleaning Option #2 – Vinegar Soak
Another effective method involves using vinegar as an all-natural cleaner. Fill your empty percolator halfway with equal parts white vinegar and water. Let it soak for about five minutes and then place it on low heat for about ten minutes.
Turn off the burner and let it cool down. To rinse, repeat the process two more times but just use plain filtered tap water. You can also check out other vinegar alternatives for cleaning coffee makers.
Step 5: Reassembly and Inspection
After thoroughly cleaning and rinsing your percolator, dry each part with a clean towel. Inspect all components to ensure they are free of any residue or debris. Check for any wear or damage that might need repair or replacement.
If everything looks good, reassemble your percolator. Now it’s sparkling clean and ready to brew more of your favorite coffee.
Conclusion
Are you on the hunt for a straightforward, easy method for brewing your morning cup of joe? Using a stovetop coffee percolator is an old-fashioned technique that’s stood the test of time. I have to confess, the resulting coffee might not win any awards in flavor. Yet, it’s potent enough to provide that much-needed caffeine kick for your day.
For me, I only occasionally use my percolator, mostly when I’m camping and want to take a break from my brewing methods of preference (espresso, V60, trusty AeroPress). But this might be the method that’s right for you, so give it a try and let me know in the comments how your coffee experience was.
Fascinating read. I tried brewing with a percolator once and ended up with a bitter taste. After reading your guide, I realized I had my stovetop on too high, causing over-extraction. I gave it another go with a gentler boil, and what do you know, it came out much better – still strong, but not bitter. Share more tips like these, please.
As an avid camper, I’ve been using a percolator over the campfire for years. Your article does a great job capturing the essence of campfire coffee brewing. One aspect I think worth mentioning for any outdoor enthusiasts is the importance of the grind size when brewing with a percolator. A coarse grind prevents grounds from passing through the basket and makes for a smoother drink.
I just wanted to express my gratitude for this thorough guide, Tom. I followed your steps and made my first percolator coffee today after finding my grandma’s old percolator in the attic. It absolutely brought back memories with a richer flavor than I expected. Safe to say, this article helped me revive a family tradition that I thought was lost.
Never knew you could use a paper filter in a percolator, always thought it was just metal filters. Tried it out after reading your article and it indeed gave a cleaner cup. Curious though, does the filter affect the strength of the coffee in any significant way?
It will a little, since it filters out sediments.
I have percolated coffee at church. Using “church” coffee. Your article has motivated me to find my Grandmother’s percolator that I know is around here somewhere, and give it a try.