Aeropress Inverted Method Tutorial – Does This Recipe Make Better Coffee?
There are two main methods of brewing coffee with an Aeropress:
- Standard method
- Inverted method
You might be asking, “Inverted what?” 🙂
I know I did when I first learned about it, but the concept is pretty simple.
With the Aeropress inverted method, you set up the AeroPress coffee maker upside down, with the plunger on the bottom and the brewing chamber on top. You steep your coffee in this position and flip the Aeropress onto a cup for plunging in the end.
Is there an advantage to using the inverted Aeropress method?
Yes, there are 2 reasons:
- Dripping
- Filter clogging
No Dripping
Let’s start with dripping. So if you’ve ever used an Aeropress with the standard method, you’ll have noticed that a few drops of coffee may drip into your cup during the steeping stage.
Serious coffee geeks freak out because this dripping alters their coffee-water ratio.
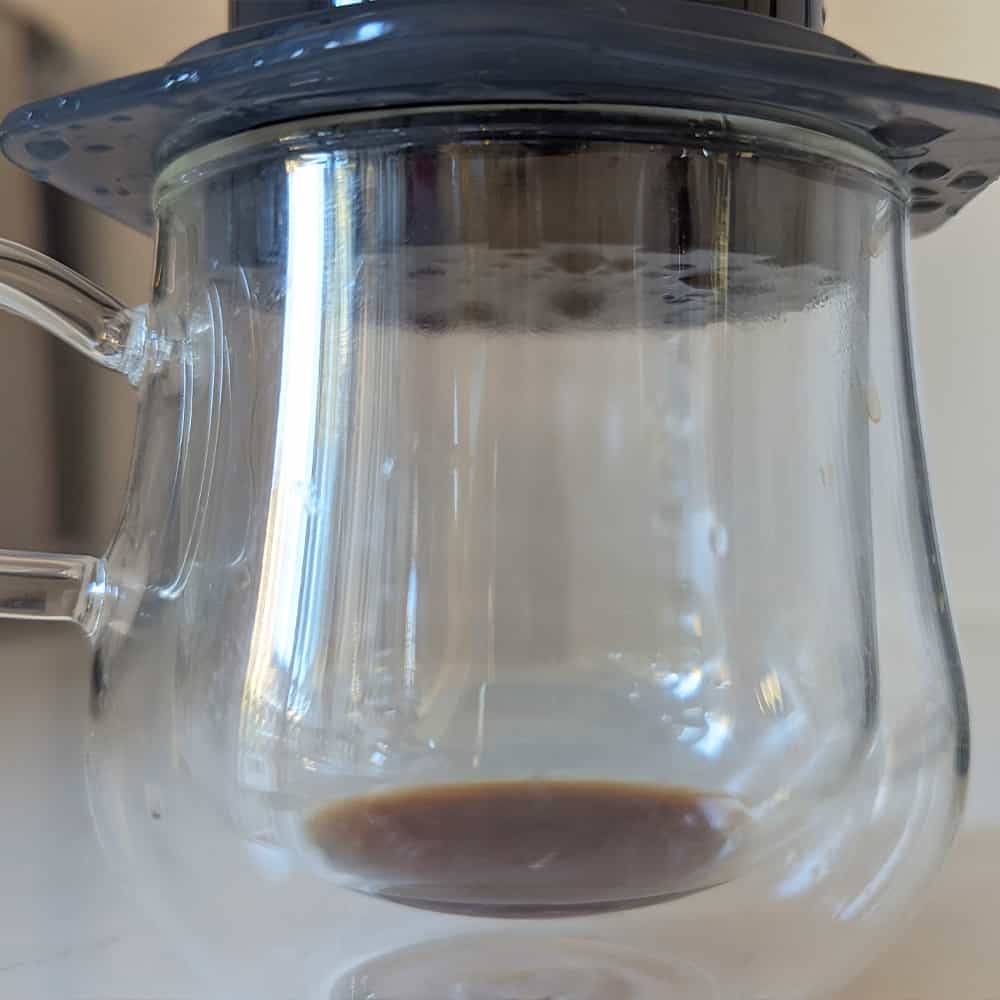
With the inverted method, you do not lose any water while stirring and steeping the coffee grinds, so you retain complete control over the water amount in your brew. Many of the winning Aeropress recipes from the yearly championships use this method.
On this note, remember that if you use the standard method, place the plunger into the chamber after stirring to create negative pressure and not let more coffee drip through. I touched on this in the standard Aeropress recipe.
Improved Filtering
The contact area of the Aeropress’s filter is rather small. Much smaller, than a Chemex or V60 filter, which essentially do the same thing, right?
So as you plunge, that small piece of paper has to filter out a lot of coffee grinds, preventing them from entering your cup.
With the standard method, the grinds settle onto the filter, and immediately get packed onto it, as you plunge. This forces the smallest grinds particles through the filter, or even clogs it partially. Now while this is useful for the faux espresso Aeropress method, normal coffee usually tastes better with the inverted method.
With the inverted method, as you flip the Aeropress for plunging, you mix the grinds, so they do not settle on the filter at all. This improves filtering and reduces clogging.
Besides the above 2 points, some coffee aficionados also say that the upside-down method allows for more contact between the grinds and the water, emulating immersion brewing like a French press, so the coffee tastes richer. I disagree with this reasoning since both methods need to be stirred and steeped, so they are both brewing via immersion.
The things you need for inverted Aeropress coffee
The main tools you need are the same for both the inverted brewing and standard methods. However, there are some slight changes in the grind size and water temperature.
You’ll need:
- AeroPress
- Filter
- 15-18 grams of freshly ground coffee beans (check out our list of the best coffee beans for the AeroPress)
- 80°C water (filtered water is best)
- Kettle or pot for heating water
- Stopwatch
- Kitchen scale
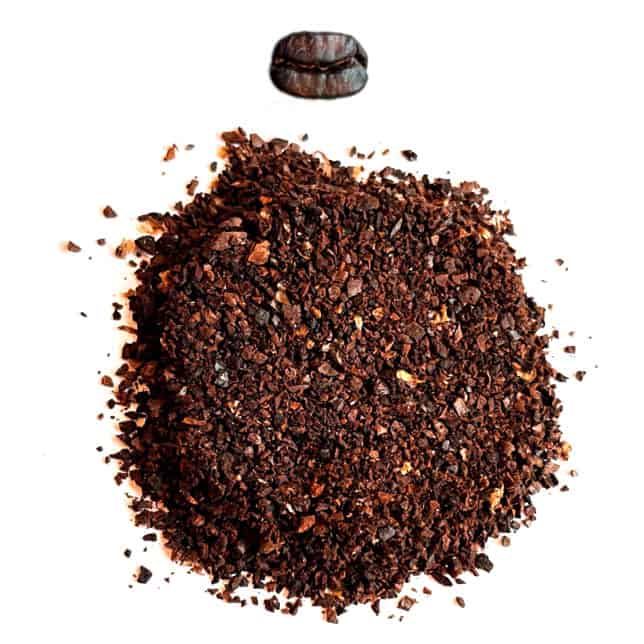
Grind size for the inverted method
My recipe calls for slightly cooler water than I usually use, so you can use a grind size that’s a little coarser than recommended.
I recommend using a medium grind with the inverted method on the Aeropress.
Aeropress inverted method recipe
Here is how to make coffee with the Aeropress inverted brew method, with details following below the recipe card.
Aeropress Inverted Method Tutorial – Does It Make Better Coffee?
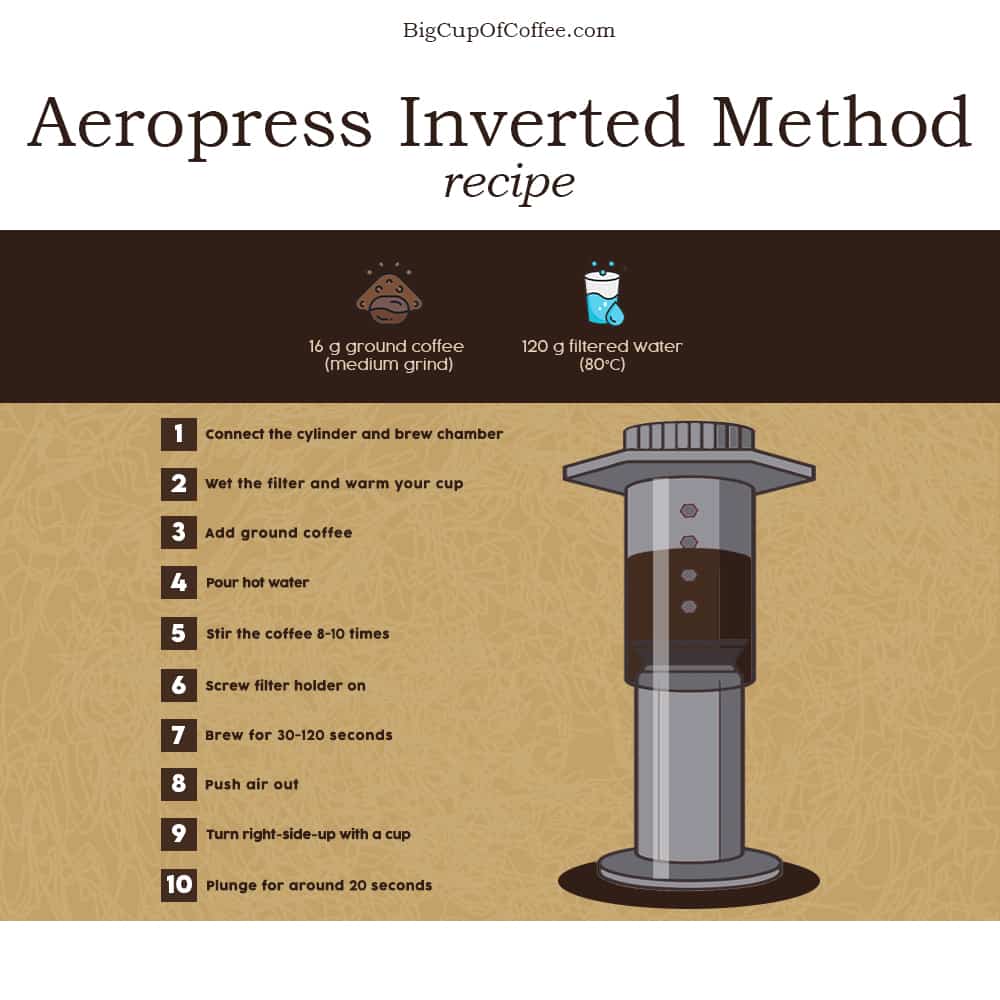
Ingredients
- 16 g ground coffee (medium grind)
- 250 ml filtered water (80°C)
Instructions
- Connect the cylinder and brew chamber
- Wet the filter and warm your cup
- Add ground coffee
- Pour hot water
- Stir the coffee 8-10 times
- Screw filter holder on
- Brew for 30-120 seconds
- Push air out
- Turn right-side-up with a cup
- Plunge for around 20 seconds
Video
Notes
Step 1 – Connect the cylinder and brew chamber
Place the cylinder’s open end on a flat surface and slide the brewing chamber onto it from above.
They should overlap by about 1 cm, creating a good seal between the plunger and the chamber. I’ve found that pushing it so the end of the silicone seal is at the end of the brewing chamber is perfect.
Step 2 – Wet the filter and warm your cup
Place a paper filter into the filter holder and carefully rinse it with your hot water into your coffee mug. This flushes the filter to remove the paper flavor you would otherwise end up with, and warms your cup simultaneously.
Discard the water from the mug.
Step 3 – Add coffee grinds
Measure 15-18 grams of coffee beans (I use 16 g specifically which is about one leveled AeroPress scoop) and set your grinder to a medium grind. The result should be like sand at the beach, slightly coarser than table salt.
Pour your grinds into the brewing chamber.
Step 4 – Pour hot water
Slowly pour 250 ml of 80°C water onto your grinds in a circular motion. The pour should last 8-10 seconds.
This 250 ml of water results in a 1:15 coffee-water ratio. That is how I like it.
Using a coffee scale allows for exact measurements, but if you don’t have one, pour until you are 5 mm below the top of the Aeropress.
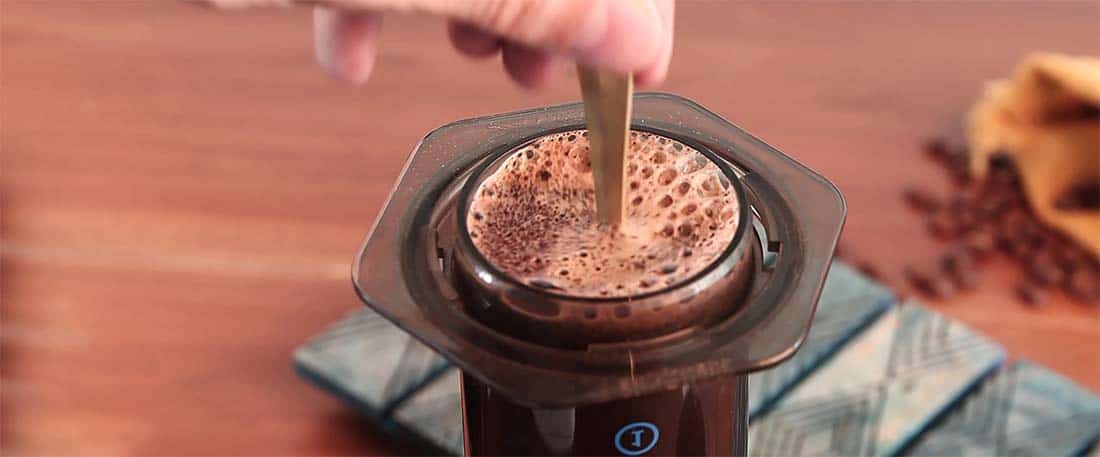
Step 5 – Stir the coffee and put screen on filter
Stir the coffee 8-10 times.
Too much stirring can produce a bitter result, but too little stirring might make your coffee sour.
Screw the filter holder on.
Step 6 – Brewing time
Start your stopwatch, and let your coffee bloom for at least 30 seconds.
This contact time between the coffee and water will result in a cup of fruity coffee with a light body. If you prefer a stronger cup of coffee, you can let it steep for up to 2 minutes. But not more!
It’s fun to experiment with steeping times!
Step 7 – Push air out
After your brewing time is up, it’s best to get rid of the extra air inside your Aeropress before turning it back onto your cup.
Apply just a bit of pressure pushing the chamber into the cylinder until you see the first bubbles in the filter holder.
Step 8 – Turn right-side-up
Get a sturdy mug, and quickly but carefully turn the AeroPress right-side-up onto a sturdy mug.
Alternatively, you could place a mug onto your AeroPress, and turn them both to avoid spillage.
Step 9 – Push down
Position your body over the Aeropress and push down on the plunger slowly and evenly, extracting all the coffee’s goodness. The motion should take about 20-25 seconds.
Stop when you hear that unique Aeropress hissing sound.
Step 10 – Serve and enjoy!
Your coffee should now be ready to drink.
The 17g coffee to 250 ml water results in a 1:15 coffee-to-water ratio. If that is a bit strong for your personal preference, dilute your coffee by adding some more hot water if you like.
And as I mentioned, experiment with these recipes.
Next time you make an inverted Aeropress brew, try these:
- Add a little more or little fewer coffee grounds (16-18g)
- Use 85° or 90°C water.
- Use a little more or little less water.
- Wary your brew time.
The great thing about brewing with an Aeropress is that you have full control of the extraction process.
If you’re wondering if the inverted method also applies to the AeroPress XL, the answer is no. AeroPress strongly advises against using the inverted method for the XL variant as it’s more unstable and can cause an accident.
Now, over to you.
Have you tried the recipe? Did you change anything for a different outcome?
Let me know in a comment below!

Excellent tutorial on the inverted Aeropress method, Tom. However, I believe it’s worth mentioning the importance of a consistent grind when changing the brewing method. Uneven grinds can drastically change the outcome, even more so with the inverted method where immersion time is more controlled.
I’ve read many articles on Aeropress techniques, but this one brought up a new perspective on the drip factor’. It never occurred to me that those few drips could make a difference but thinking about it now, it makes total sense. I’m curious, does anyone notice a significant caffeine difference between the two methods?
Just wanted to chime in here with my two cents as an Aeropress enthusiast. The inverted method is truly a revelation, the difference in taste is certainly there. But it’s vital to be patient and careful with the flip to avoid a mess – something the article could have emphasized more. Otherwise, fantastic read.
I’ve tried the inverted method based on the tutorial, and the result was a surprisingly richer cup of coffee. I just have one question: the article mentions 80°C water, but I’m wondering how strict that temperature range is. Would a few degrees up or down drastically change the outcome?
Yes, the water temp makes a huge difference depending on the bean and recipe.
I’ve been experimenting with my Aeropress for months but always stuck to the standard method. After reading Tom’s inverted method tutorial, I tried it out and, wow, the difference in taste is noticeable. The no-drip benefit really does keep the flavor consistent. Just wanted to say a huge thank you for this enlightening article.
I’ve always been a bit skeptical about the inverted method, but this article piqued my interest. Gave it a shot this morning, and it’s safe to say I’m converted. The coffee was smoother, and I found I had more control over the brewing process.
Tried the inverted method this morning, and it’s as if I’ve discovered a whole new side to my Aeropress. I did have trouble with the flip though. Any tips on avoiding spills?
Just put the mug on before the flip, and hold it tightly together with the aeropress when you turn it over. There shouldn’t be any spills like this 🙂
So I’ve been using the inverted method even before reading this, and I must say, the article captures the finer points perfectly. The grind size tip is spot on for anyone looking to enhance their brew. Worth noting, the temperature of the water is crucial too – a few degrees can make a significant difference.
After reading the tutorial and trying the method, I can attest to the rich taste of the coffee. The only thing I’m curious about is how the brew time affects the acidity. Does anyone know if a longer brew time using the inverted method brings out more acidity as with other methods?
This is a game-changer. The inverted method has given my morning coffee a new dimension of flavor. Quick question: has anyone experimented with different types of filters, like metal versus paper, using this method? Curious how it might alter the taste profile.
I have an article on comparing metal va papr aeropress filters here, it is an interesting read.