Pre-Infusion in Espresso Coffee: Does It Really Make a Difference?
Have you tried following all the advised variables for your espresso to a T, but still can’t get the espresso shot you hope for? Then there is a technique that might just make all the difference: pre-infusion.
Now, you might be thinking, “But isn’t this just another gimmick?” Actually, I was skeptical at first too. But as I dove deeper into the science behind pre-infusion and experimented with different techniques myself, I began to see some real benefits.
In this article, I’ll share with you my findings.
What is Pre-Infusion?
Pre-infusion is a technique used in espresso making that involves saturating the coffee grounds with water before beginning the actual extraction process. Brewing water saturates the puck at a lower pressure (around 1 bar) for a few seconds, before kicking up to the full 9 bars of pressure.
The point of pre infusion is to allow for even saturation of the coffee puck before full-pressure extraction begins. It’s just like blooming your coffee grounds of your pour over. By moistening the coffee evenly and gradually, pre-infusion ensures that every particle of coffee is equally prepared for full extraction.
How long should pre-infusion last?
Most baristas agree that 5 to 8 seconds is the optimal amount of time for pre-infusion, before pulling the espresso shot at the normal nine bars of peak pressure.
This results in multiple benefits:
- A more balanced flavor profile with improved clarity, aroma, and body
- Enhanced sweetness, acidity, and complexity of your shots
- Consistent extraction, and increased shot consistency overall
- Less channeling
It was initially used in manual lever-operated espresso machines. Today, many modern espresso makers and even automatic machines come equipped with pre-infusion settings or offer different ways to achieve pre-infusion manually.
In short, pre-infusion is an effective method used in the espresso world to improve extraction by saturating the grounds before initiating the actual process. Give it a try and see how it impacts your espresso game.
Pre-Infused Espresso vs Traditional Espresso: Does It Make a Difference?
Now let’s have a closer look at how different pre-infused espresso and traditional espresso compare. Does adding a small amount of water to the grounds before applying full pressure really make a significant difference in your cup?

Visually, there can be notable differences between pre-infused shots and those made using traditional extraction. Shots made with pre-infusion may produce finer or less visible crema due to a slower initial flow rate. However, while visual appeal is important for latte art enthusiasts, it doesn’t necessarily impact the overall taste. As you may already know, crema tastes more bitter than the actual espresso, so less crema is not necessarily a bad thing.
Speaking of taste, pre-infused espresso shots tend to have a more balanced flavor profile with less bitterness and acidity, along with slightly increased sweetness compared to traditional extraction.
Of course, preference plays an important role here. Whether you prefer the stronger, more intense flavor of traditional espresso extraction or the balanced and mellow taste of a pre-infused shot, it’s up to you to decide which you like better.
I believe it’s definitely worth experimenting with. After all, the beauty of specialty coffee lies in its many nuances and possibilities, and pre-infusion has definite advantages.
How to Do Pre-Infusion With Any Espresso Maker?
As I have mentioned, pre-infusion isn’t that difficult to do. It also doesn’t need extra tools to improve your extraction, such as an espresso puck screen.
It just takes a few additional steps and tweaking to upgrade your brew with pre-infusion.
Lower-grade espresso makers that don’t have built-in preinfusion
Here are the steps to manually pre-infusing your espresso if your espresso maker doesn’t have the feature:
- Grind your beans as normal and tamp them down in your portafilter.
- Preheat your espresso machine and cup(s).
- Get about 10 ml of brewing water at brewing temperature
- Start a timer, then evenly fill your portafilter basket, wetting all the coffee grounds. You have started pre-infusion at this point, the water is dampening your grinds. This step is a bit difficult, since you want to pour a very small amount of water slowly and evenly.
- Attach your spouted or naked portafilter to the group head.
- At the 5-6 second mark, flip the switch and let your machine start the normal brewing process. It should take you about 3-4 seconds to slowly dampen your puck and another 1-2 to attach it to your espresso machine, so the 5-6 second mark I referenced is just FYI. There is no waiting time involved, it is a fluid workflow.
Higher-grade espresso makers
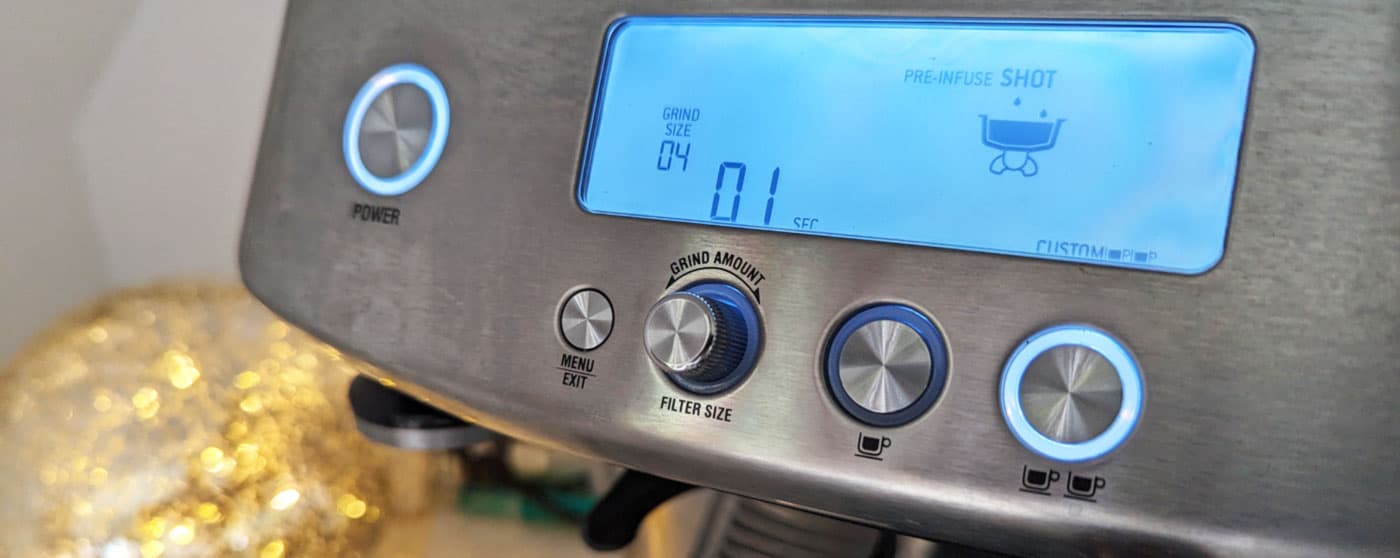
Many modern espresso machines come with built-in pre-infusion settings that automatically wet the puck for you. Check your machine’s manual or online specs to see if yours has this feature.
Prosumer espresso makers with the usual E61 group head have a brew level that you can light partially, to let the water flow without pressure first. You don’t want the pump to turn on at that point. Once you arrive at the amount of time you designated for dampening your puck, you can complete the brewing process by fully opening the brew lever.
If you have a more advanced espresso machine, you may also be able to use pressure profiling to achieve pre-infusion, which I’ll be detailing later in this article.
Troubleshooting Common Challenges
When pulling off pre-infusion to get that perfect espresso, it’s natural to face some challenges along the way. Here are solutions to some of the issues you might encounter:
Uneven distribution or channeling
If you’re experiencing uneven extraction or channeling where the water flow creates pathways through the coffee bed instead of saturating it uniformly, try pouring slowly in circular motions while avoiding the edge.
Over-extracted shots
Another challenge is knowing when to start your shot after pre-infusion. The general rule is to start brewing immediately after saturating the grounds, but this may vary based on machine and technique. If you’re experiencing over-extraction during regular extraction, try starting your shot a few seconds earlier than usual. Do the opposite for under-extracted coffee.
While it takes some practice and experimentation to find the right balance for your preferences and equipment, it’s worth giving it a go if you’re serious about crafting high-quality coffee at home or in your cafe.
Pre-Infusion Duration: Finding the Right Balance
Now that we’ve covered what pre-infusion is and its benefits, let’s talk about finding the right balance for the pre-infusion duration.
Anywhere from 2 to 15 seconds is typical, but several factors must be considered when determining exactly how long to pre-infuse your espresso. Some baristas even use 30 seconds pre-infusions.
Roast Level & Freshness
One of the most important factors is the type of coffee you’re using. Different roasts and blends may require different pre-infusion times in order to achieve optimal extraction:
- Lighter roasts need more pre-infusion time
- Medium to dark roasts require shorter to no pre-infusion
It’s also important to take into account the age of your beans, as older beans may need a longer pre-infusion time than fresh ones.
Coffee Dose
Another factor is the amount of coffee you’re using. Since more coffee produces a thicker puck, it will take more time to moisten for optimal extraction. The less coffee you’re using, the faster you can pre-infuse your ground coffee beans.
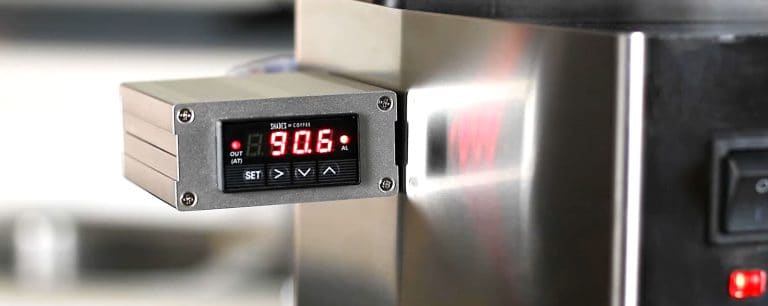
Water Temperature
You also want to consider the brewing water temperature. The hotter the water, the faster you pre-infuse, and in contrast, the lower the temperature the more time you need to do this process.
These are merely signals for your brewing, and these elements must come together along with your machine to produce the perfect brew.
In my experience, it’s a good idea to start with shorter pre-infusion times and gradually increase them until you find the sweet spot for your preferred taste. So don’t be afraid to experiment.
Pressure Profiling for Espresso Pre-Infusion
You may also want to learn about pressure profiling, which is a relatively new concept in the world of specialty coffee. However, it quickly became popular among coffee enthusiasts who want to push the limits of what can be achieved with espresso machines.
Here is a great video comparing flat pressure vs pressure profiled espressos.
Pressure profiling involves altering the pressure throughout the brewing process to achieve different tastes and aromas. Remember though that this isn’t a common feature in espresso machines, you can only do this on prosumer models.
Here’s a common pressure profiling “recipe”:
- Begin with low pressure at around three bars.
- Gradually increase the water pressure as you brew.
- By the end, you should have a peak of 9 bars in your brewing pressure.
By adjusting this factor during this initial stage, you can encourage even saturation of the grounds and more consistent flavor extraction.
So if you’re interested in taking your espresso game to the next level, I highly recommend experimenting with pressure profiling if your machine allows it. But getting a machine that can accommodate it is way more expensive than an average one, so this will hold many back.
Final Thoughts on Pre-Infusion
Pre-infusion is an espresso technique that can make a real difference in your brewing game. It’s easy to do at home with some simple techniques and experimentation, even on lower grade espresso makers.
Whether manually or through pressure profiling on advanced machines, finding the right balance is key based on factors such as roast level and freshness of beans along with water temperature.