Starbucks Sweet Cream Recipe For Making At Home
There’s something undeniably satisfying about recreating your favorite Starbucks beverages at home. Not only does it allow you to enjoy these treats whenever you want for much less than what you would pay at Starbucks, it also gives you the freedom to tweak the recipe.
One specialty condiment that’s become a favorite is their signature sweet cream – a rich, velvety topping that transforms coffee (and many other things) into a creamy delight. And even though it tastes amazing, it’s easy to DIY at home.
In this article, I’ll guide you through the process of creating your own Starbucks sweet cream, from the initial ingredient-gathering stage to the final steps of achieving that perfect consistency. I’ll also share some tips on how to properly store the cream to max out its shelf life, and give you some creative ideas on how you can use your DIY sweet cream beyond coffee.
Let’s get started.
What You Need to Make Starbucks Sweet Cream
First off, you’ll need to gather your ingredients, making sure you’ve got everything on hand to whip up this Starbucks sweet cream recipe at home. Most of the items you’ll need should be in your kitchen pantry already.
The main ingredients for Starbucks sweet cream are:
- Heavy cream: Make sure the heavy cream is cold; this will make the whipping process easier
- 2% milk: The milk should be 2%, as whole milk can make the mixture too thick
- Vanilla syrup: The vanilla syrup adds that sweet, comforting flavor that pairs well with the cream and coffee. If you don’t have vanilla syrup, you can substitute it with a home-made version by mixing vanilla extract and white granulated sugar or you can use vanilla flavored sugar instead.
But you can go wild here, and substitute the vanilla syrup with many things, for example:
- honey
- 100% real maple syrup
- caramel syrup
- vanilla extract + a sweetener like stevia
- etc.
In addition to these primary ingredients, you’ll also need an electric whisk or a hand mixer to blend everything together seamlessly.
And if you’re making more sweet cream than what you’ll actually use fresh, you should also have a container or a jar to store it in.
As a barista, I can’t overemphasize the importance of quality ingredients. Just like we take care in selecting the best beans for our coffee, the same attention should be applied in choosing the components for your sweet cream. High-quality heavy cream, fresh milk, and premium vanilla syrup will make a world of difference in achieving that authentic Starbucks taste.
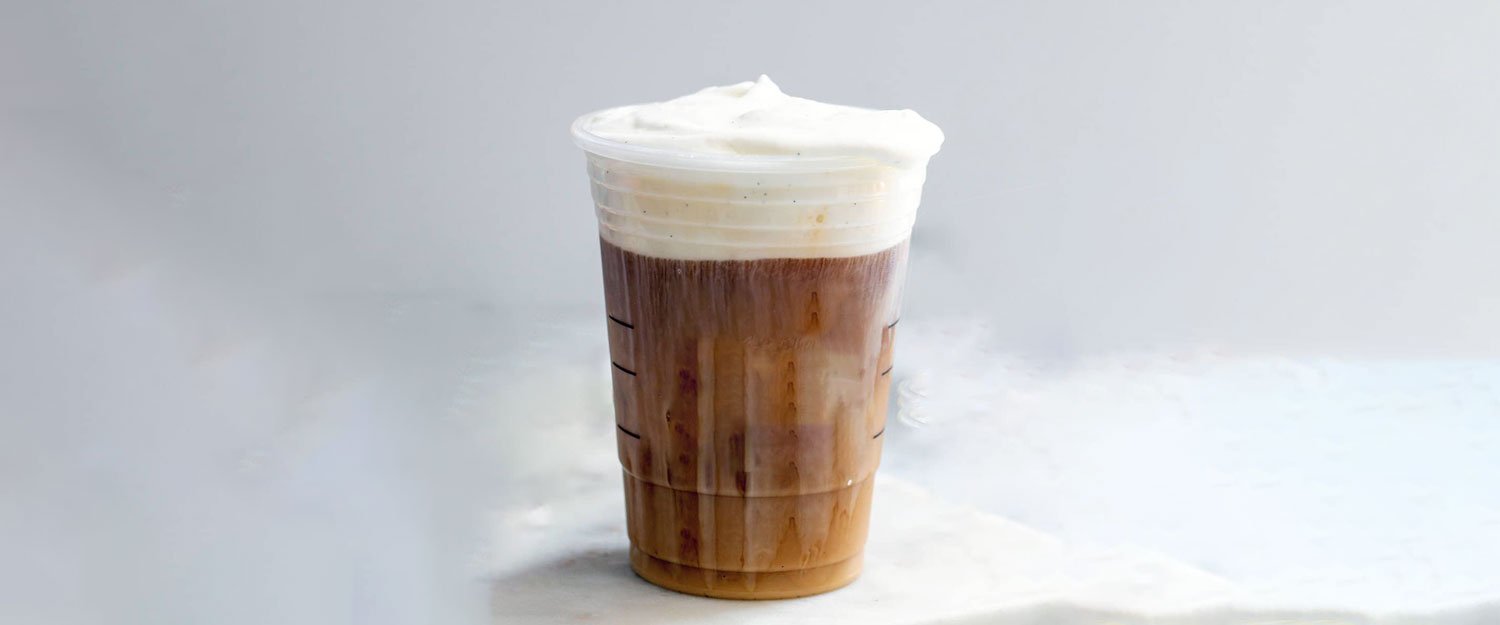
Starbucks Sweet Cream Recipe For Making At Home
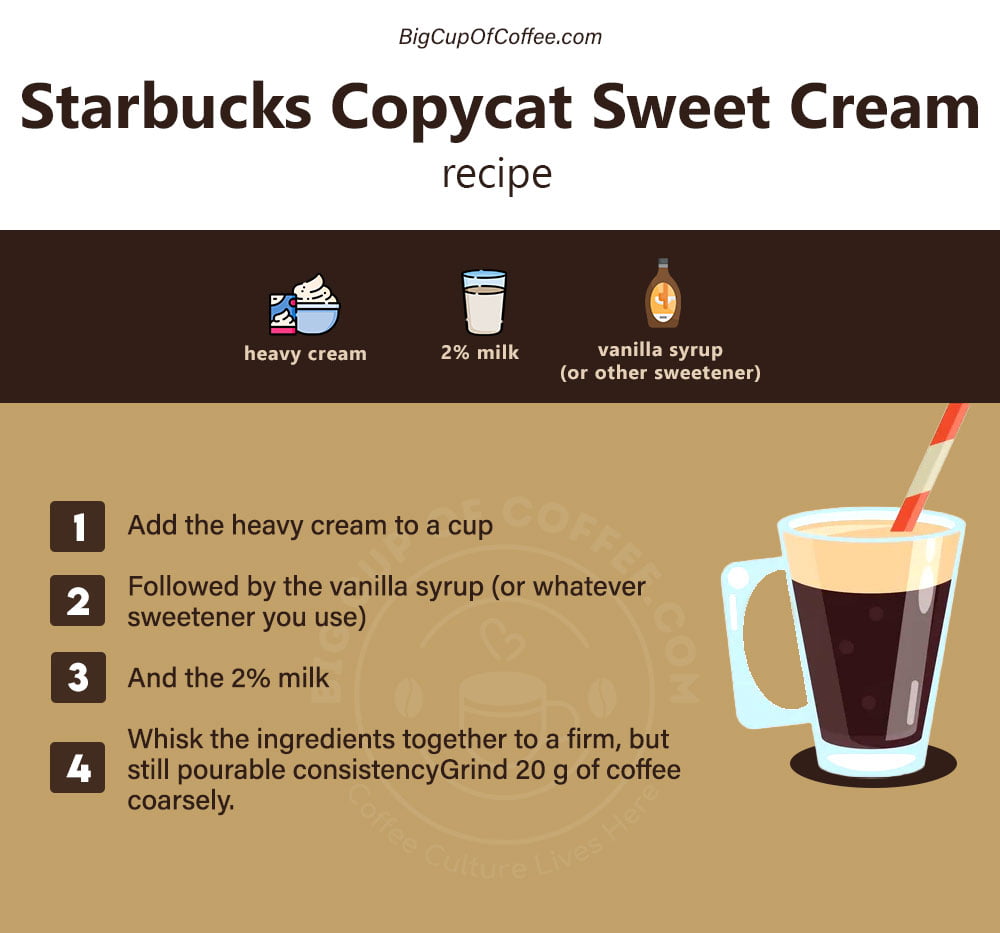
Ingredients
- 75 ml heavy whipped cream
- 25 ml vanilla syrup
- 45 ml 2% milk
Instructions
- Add the heavy cream to a cup
- Followed by the vanilla syrup (or whatever sweetener you use)
- And the 2% milk
- Whisk the ingredients together to a firm, but still pourable consistency
Video
Notes
- Substitute the vanilla syrup with any other sweetener, like maple syrup, honey, etc.
- Don’t overdo the whisking, otherwise the heavy cream becomes too hard, and it won’t be pourable.
The Process of Mixing
Making sweet cream is as easy as mixing everything together.
- Start by pouring the heavy cream into a large bowl.
- Carefully measure out the vanilla syrup and add it to the bowl.
- Next, pour in the 2% milk.
- And finally, your preferred sweetener. I like using honey, but you can also use sugar, maple syrup, stevia, or whatever you like. At Starbucks, they actually use their signature vanilla syrup, which is sweetened already. Remember, the level of sweetness depends on your preference, so adjust accordingly.
- Using an electric whisk, blend these ingredients together. Keep stirring until the mixture becomes creamy and smooth, and the syrup is perfectly mixed in. Be patient in this process, ensuring that you achieve the right consistency; it should be thick but still pourable, much like a traditional milkshake.
At this point, you can taste the sweet cream to see if it needs more sugar or vanilla. Once you’re satisfied with the taste, your homemade Starbucks sweet cream is ready to be served. Pour it into a glass or jar and chill it in the refrigerator before using it. This will ensure that your sweet cream is wonderfully cold and refreshing when it is time to use it.
Achieving the Perfect Consistency
The proper consistency of sweet cream is a pourable, yet thick cream. To achieve this, you’ll need to pay attention to the texture as you whisk it.
It’s a delicate balance between creaminess and fluidity, which I have messed up several times.
Here are some tips I learned along the way:
- You’ll want to whisk your ingredients together until they’re fully combined with no large bubbles, but be careful not to overmix.
- Overmixing can cause your cream to become too thick, which will affect the overall texture of your drink (or however you plan to use it).
- Aim for a consistency that’s thick enough to coat the back of a spoon, but still liquid enough to pour easily.
- Ensure your ingredients are chilled.
From my experience as a barista, I’ve learned that temperature plays a major role in achieving the perfect consistency with creamers. Remember, if your cream is warm to start with, or gets too warm during the whipping process, it may turn to butter instead of the desired sweet cream. Ok, it won’t turn to butter, but you know what I mean 🙂
Is Starbucks Cold Foam the same as Sweet Cream?
No, cold foam and sweet cream are made differently.
Cold foam uses low fat milk and a sweetener like vanilla syrup. It’s important to use low-fat milk with cold foam, not whole milk. The froth of low fat milk collapses much slower than that of whole milk.
As for sweet cream, it uses 2% milk, vanilla syrup, and heavy whipping cream. The whipping cream makes the foam stable, sort of like lightly whipped cream, so it doesn’t collapse like cold foam does.
Storage and Shelf Life?
The cream is best when served freshly after mixing, so I suggest you only make as much as you’ll use in one go. It’s very easy to make.
If you need to store it though, you can in the refrigerator for 5-7 days. It contains heavy cream and milk which can spoil much sooner if not chilled properly, so don’t leave it out on the counter.
What kind of Container Works Best for Storing Sweet Cream?
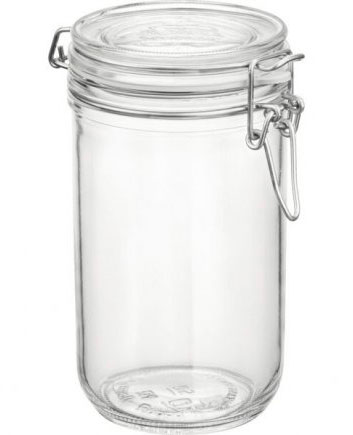
Storing your coffee creamer in a glass bottle with an airtight lid like a mason jar is my preferred method. These jards are easy to clean by hand or in your dishwasher, glass sterilizes well, so your cream stays fresh.
Creative Ways to Use Your Homemade Topping
Your homemade Starbucks sweet cream is a versatile addition to a variety of treats:
- You can spoon it over a bowl of fresh fruit for a decadent dessert or
- Use it as a topping for pancakes or waffles.
- It also pairs wonderfully with hot cocoa, giving it a velvety, rich taste.
- If you’re into baking, try adding it to your cupcake or muffin batter for an extra touch of sweet creaminess.
- It can also be used as a base for homemade ice cream.
- My wife turned drizzled it over a hot, buttery croissant once.
- For an indulgent breakfast, try stirring it into your oatmeal.
- Or for a fun twist, use it as a dip for cookies or pretzels.
The possibilities are endless when you’ve got this homemade Starbucks sweet cream on hand.
As you can probably tell, I love experimenting with our sweet cream at home.
My favorite?
Adding a dollop of sweet cream to a bowl of fresh strawberries. The contrast of flavors is incredible – the freshness of the strawberries blends so well with the richness of the cream, creating an indulgent dessert that’s still surprisingly light. If you’re a fan of sweet and tangy combinations, I’d definitely recommend giving this a try.
Frequently Asked Questions
Yes, you can substitute ingredients in the sweet cream recipe for vegan alternatives. For instance, use a non-dairy milk like almond or soy, and replace the cream with a vegan creamer or coconut cream.
The Starbucks Sweet Cream recipe may provide calcium and protein from dairy. However, it also contains sugar and a lot of whipping cream, contributing to increased calorie and fat intake. This could lead to weight gain if consumed excessively.
Starbucks Sweet Cream gained popularity due to its rich, velvety texture and balance of sweetness. The original recipe hails from Starbucks itself, carefully formulated to complement their cold brew and iced coffee offerings.
No, Starbucks doesn’t sell a pre-made version of their sweet cream. You can only buy the vanilla syrup they use for making it in their coffee shops. Other retailers may offer similar products, but the exact Starbucks recipe isn’t available for purchase. You can only enjoy it in their drinks.
Yes, there are other Starbucks recipes that utilize similar ingredients as the Sweet Cream. These include the White Chocolate Mocha, Caramel Macchiato, and Vanilla Bean Frappuccino, all of which use vanilla and milk.
Try it today!
Now you know that whipping up your own batch of Starbucks sweet cream at home ain’t no biggie, but it is a surefire way to add a fancy twist to your hot or iced coffee and desserts (such as pastries made with espresso powder).
Remember, it’s all about the quality of ingredients and the right consistency. And don’t forget, you can always get creative with how you use it.
If you made the recipe, please let me know how it went in a comment below.

