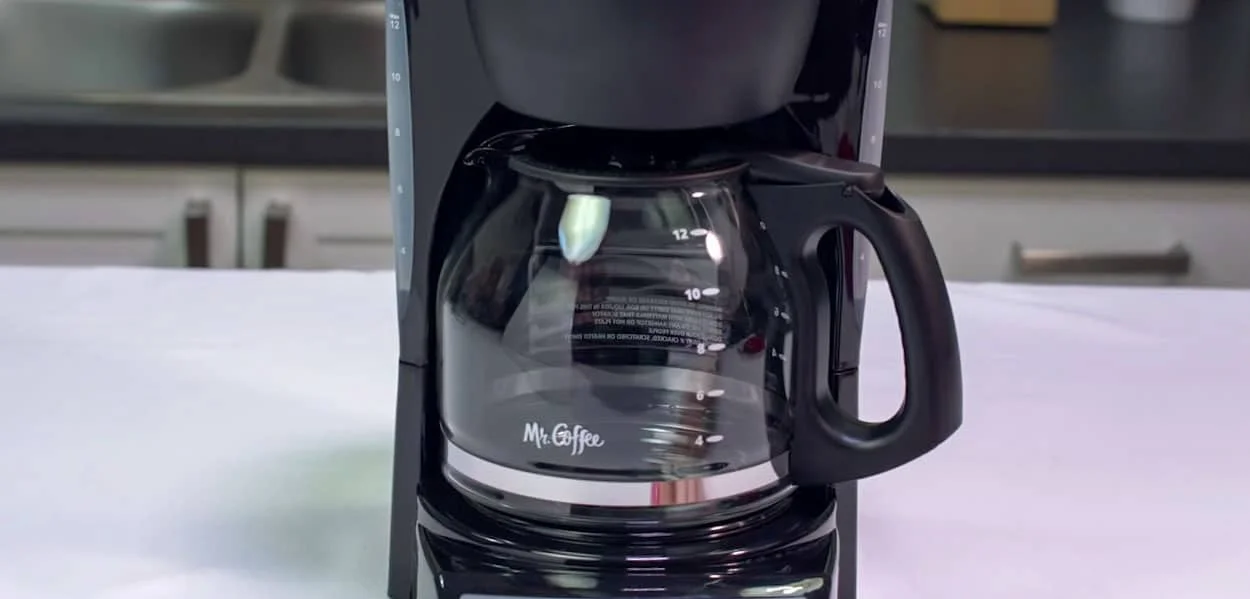
How to Clean and Descale Your Drip Coffee Maker Quickly and Easily
Just imagine. You’ve cracked the code to brewing the drip coffee that suits your palate perfectly, but over time, something has become off with its flavor, even if it’s a fresh cup and you followed your brewing routine to a T.
Then it strikes you: your drip coffee machine may not be as clean as it was before, affecting the cup that you gulp every morning.
This is why you need to clean your drip coffee machine correctly — a process that isn’t as complicated as you might think.
In this article, I’ll show you quick and simple steps to clean a coffee maker, restoring it to pristine condition, so that every cup of coffee you make is worth savoring.
Signs to Clean Your Drip Coffee Machine
You’ve probably noticed that the taste and aroma of your coffee don’t seem quite right. That’s one of the biggest signs that your drip coffee machine needs a good cleaning.
Here are some other things to look for:
- Slow brewing time – if it takes longer than usual, this likely means there is a buildup in the machine slowing down water flow. It may even taste too sour or too bitter because of extraction difficulties.
- Unpleasant tastes or odors – over time, small bits of old grounds may start to accumulate inside the brewer and can cause off flavors when mixed with new grounds.
- Excessive build-up or coffee residue. If you don’t clean your coffee pot, filter basket, and other removable parts correctly – these unwanted residues will accumulate due to the mineral deposits from hard water or residue left behind.
- Discoloration of metal surfaces due to oxidation over time. If any of these symptoms sound familiar, it’s definitely time to clean your machine before making another cup of Joe.
How to Clean a Drip Coffee Maker Daily
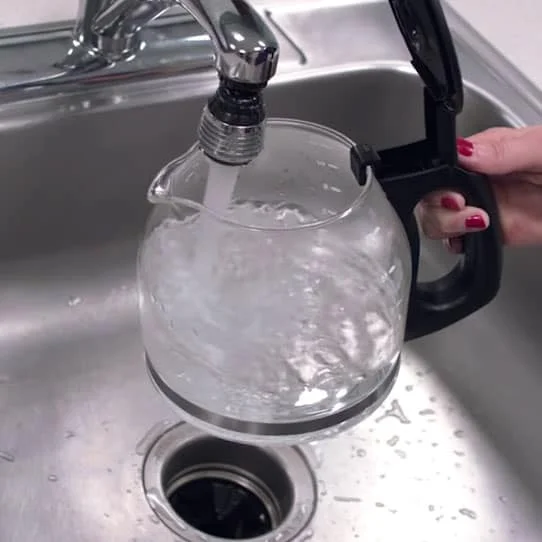
Just like any other machine such as your home roaster and coffee grinder, your drip coffee maker needs regular maintenance to remove coffee residues and keep it running in tip-top shape.
Here’s how you should be maintaining your coffee maker on a daily basis:
Equipment & tools you need:
- Soft sponge or cloth
- Dish soap (mild variant)
- Warm water
Step-by-Step Instructions
- First, unplug your coffee maker. Always make sure that you unplug your machine before cleaning it. This is not only an important safety measure but will also prevent accidental damage while cleaning.
- Disassemble the removable parts. Take out the filter basket where the grounds usually go, as well as the carafe (where the brewed coffee goes). If possible, remove parts such as brewing lids and removable showerheads too; these parts are often overlooked but need to be cleaned regularly for optimal performance.
- Wash all of the components. Place all washable components into a sink with warm soapy water and scrub until they’re completely clean from residue buildup using a soft cloth or sponge. Don’t forget to rinse them off thoroughly afterward.
Do not use abrasive sponges, only soft ones. - Wipe Down the Exterior. A dampened cloth should suffice here — just make sure no liquid seeps inside any openings on the machine itself. It’s also worth taking some time to wipe down any nearby surfaces near the machine for extra cleanliness points. One of the first things we learned at barista school was that you always need to keep your workstation clean.
- Reassemble the Machine. Once all its parts have been washed and dried, simply reattach each piece back together one by one following instructions if needed (e.g., check if there’s proper alignment at connection points).
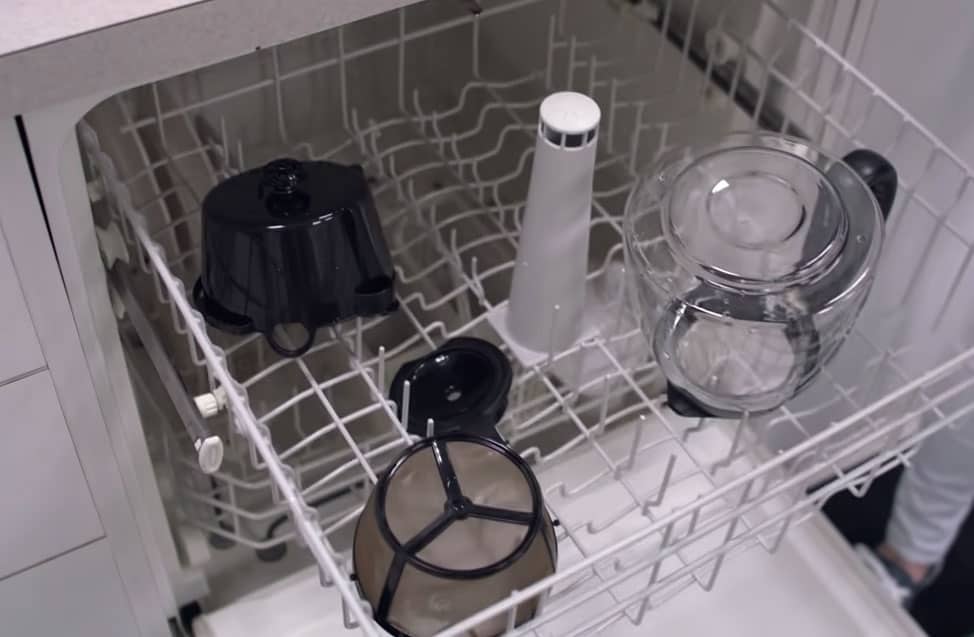
Can you clean the coffee maker in the dishwasher?
Yes, some parts of drip coffee makers are dishwasher safe on the top rack. These are the carafe, permanent filter, filter basket, and lid into the dishwasher. Do not put the water filter into the dishwasher though. Nor the machine itself 😉
Descale and Deep Clean Your Coffee Maker with Vinegar

Once a month, it’s important to give your coffee machine an extra-deep clean by descaling the machine. Descaling helps remove mineral buildup from hard water that can lead to slow brewing times, bad tastes or odors in your coffee, and excessive residue left behind.
By the way, if you use filtered water, most of the minerals are removed during the filtration process, so your coffee maker will not scale up as quickly.
Here’s what you need:
Equipment & tools you need:
- White distilled vinegar
- Clean water
- Salt
- Soft cloth
Step-by-Step Instructions
- Mix equal parts white vinegar and warm water in a bowl, add teaspoon of salt, and mix until the salt dissolves.
- Then fill the water, salt, and vinegar solution into the reservoir. Don’t fill all the way – this liquid won’t go through the brewer but will instead act as a natural cleaner, loosening any built-up minerals within the system.
- Place a paper filter on the filter basket and start the brewing cycle, but pause once halfway. Allow the vinegar and water mixture to soak those internal components for about 30 minutes before continuing with the rest of the brewing process.
- After those thirty minutes have passed, complete the brew cycle.
- Flush out any remaining traces of vinegar left inside by running two brew cycles of filtered water.
- Wash down other removable parts of the machine like coffee filters and lids with dish soap and warm water.
If you don’t like cleaning with vinegar, you may also use descaling solutions or specialized coffee maker cleaners that are currently available in the market. I prefer vinegar though, since it is natural, and any traces of its smell are gone once you complete the 2 clean water brewing cycles.
Check out this post if you don’t want to use vinegar for cleaning your coffee maker.
Tips to Keep Your Coffee Maker Clean for a Long Time
Using the right technique and products can help you keep your coffee maker clean for longer. Here are some helpful tips to make sure your coffee tastes as fresh and delicious every time:
- Use filtered water instead of tap water – Using filtered water helps reduce mineral deposits in the machine, which could lead to poor-tasting or bitter-smelling coffee over time. It also eliminates chlorine taste and smell from city taps, ultimately improving the flavor of your brews.
- Avoid letting the coffee sit in the carafe for too long – Coffee gets stale after sitting around for a while, so it’s best to empty and rinse out the carafe after each use. This way, you won’t be drinking old and bitter-flavored coffee.
- Empty and rinse the filter basket after each use – Doing this prevents any leftover grounds from sticking onto its surface, thus avoiding that musty odor when brewing later on. Plus, this ensures maximum freshness with each cup you make.
- Keep the coffee maker in a cool, dry place – To maximize its lifespan, store your drip coffee maker away from direct sunlight or other moisture sources like sinks or showers. Keeping it at room temperature is ideal as extreme hot or cold temperatures can damage most machines over time.
Frequently Asked Questions (FAQs)
You may have some questions about cleaning your drip coffee maker, here are the most common ones.
Yes, apple cider vinegar can also clean your coffee machine, but it may cost more than white vinegar. Also, apple cider vinegar (at around 5% acidity) is not as concentrated as normal vinegar, so it won’t be as strong in removing mineral buildup. I would use normal vinegar instead.
To make an apple cider and water cleaning solution, just mix one-part apple cider vinegar with equal parts water.
It is recommended to clean it after every use by removing the coffee grounds and cleaning the brew basket, lid, and carafe.
A deeper cleaning should be conducted at least every three months, or even better, every month to prevent the growth of yeast and mold, which are known to grow inside the machine’s water reservoir, according to the 2011 NSF International Household Germ Study.
No, using just water will not effectively clean your coffee maker, as it doesn’t remove the coffee residue and mineral buildup. You should clean your coffee maker with vinegar or other cleaning solutions like baking soda.
A well-maintained drip coffee maker is not as prone to mold as a Keurig machine. But if you suspect that your brewer is moldy, decalcify or descale it right away and start cleaning it more regularly.
Final Thoughts
At the end of the day, the cleanliness of your coffee maker is key to making sure you get a quality cup every time. It’s really very simple, so you have no excuse not to do it.
So keep it clean and get the most out of your pot of coffee every day.

